Bu sürüm, hatalı düzenlemeler içerebilir. En son doğrulanmış bellek kopyası dönün.
Neye ihtiyacın var
-
Bu adım çevrilmemiş. Çevrilmesine yardım edin
-
Using a plastic opening tool, carefully pry the device apart. Make your way around the entire perimeter of the device and carefully place the two panels next to each other.
-
-
Bu adım çevrilmemiş. Çevrilmesine yardım edin
-
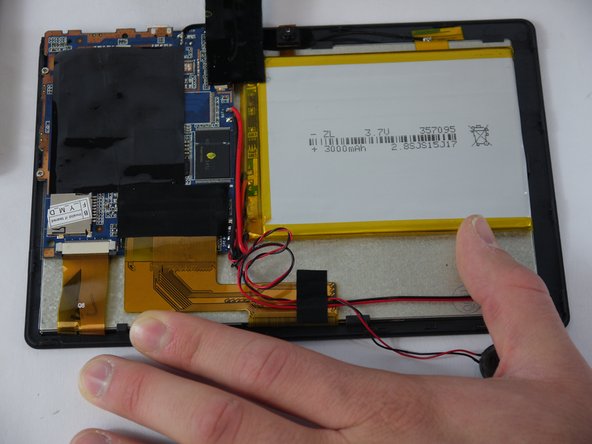
Grip the speaker from the sides with your fingers or a pair of tweezers and slowly begin to remove it from the rear panel.
-
After the speaker has been removed, place the rear panel aside.
-
-
-
Bu adım çevrilmemiş. Çevrilmesine yardım edin
-
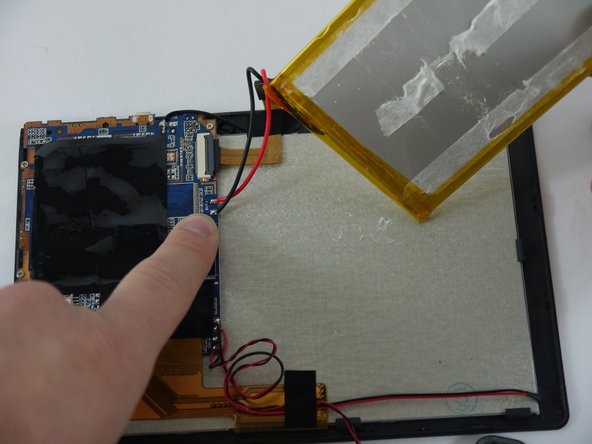
Carefully separate the speaker wire from the tape and proceed to peel the tape off in an upwards direction.
-
-
Bu adım çevrilmemiş. Çevrilmesine yardım edin
-
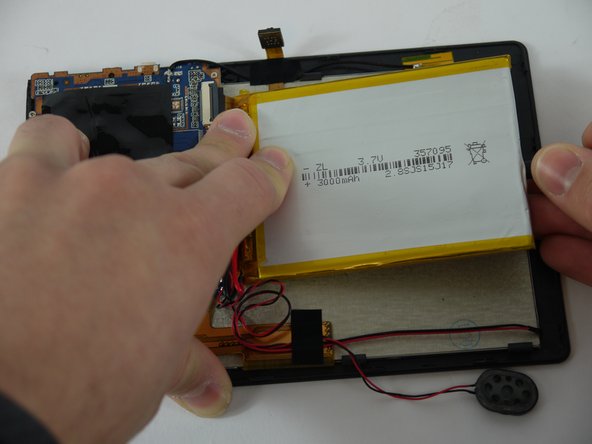
Using a nylon spudger, slowly work your way underneath the battery separating it from the panel beneath.
-
After the battery is separated from the panel make sure to place it face down above the tablet itself.
-
-
Bu adım çevrilmemiş. Çevrilmesine yardım edin
-
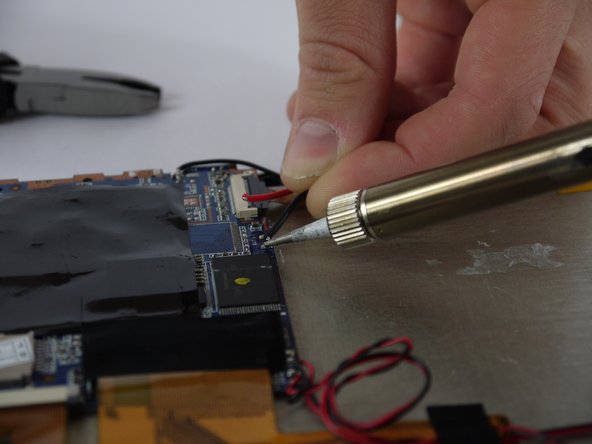
Desolder the wires that connect the battery to the motherboard.
-


İptal et: Bu kılavuzu tamamlamadım.
4 farklı kişi bu kılavuzu tamamladı.
Ekip

USF Tampa, Team 4-1, Lacy Spring 2016 USF Tampa, Team 4-1, Lacy Spring 2016 üyesi
USFT-LACY-S16S4G1
4 Üyeler
16 adet Kılavuz yazıldı