Giriş
This guide will help you replace the optical drive in an Asus A53S
Optical drives allow you to read CDs and DVDs through your laptop.
Before using this guide, make sure to review the troubleshooting page. A DVD player repair might be needed if it stops working for any reason.
Make sure to power off your laptop completely, disconnect from any external power source, and remove the battery before beginning the process.
Neye ihtiyacın var
-
-
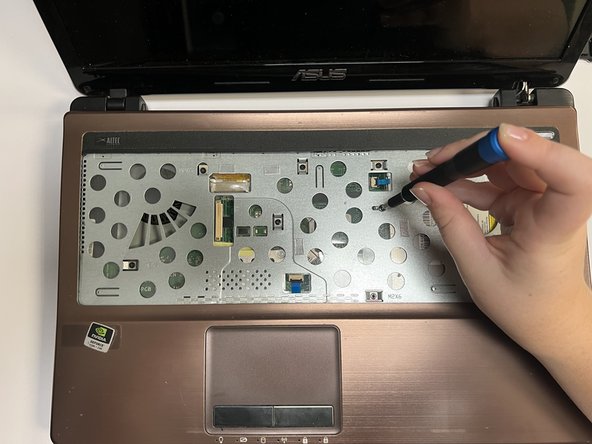
Open the laptop.
-
Using the Spudger, insert the flat end into the notches at the top of the keyboard and slowly "pop" the keyboard up and out of the device.
-
-


To reassemble your device, follow these instructions in reverse order.
To reassemble your device, follow these instructions in reverse order.
İptal et: Bu kılavuzu tamamlamadım.
Bir başkası bu kılavuzu tamamladı.

Ekip

University of North Texas, Team 3-1, Saru Jimmy Fall 2022 University of North Texas, Team 3-1, Saru Jimmy Fall 2022 üyesi
UNT-SARU JIMMY-F22S3G1
4 Üyeler
6 adet Kılavuz yazıldı