Giriş
The Asus ROG G20CB is a compact gaming desktop that uses custom cooling and a specialized case layout. Replacing the graphics card (GPU) can significantly boost performance, but due to the small form factor and custom internal design, it's slightly trickier than on a regular tower. This guide will walk you through the process carefully.
Check GPU size: The G20CB supports small dual-slot GPUs (generally under 10.5 inches / 266mm long). Only 6-pin or 8-pin PCIe connectors.
Neye ihtiyacın var
-
-
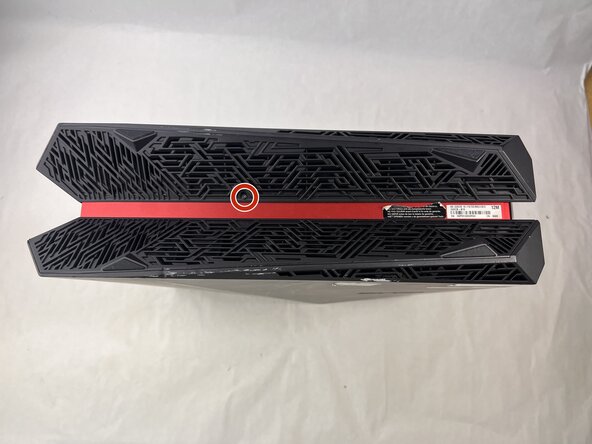
Remove each of the two 4.6 mm Phillips screws on the top and bottom of the tower.
 FixBot'a Sor
-
-
-
Disconnect the cable carefully by pulling gently on both sides of the connector.
-
-
-
Remove the five 4.6 mm Phillips screws holding down the fan tray and then pull the fan tray out of the system.
-
-
-
-
Carefully unplug the two fan cables from the motherboard by pulling straight up from the base of the connector.
-
-
-
Remove the six 4.6 mm Phillips screws connecting the fans to the fan tray.
-
-
-
Remove the three 4.6 mm Phillips screws from the graphics card housing.
-
-
-
Push down the clip on the red cable connector and firmly pull the cable from the graphics card.
-
-
-
Remove the 3.7 mm Phillips screw from the graphics card and its housing.
-
-
-
Use one hand to bend up the PCIE riser clip, then with the other hand push it off the graphics card.
-


To reassemble your device, follow the above steps in reverse order.
Take your e-waste to an R2 or e-Stewards certified recycler.
Repair didn’t go as planned? Try some basic troubleshooting or ask our Answers community for help.
Ekip

UMass Dartmouth, Team 3-3, Botvin Spring 2025 UMass Dartmouth, Team 3-3, Botvin Spring 2025 üyesi
UMASSD-BOTVIN-S25S3G3
3 Üyeler
5 adet Kılavuz yazıldı