Ana içeriğe geç

Audio-Technica AT-LP60BK-BT Belt Drive Replacement

Neye ihtiyacın var

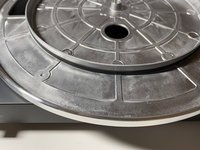
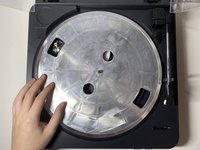
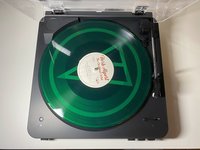
  1. Audio-Technica AT-LP60BK-BT Belt Drive Replacement, Belt Drive: adım 1, 2 resimden 1. Audio-Technica AT-LP60BK-BT Belt Drive Replacement, Belt Drive: adım 1, 2 resimden 2.
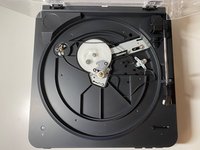
    • Open the top plastic cover and remove the record and rubber mat.

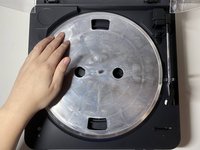
  2. Audio-Technica AT-LP60BK-BT Belt Drive Replacement: adım 2, 2 resimden 1. Audio-Technica AT-LP60BK-BT Belt Drive Replacement: adım 2, 2 resimden 2.
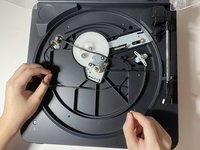
    • Find the belt underneath the platter by rotating the platter to the correct place.

    • Remove the belt from the motor pulley.

  3. Audio-Technica AT-LP60BK-BT Belt Drive Replacement: adım 3, 1 resimden 1.
    • Take the platter off by pulling it straight up.

  4. Audio-Technica AT-LP60BK-BT Belt Drive Replacement: adım 4, 2 resimden 1. Audio-Technica AT-LP60BK-BT Belt Drive Replacement: adım 4, 2 resimden 2.
    • Remove the old belt.

  5. Audio-Technica AT-LP60BK-BT Belt Drive Replacement: adım 5, 1 resimden 1.
    • Turn platter upside down.

  6. Audio-Technica AT-LP60BK-BT Belt Drive Replacement: adım 6, 3 resimden 1. Audio-Technica AT-LP60BK-BT Belt Drive Replacement: adım 6, 3 resimden 2. Audio-Technica AT-LP60BK-BT Belt Drive Replacement: adım 6, 3 resimden 3.
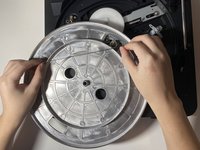
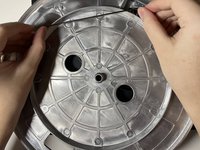
    • Place the new belt around the inner lap on the upside-down platter.

    • Make sure the rubber band is flat on the platter, with no flipping.

  7. Audio-Technica AT-LP60BK-BT Belt Drive Replacement: adım 7, 1 resimden 1.
    • Turn the platter around.

    • Grab the belt around with a finger through one of the holes in the platter.

  8. Audio-Technica AT-LP60BK-BT Belt Drive Replacement: adım 8, 1 resimden 1.
    • Put the platter straight down.

  9. Audio-Technica AT-LP60BK-BT Belt Drive Replacement: adım 9, 1 resimden 1.
    • Put the belt around the motor pulley.

  10. Audio-Technica AT-LP60BK-BT Belt Drive Replacement: adım 10, 3 resimden 1. Audio-Technica AT-LP60BK-BT Belt Drive Replacement: adım 10, 3 resimden 2. Audio-Technica AT-LP60BK-BT Belt Drive Replacement: adım 10, 3 resimden 3.
    • Test the function by spinning the platter and put the rubber mat into place.

    This is so much more helpful than the instructions on the Audiotechnica website. Thank you!

    Megan Stewart - Yanıt

    This was a fantastic guide! Helped me out when the platter got loose during a move. Thanks dude!

    WhitesMutt - Yanıt

Sonuç

To reassemble your device, follow these instructions in reverse order.

2 farklı kişi bu kılavuzu tamamladı.

Zonghao Li

Üyelik tarihi: 01/20/21

235 İtibar

1 Kılavuz yazıldı

2 Yorum

Thank you so much!

Joe - Yanıt

Ditto that! Thanks for the clear directions.

Steph - Yanıt

Yorum Ekle

İstatistikleri Görüntüle:

Son 24 Saat: 25

Son 7 gün: 227

Son 30 gün: 1,007

Her zaman: 18,836