Ana içeriğe geç

Azpen A720 Battery Replacement

Neye ihtiyacın var

  1. Azpen A720 Battery Replacement, Back Cover: adım 1, 2 resimden 1. Azpen A720 Battery Replacement, Back Cover: adım 1, 2 resimden 2.
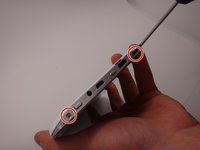
    • Use a Phillips #00 screwdriver to remove the two 4mm screws found on the top edge of the tablet near the power button.

  2. Azpen A720 Battery Replacement: adım 2, 3 resimden 1. Azpen A720 Battery Replacement: adım 2, 3 resimden 2. Azpen A720 Battery Replacement: adım 2, 3 resimden 3.
    • Use the plastic opening tool to pry the white back from the silver frame. Start near the micro SD slot.

    • Slide the plastic opening tool around the perimeter of the casing until the back is disconnected.

  3. Azpen A720 Battery Replacement: adım 3, 1 resimden 1.
    • Remove the rear casing.

  4. Azpen A720 Battery Replacement, Battery: adım 4, 1 resimden 1.
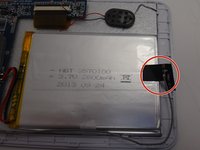
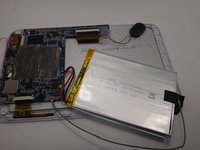
    • Locate the batteries' connection points.

  5. Azpen A720 Battery Replacement: adım 5, 1 resimden 1.
    • A soldering iron can reach 600˚ F, which will cause serious burns. Learn how to solder properly here. Using tweezers to hold the wires will reduce the risk of burns.

    • Use a soldering iron to melt the connections which attach the battery to the motherboard.

    • Disconnect the red and black wires from the motherboard.

  6. Azpen A720 Battery Replacement: adım 6, 2 resimden 1. Azpen A720 Battery Replacement: adım 6, 2 resimden 2.
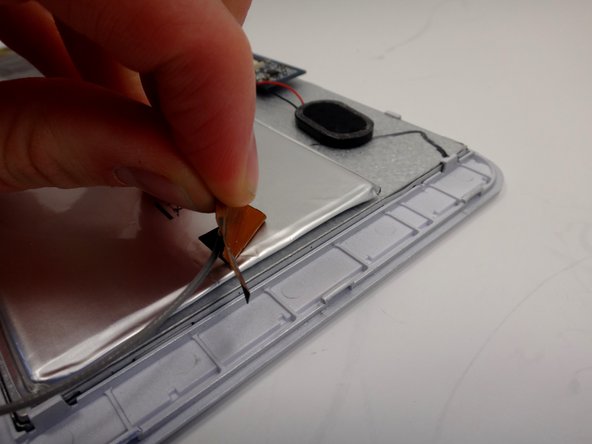
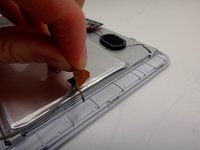
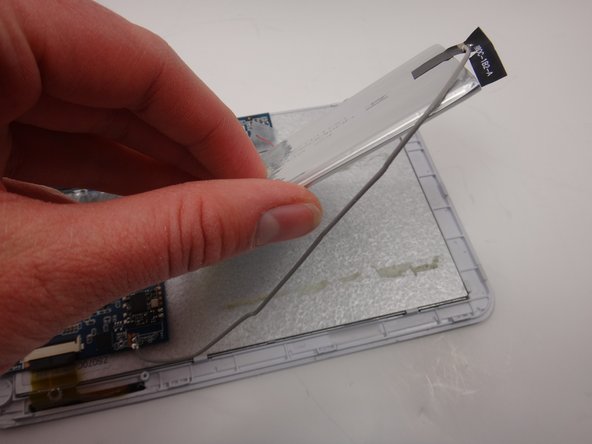
    • Peel the black sticker off the battery to disconnect the wifi antennae.

  7. Azpen A720 Battery Replacement: adım 7, 3 resimden 1. Azpen A720 Battery Replacement: adım 7, 3 resimden 2. Azpen A720 Battery Replacement: adım 7, 3 resimden 3.
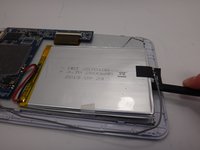
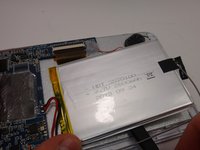
    • Slide the spudger between the battery and the metal backing. Move the spudger back and forth in a sawing motion to break the adhesive seal between the battery and the backing.

    • When the spudger is underneath the battery avoid prying. A prying motion could damage the battery.

  8. Azpen A720 Battery Replacement: adım 8, 2 resimden 1. Azpen A720 Battery Replacement: adım 8, 2 resimden 2.
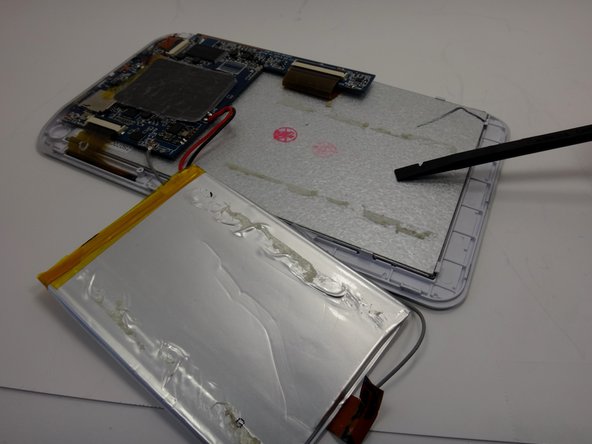
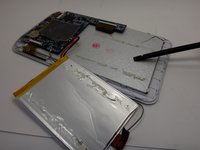
    • Remove the old battery and replace it with the new battery.

Bitiş Çizgisi

Bir başkası bu kılavuzu tamamladı.

Ben

Üyelik tarihi: 03/18/15

280 İtibar

2 adet Kılavuz yazıldı

Ekip

Michigan Tech, Team 1-3, Lauer Spring 2015 Michigan Tech, Team 1-3, Lauer Spring 2015 üyesi

MTU-LAUER-S15S1G3

2 Üyeler

5 adet Kılavuz yazıldı

0 Yorum

Yorum Ekle

İstatistikleri Görüntüle:

Son 24 Saat: 0

Son 7 gün: 0

Son 30 gün: 7

Her zaman: 2,239