Giriş
Having issues with your volume control buttons? This guide instructs you to on replacing the volume control buttons on your BLU Life XL.
Before you begin the repair, power off the device and unplug it from the charger.
Neye ihtiyacın var
-
-
Turn the device off by holding down the power button for up to 5 seconds and then tapping the "Power off" button on the screen.
-
Remove the rear cover using your hands at the lip on the device back cover. No tools required.
-
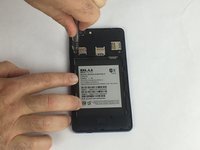
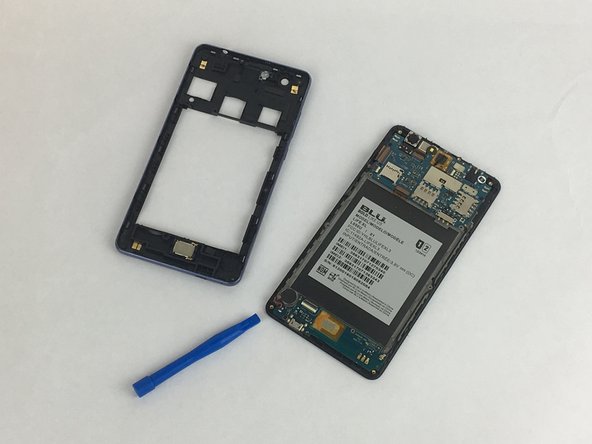
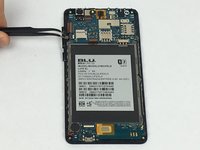
Remove the battery by lifting the lower edge of the battery up first.
 FixBot'a Sor
-
-
-
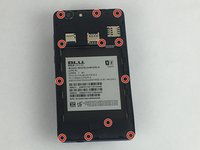
Remove the 12x3mm screws from the rear plate using the Phillips#000 screwdriver.
-
-
-
-
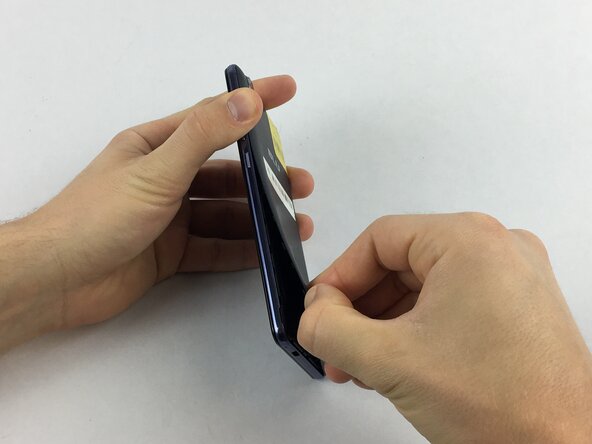
Firmly press the prying tool into the gap between the front glass and rear plate. This gap is located on all sides of the phone.
-
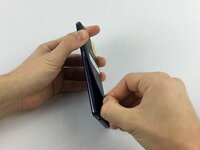
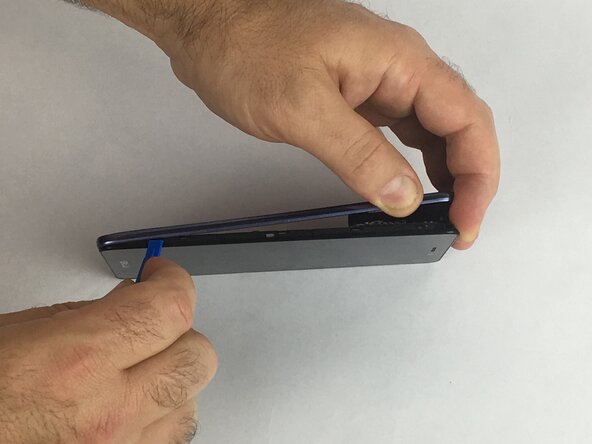
Run the prying tool around the entire phone separating the rear plate from the frame.
-
-
-
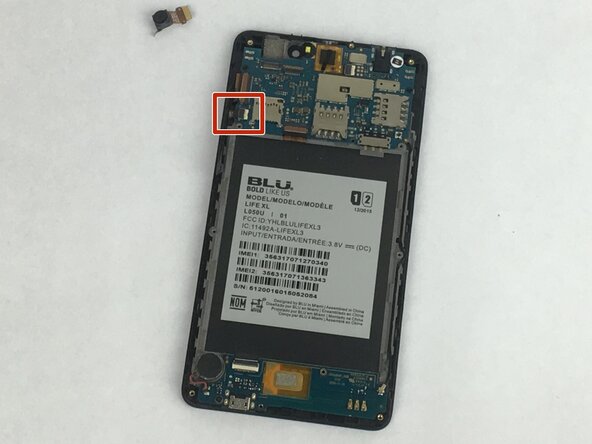
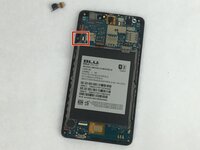
Gently remove the tape covering the volume control buttons. The tape is located near the top left of the cavity for the battery.
-
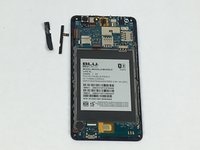
Replace the component and reapply the tape over the buttons.
-


To reassemble your device, follow these instructions in reverse order. Take your e-waste to an R2 or e-Stewards certified recycler.
Ekip

USF Tampa, Team S2-G5, Eyestone Spring 2018 USF Tampa, Team S2-G5, Eyestone Spring 2018 üyesi
USFT-EYESTONE-S18S2G5
3 Üyeler
10 adet Kılavuz yazıldı