Black and Decker CD2500 Motor Replacement
Giriş
1. adıma gitMake sure you have a clear work space and containers to organize parts as you disassemble and reassemble the drill.
Neye ihtiyacın var
Parçalar
Aletler
Daha fazlasını göster…
-
-
Use a Phillips head screwdriver to unscrew 8 (3/4 in) Phillips screws from the housing set. Keep the screws all together.
-
Carefully remove the top housing
-
-
-
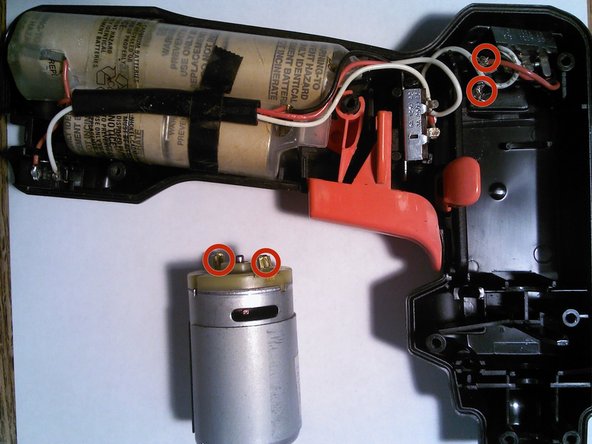
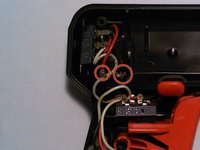
The needle nose pliers will be used to detach the wires.
-
WARNING: Take extra care when using the pliers to detach the wires as both wires and motor terminals are delicate.
-
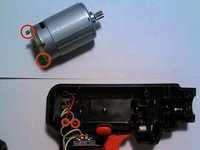
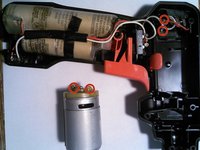
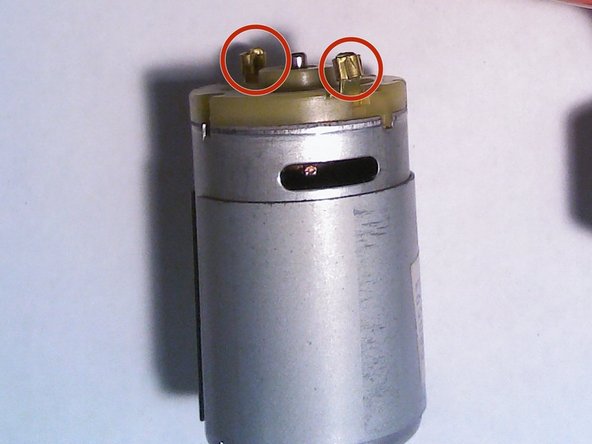
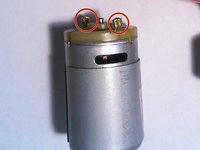
Use the pliers to “slide” the narrow sides of the motor terminals where the wires are attached. Pinching terminals will make it difficult to remove the wire from the terminal.
-
-
-
Install new motor.
-
Attach wires to the new motor; make sure that the red wire is inserted back into the positive terminal on the new motor. The positive terminal is denoted by a (+) symbol.
-
The white wire will be inserted back into the negative terminal on the new motor. The negative terminal is denoted by the (-) symbol.
-
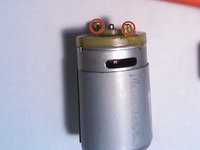
Make sure that the motor sits in the lower housing with the two terminals vertically in line, with the positive/red terminal on top.
-
The motor should fit snugly in the lower housing.
-
-
-
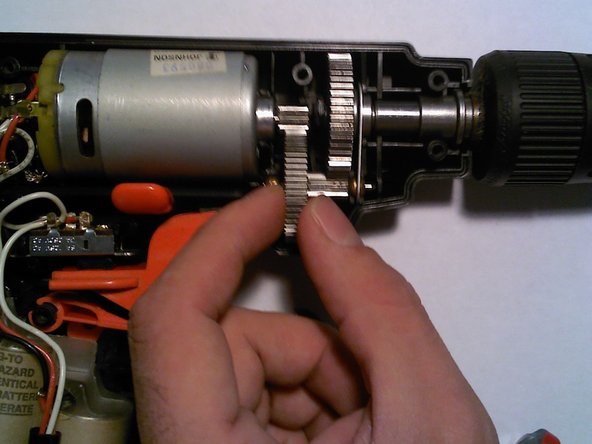
Replace the gear and drill head assembly.
-
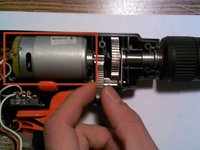
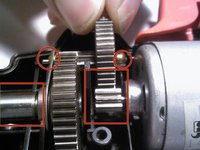
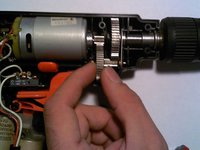
Put the drill head back into where it originally was secured. Make sure it lines up with the molding of the plastic housing. Move the second large gear into where it locks into the motor gear.
-
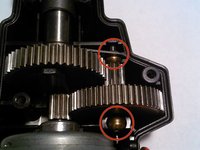
Make sure that the gold bearings and other small parts lock into the designated slots in the molding of the housing.
-
-
-
Put the upper housing back on the drill. make sure that the upper housing lines up with the lower housing screw holes.
-
Put all eight screws back in the slots.
-
Tighten the screws back into place with the Phillips head screwdriver.
-
After the screws are back in place, make sure they are all snug.
-
Refer to this parts diagram if needed during these steps: http://www.ereplacementparts.com/images/...
Refer to this parts diagram if needed during these steps: http://www.ereplacementparts.com/images/...


