
BlackBerry Curve 8520 Keyboard Cover Replacement
Giriş
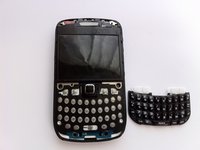
1. adıma gitUse this guide to replace the keyboard cover of your BlackBerry Curve 8520.
Neye ihtiyacın var


-
-
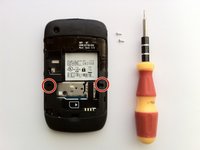
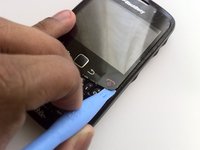
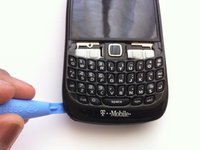
Insert a plastic opening tool into the small notch on the rear cover of the phone.
-
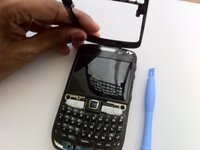
Pry the rear cover up from the phone.
-
-
-
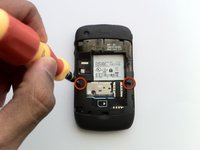
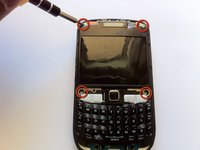
Locate the slit between the top of the battery and the casing.
-
Gently apply pressure on the top of the battery to trigger the spring release.
-


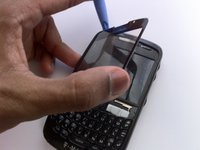


To reassemble your device, follow these instructions in reverse order.
To reassemble your device, follow these instructions in reverse order.
İptal et: Bu kılavuzu tamamlamadım.
28 farklı kişi bu kılavuzu tamamladı.
Ekip

Cal Poly, Team 9-62, Walters Spring 2011 Cal Poly, Team 9-62, Walters Spring 2011 üyesi
CPSU-WALTERS-S11S9G62
5 Üyeler
5 adet Kılavuz yazıldı