
Blackberry Curve 8320 LCD Screen Replacement
Giriş
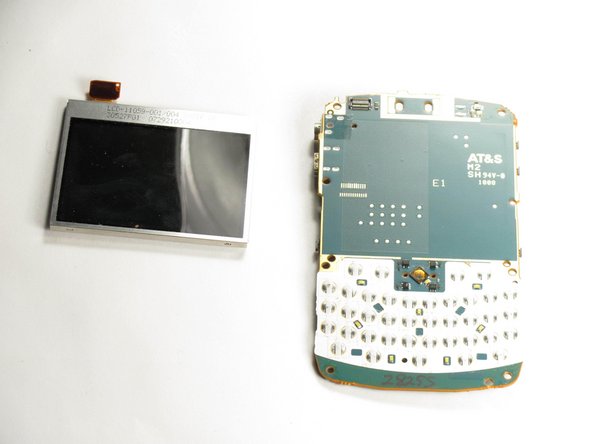
1. adıma gitThis guide will show you how to:
- Remove the battery
- Remove the front panel
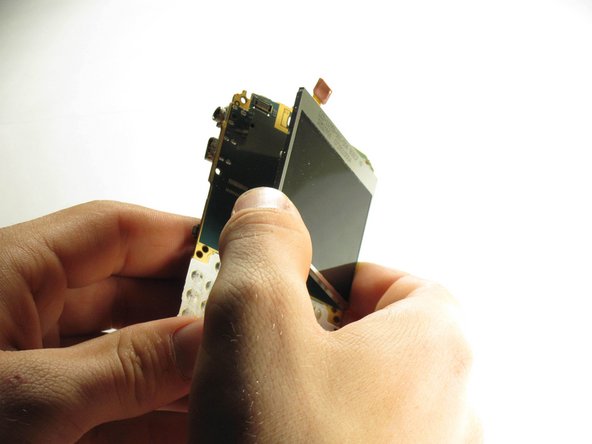
- Replace the LCD screen
Neye ihtiyacın var
Aletler


Daha fazlasını göster…
-
-
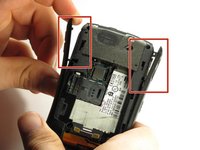
Hold the phone with the back facing you.
-
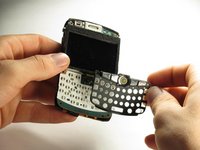
Press the silver tab down and remove the cover.
-
-
-
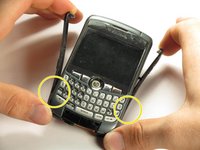
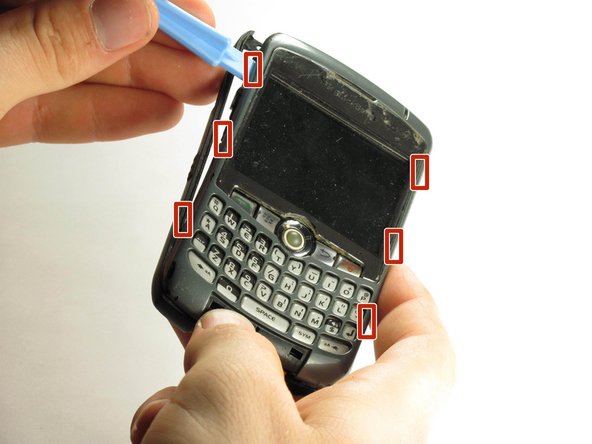
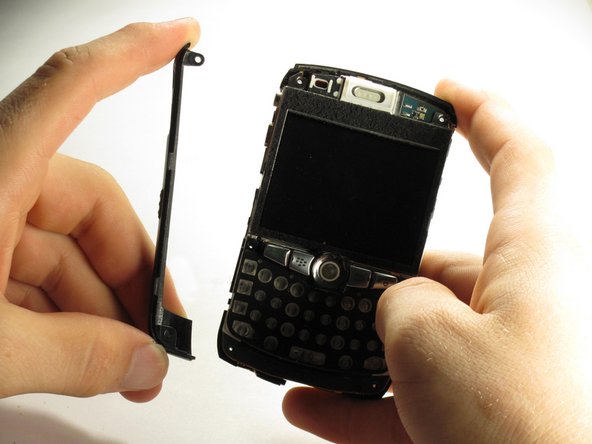
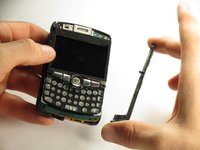
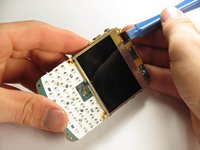
Use a plastic opening tool to gently pry the bottom cover loose.
-
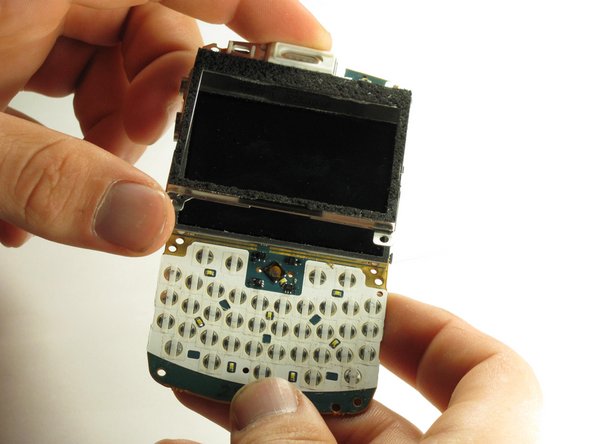
Pull the cover from the front of the phone after the back is loose.
-
-
-
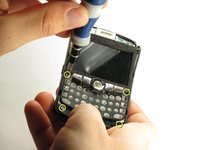
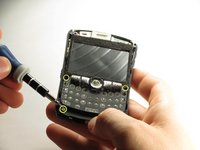
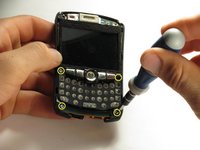
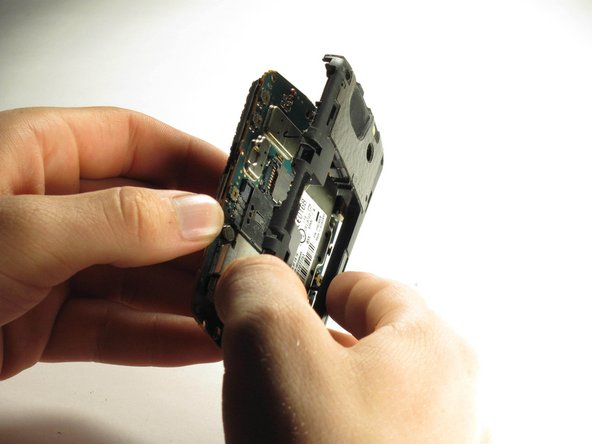
Use a T6 Torx screwdriver to remove the four screws located on the corners of the keyboard frame.
-


To reassemble your device, follow these instructions in reverse order.
To reassemble your device, follow these instructions in reverse order.
Ekip

Cal Poly, Team 3-6, Regan Fall 2011 Cal Poly, Team 3-6, Regan Fall 2011 üyesi
CPSU-REGAN-F11S3G6
5 Üyeler
9 adet Kılavuz yazıldı