Ana içeriğe geç
Onarım Topluluğuna Katılın - Hesap Oluşturun

Braven BRV-X Button Module(s) Replacement

Neye ihtiyacın var

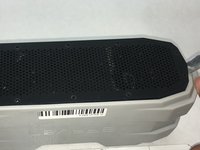
    1. Braven BRV-X Button Module(s) Replacement, Front Speaker Panel: adım 1, 1 resimden 1.
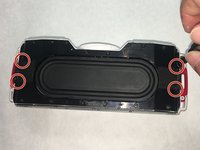
      • Remove four 1.1 cm outer screws in the outer shell using the Phillips #00 screwdriver.

      FixBot'a Sor

      Yorum Ekle

    2. Braven BRV-X Button Module(s) Replacement: adım 2, 1 resimden 1.
      • Remove four 1.3 cm inner screws in the outer shell using the 1.5mm Hex screwdriver.

      FixBot'a Sor

      Yorum Ekle

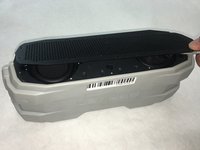
    3. Braven BRV-X Button Module(s) Replacement: adım 3, 1 resimden 1.
      • Gently remove the outer shell.

      FixBot'a Sor

      Yorum Ekle

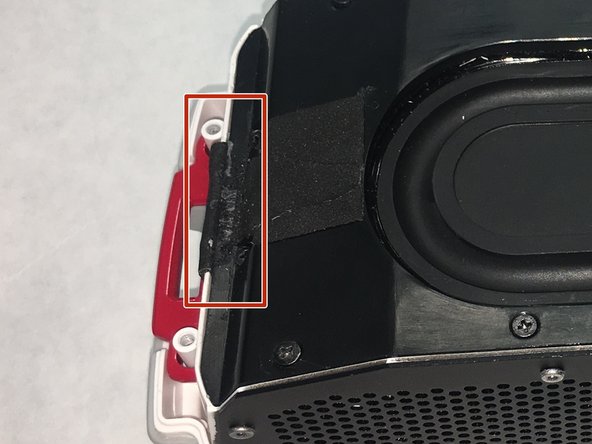
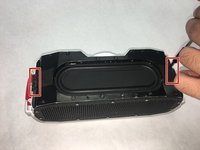
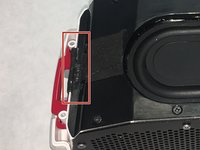
    4. Braven BRV-X Button Module(s) Replacement: adım 4, 2 resimden 1. Braven BRV-X Button Module(s) Replacement: adım 4, 2 resimden 2.
      • Cut adhesive tape on both sides.

      FixBot'a Sor

      Yorum Ekle

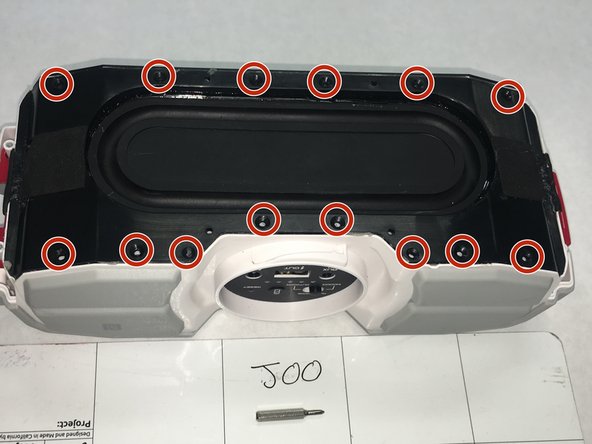
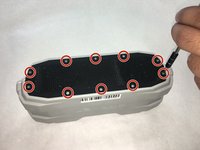
    5. Braven BRV-X Button Module(s) Replacement: adım 5, 2 resimden 1. Braven BRV-X Button Module(s) Replacement: adım 5, 2 resimden 2.
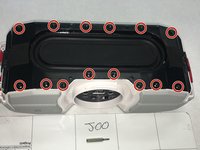
      • Remove eighteen 0.9cm screws in the inner shell using the Phillips #00 screwdriver.

      FixBot'a Sor

      Yorum Ekle

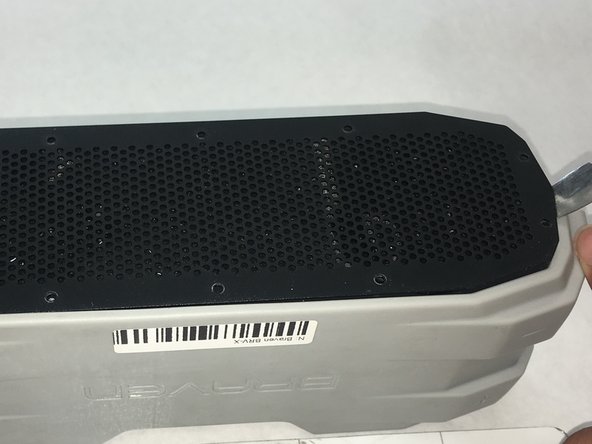
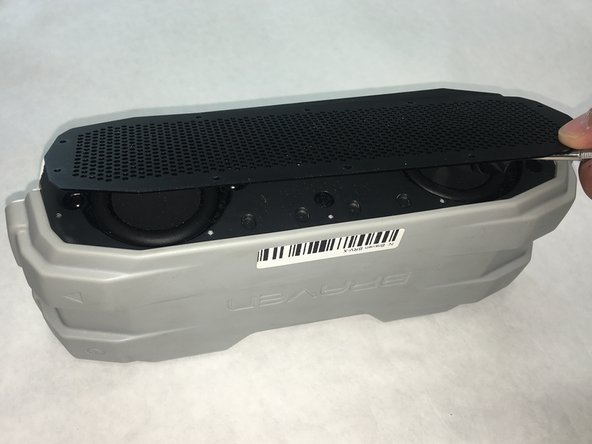
    6. Braven BRV-X Button Module(s) Replacement: adım 6, 3 resimden 1. Braven BRV-X Button Module(s) Replacement: adım 6, 3 resimden 2. Braven BRV-X Button Module(s) Replacement: adım 6, 3 resimden 3.
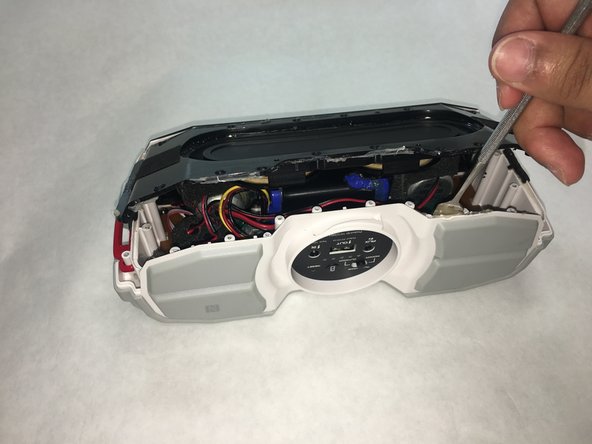
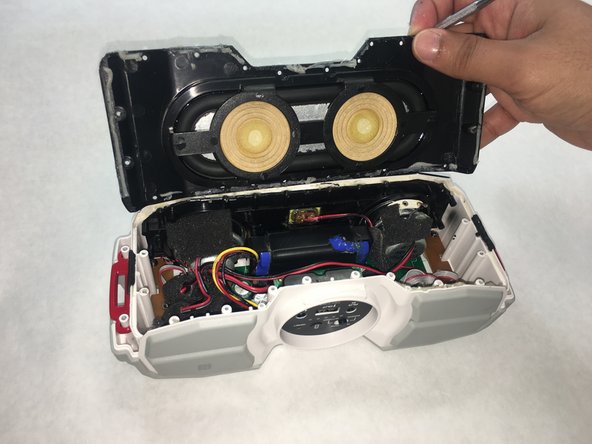
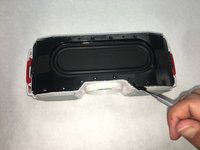
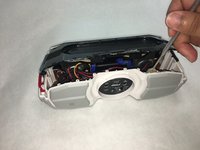
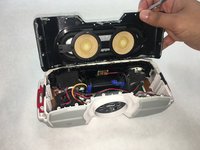
      • Pry open the glued inner shell using a spudger around all sides of the shell.

      • Don't use too much pressure as that could cause damage to the plastic.

      FixBot'a Sor

      Yorum Ekle

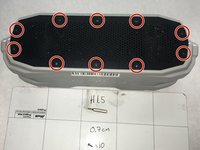
    7. Braven BRV-X Button Module(s) Replacement: adım 7, 2 resimden 1. Braven BRV-X Button Module(s) Replacement: adım 7, 2 resimden 2.
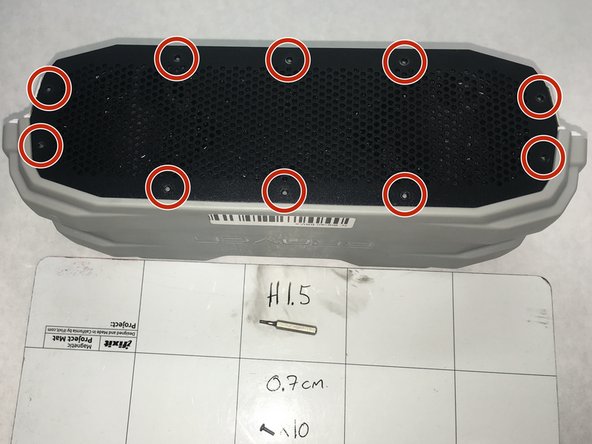
      • Remove ten 0.7 cm screws in the front plate using the 1.5 mm Hex screwdriver.

      FixBot'a Sor

      Yorum Ekle

    8. Braven BRV-X Button Module(s) Replacement: adım 8, 2 resimden 1. Braven BRV-X Button Module(s) Replacement: adım 8, 2 resimden 2.
      • Use a spudger to open the front speaker plate.

      FixBot'a Sor

      Yorum Ekle

    9. Braven BRV-X Button Module(s) Replacement: adım 9, 1 resimden 1.
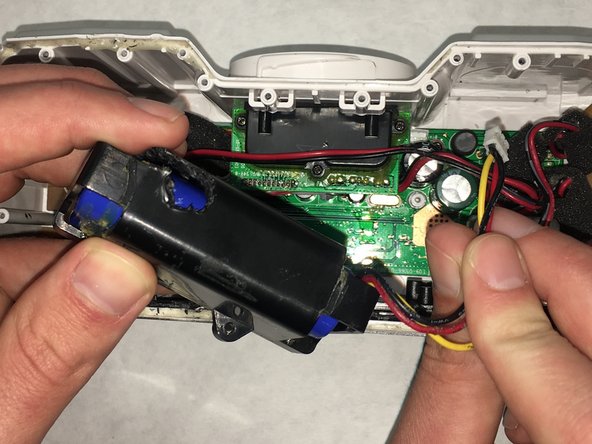
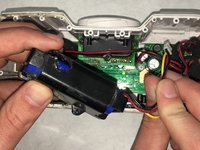
      • Remove three 1.0 cm screws from the battery unit.

      • It is recommended (but not required) to remove the battery.

      FixBot'a Sor

      Yorum Ekle

    10. Braven BRV-X Button Module(s) Replacement: adım 10, 2 resimden 1. Braven BRV-X Button Module(s) Replacement: adım 10, 2 resimden 2.
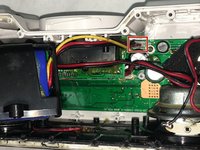
      • Disconnect the ribbon cable attached the main board.

      FixBot'a Sor

      Yorum Ekle

    11. Braven BRV-X Button Module(s) Replacement: adım 11, 3 resimden 1. Braven BRV-X Button Module(s) Replacement: adım 11, 3 resimden 2. Braven BRV-X Button Module(s) Replacement: adım 11, 3 resimden 3.
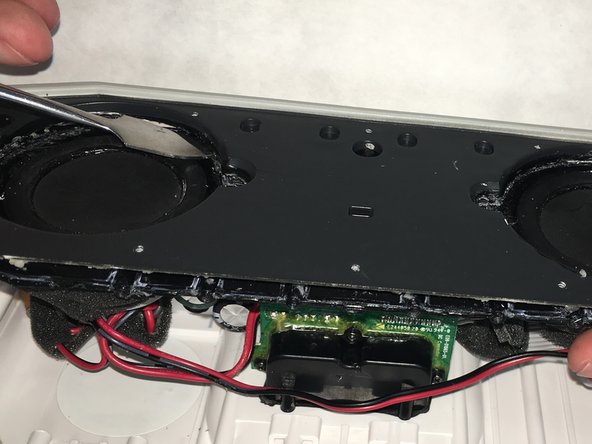
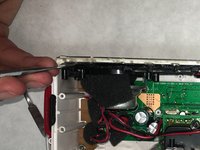
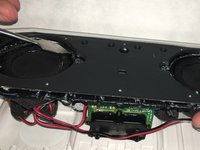
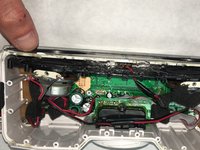
      • Pry open the second plate holding in the speaker using a spudger around all sides.

      • It is recommended to use a spudger to remove the heavily glued areas between the plates before prying.

      • Don't use too much pressure as that could cause damage to the plastic.

      FixBot'a Sor

      Yorum Ekle

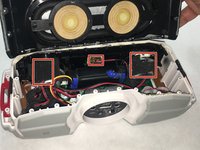
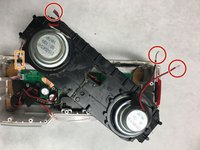
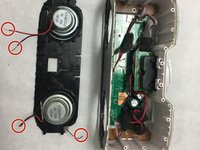
    12. Braven BRV-X Button Module(s) Replacement: adım 12, 3 resimden 1. Braven BRV-X Button Module(s) Replacement: adım 12, 3 resimden 2. Braven BRV-X Button Module(s) Replacement: adım 12, 3 resimden 3.
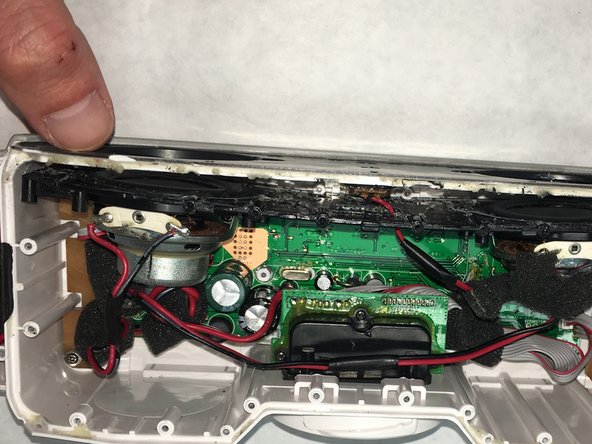
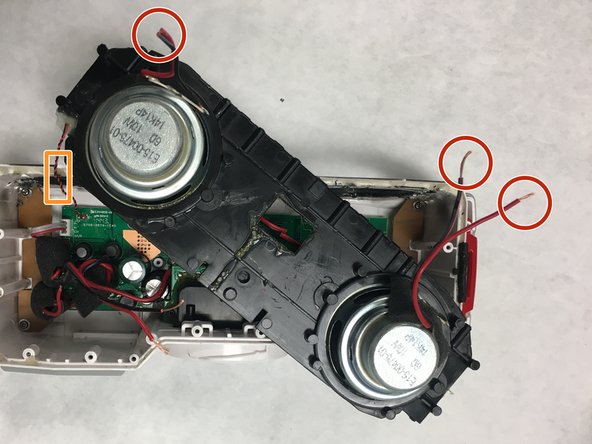
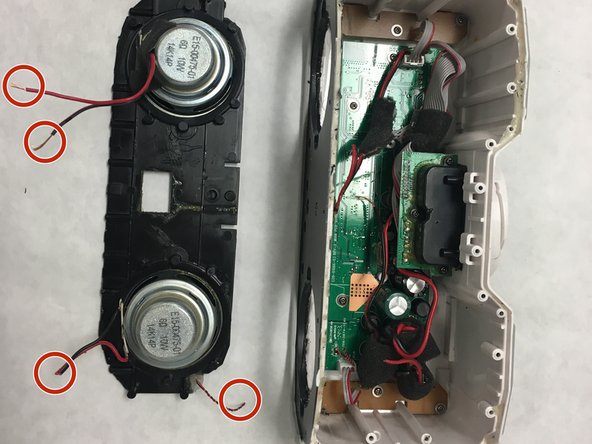
      • Cut the 20 gauge wires attached to the front IR sensor and two speaker wires.

      • Leave enough length on the wire to work with it afterwards.

      • Cut the 22 gauge wire attached in the corner.

      • Solder the new speaker plate during reassembly.

      • To properly solder and desolder connections, visit the How to Solder and Desolder Connections guide.

      FixBot'a Sor

      Yorum Ekle

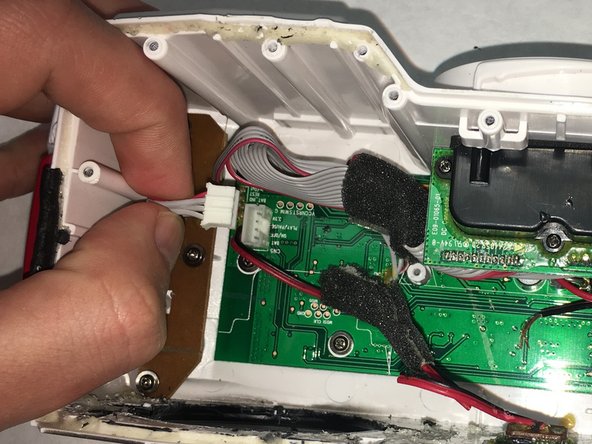
    1. Braven BRV-X Button Module(s) Replacement, Button Module(s): adım 13, 2 resimden 1. Braven BRV-X Button Module(s) Replacement, Button Module(s): adım 13, 2 resimden 2.
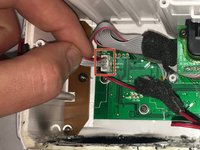
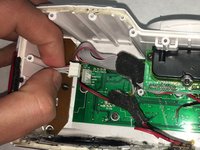
      • Remove the ribbon cable attached to the main board.

      • Pull from the clip and not from the cable.

      FixBot'a Sor

      Yorum Ekle

    2. Braven BRV-X Button Module(s) Replacement: adım 14, 1 resimden 1.
      • Remove three 0.7 cm screws from the button module(s) using the Phillips #00 screwdriver.

      FixBot'a Sor

      Yorum Ekle

    3. Braven BRV-X Button Module(s) Replacement: adım 15, 1 resimden 1.
      • Gently lift the button module from the enclosure.

      FixBot'a Sor

      Yorum Ekle

Sonuç

To reassemble your device, follow these instructions in reverse order.

İptal et: Bu kılavuzu tamamlamadım.

Trey Peterson

Üyelik tarihi: 04/01/19

301 İtibar

2 adet Kılavuz yazıldı

Ekip

IUPUI, Team S1-G5, Harley Spring 2019 IUPUI, Team S1-G5, Harley Spring 2019 üyesi

IUPUI-HARLEY-S19S1G5

3 Üyeler

6 adet Kılavuz yazıldı

0Kılavuz Yorumları

Yorum Ekle

İstatistikleri Görüntüle:

Son 24 Saat: 0

Son 7 gün: 7

Son 30 gün: 37

Her zaman: 743