
Canon PowerShot A75 Casing Replacement
2 - 5 dakika
Kolay
Giriş
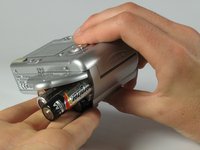
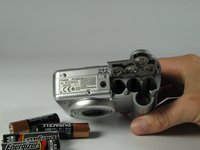
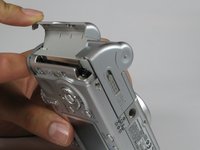
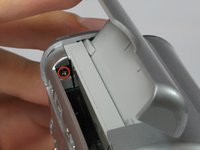
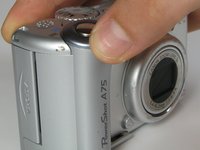
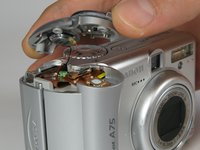
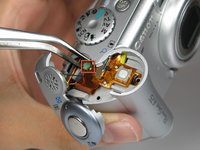
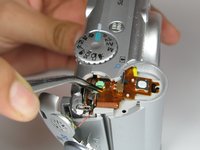
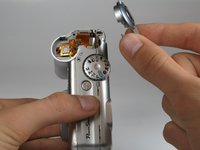
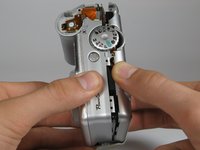
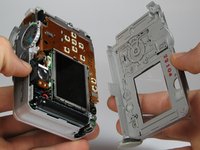
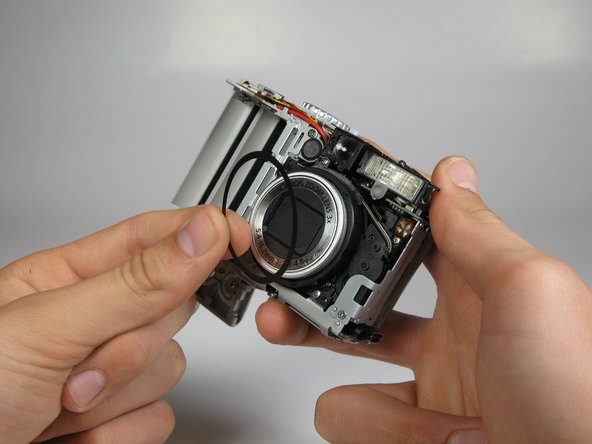
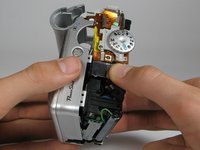
1. adıma gitUse this guide to replace the Canon Powershot A75's casing.
Neye ihtiyacın var


Neredeyse bitti!
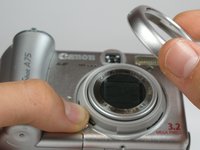
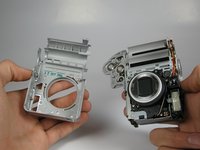
To reassemble your device, follow these instructions in reverse order.
Sonuç
To reassemble your device, follow these instructions in reverse order.
İptal et: Bu kılavuzu tamamlamadım.
4 farklı kişi bu kılavuzu tamamladı.
Ekip

Cal Poly, Team 17-30, Amido Spring 2012 Cal Poly, Team 17-30, Amido Spring 2012 üyesi
CPSU-AMIDO-S12S17G30
5 Üyeler
12 adet Kılavuz yazıldı