
Canon Powershot A720 IS Motherboard Replacement
Giriş
1. adıma gitThis guide will assist in replacing the motherboard for the Canon Powershot A720 IS. Due to the difficulty of this project, it is important to be sure that the motherboard is what needs to be replaced. Improperly handling the motherboard can potentially result in permanent damage to the camera or the motherboard. To reduce the risk, an anti-static bracelet should be used. This project does require the use of a soldering iron; therefore, make sure you know how to safely and properly solder.
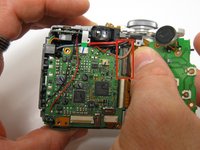
Be mindful to not touch the surface of the board. The oils in your hands can be harmful to the motherboard. If you need to adjust the camera, make sure to hold on to the case.
Neye ihtiyacın var


-
-
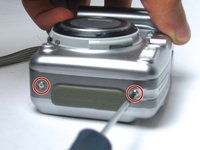
Push the grey rubber battery lock on the bottom of the camera to open the battery compartment.
-
Remove the batteries and set them aside.
-
-
-
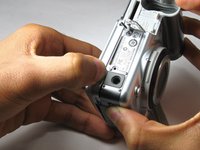
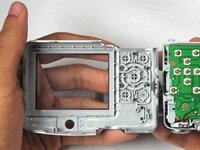
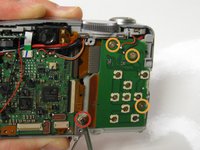
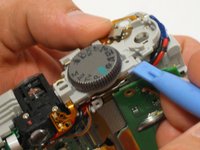
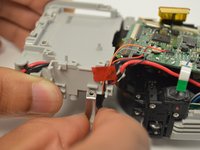
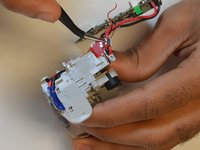
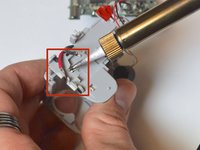
Use the plastic opening tool to separate the user button circuit board from the shutter button and settings dial housing unit.
-
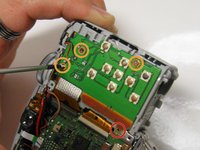
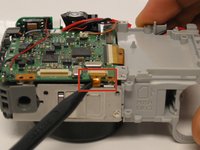
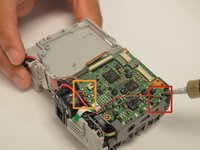
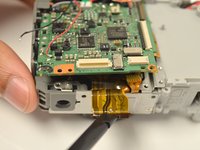
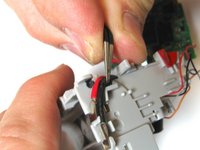
Carefully disconnect the ribbon cable that is attached to the user buttons circuit board from the ZIF connector that is attached to the motherboard with your thumb and index finger. Get as close to the ZIF connector as possible without touching the motherboard.
-
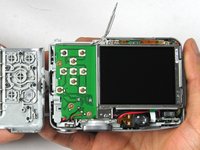
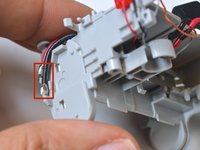
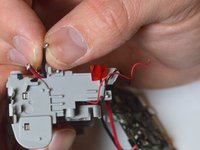
Remove the user button circuit board.
-
-
-
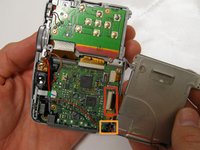
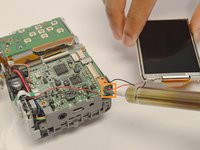
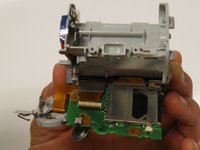
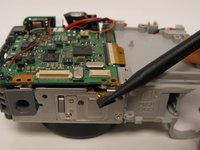
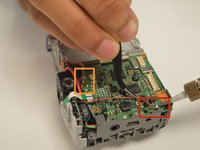
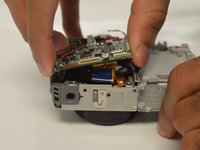
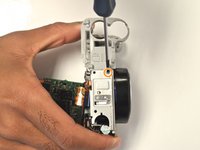
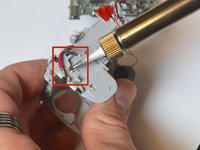
After all of the ribbons have been disconnected, gently lift the motherboard to expose the ribbon cable that connects the motherboard to the lens.
-
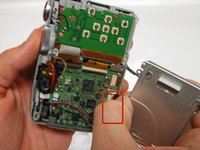
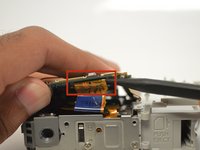
Use the spudger to remove the the ribbon cable attached to the motherboard. Be sure to alternate pressure to both sides of ribbon cable to evenly remove.
-
-
-
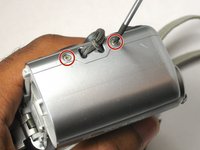
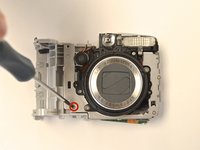
With the lens facing up, remove the 3 mm screw that attaches the bottom of the battery housing unit to the lens using a Phillips #00 screwdriver.
-
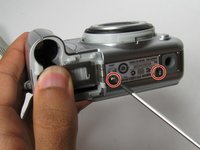
Turn the camera over so the bottom is now facing up.
-
Remove the 3 mm screw to disassemble the battery housing unit from the camera using a Phillips #00 screwdriver.
-


To reassemble your device, follow these instructions in reverse order.
To reassemble your device, follow these instructions in reverse order.
İptal et: Bu kılavuzu tamamlamadım.
2 farklı kişi bu kılavuzu tamamladı.
Ekip

USF Tampa, Team 17-4, Watkins Winter 2015 USF Tampa, Team 17-4, Watkins Winter 2015 üyesi
USFT-WATKINS-W15S17G4
3 Üyeler
8 adet Kılavuz yazıldı