Ana içeriğe geç
Onarım Topluluğuna Katılın - Hesap Oluşturun

Chromo Noria Touch Screen Replacement

Neye ihtiyacın var

  1. Chromo Noria Touch Screen Replacement, Back Panel: adım 1, 3 resimden 1. Chromo Noria Touch Screen Replacement, Back Panel: adım 1, 3 resimden 2. Chromo Noria Touch Screen Replacement, Back Panel: adım 1, 3 resimden 3.
    • Insert your Plastic Opening Tool into the crease between the front panel and back panel.

    • Slide the Opening Tool around the entire device. As you progress, you should see the device open.

    FixBot'a Sor

    Yorum Ekle

  2. Chromo Noria Touch Screen Replacement: adım 2, 1 resimden 1.
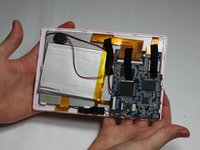
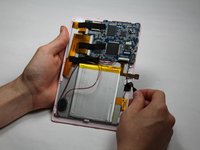
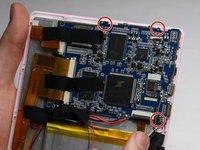
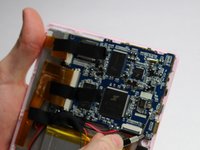
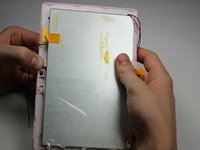
    • Carefully turn the device over.

    • Lay the back panel aside so you can see the device's parts.

    FixBot'a Sor

    Yorum Ekle

  3. Chromo Noria Touch Screen Replacement, Battery: adım 3, 3 resimden 1. Chromo Noria Touch Screen Replacement, Battery: adım 3, 3 resimden 2. Chromo Noria Touch Screen Replacement, Battery: adım 3, 3 resimden 3.
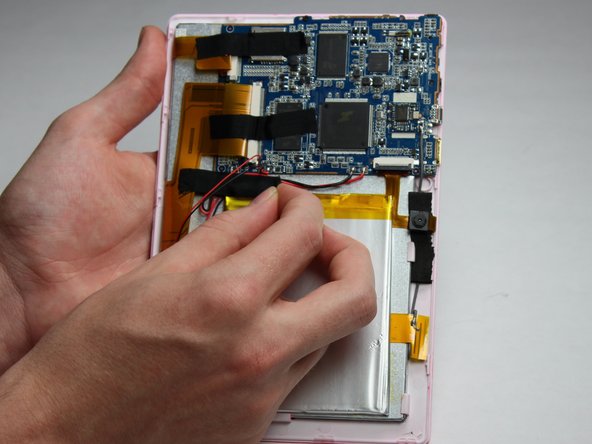
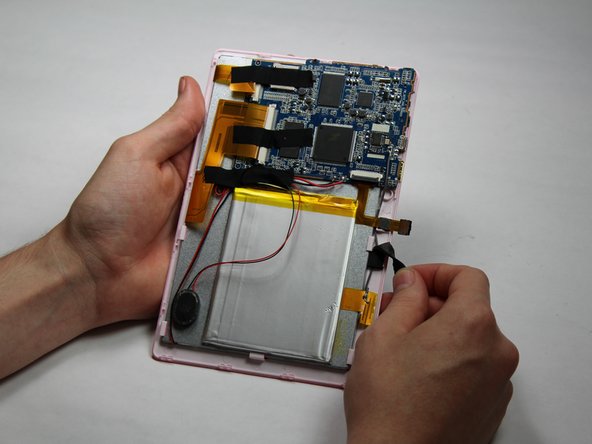
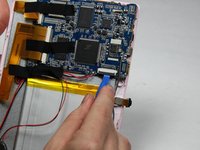
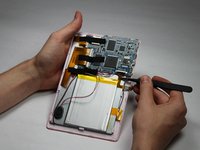
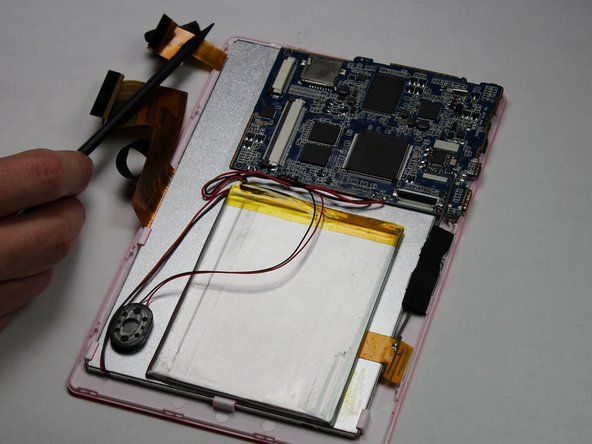
    • Place your finger at the end of the tape closest to the battery.

    • Peel the tape towards the flex cables to free the battery wires.

    FixBot'a Sor

    Yorum Ekle

  4. Chromo Noria Touch Screen Replacement: adım 4, 3 resimden 1. Chromo Noria Touch Screen Replacement: adım 4, 3 resimden 2. Chromo Noria Touch Screen Replacement: adım 4, 3 resimden 3.
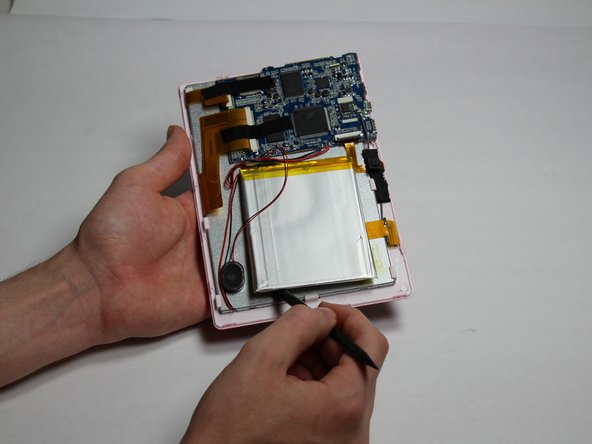
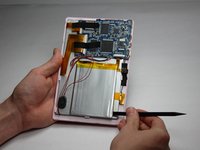
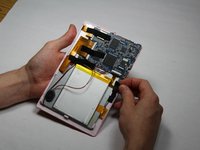
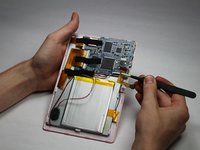
    • Using the spudger tool, place the tool along an edge of the battery.

    • Be careful not to bend or break the battery! Batteries contain hazards materials.

    • Move the spudger around the edges of the battery to detach it from the tablet.

    FixBot'a Sor

    Yorum Ekle

  5. Chromo Noria Touch Screen Replacement: adım 5, 1 resimden 1.
    • Soldering irons get very hot! Be careful when handling one. If you'd like a tutorial on how to use one, click here.

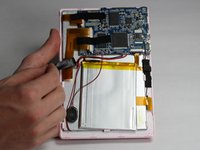
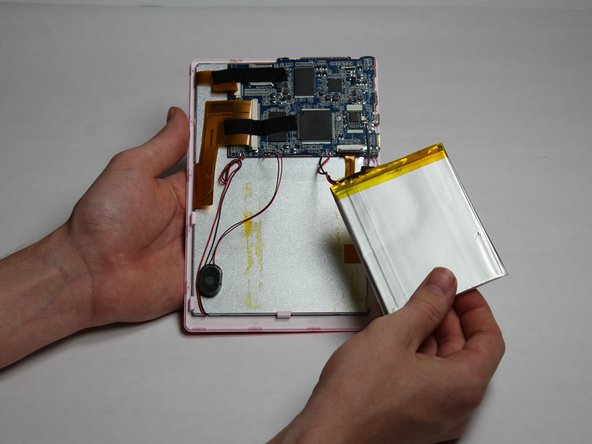
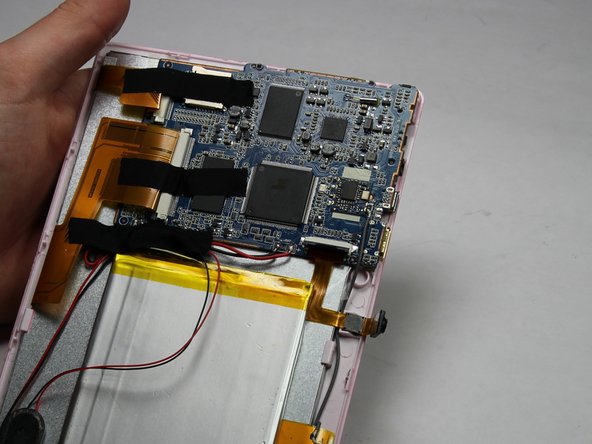
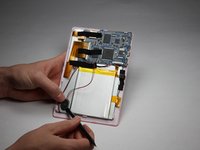
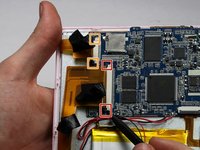
    • Using a soldering iron, desolder both of the battery wires. The battery's wires are located to the left of the camera's flex cable.
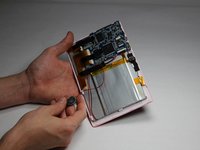
    • Remove the battery.

    FixBot'a Sor

    Yorum Ekle

  6. Chromo Noria Touch Screen Replacement, Camera: adım 6, 2 resimden 1. Chromo Noria Touch Screen Replacement, Camera: adım 6, 2 resimden 2.
    • Carefully detach one side of the black tape from the board.

    FixBot'a Sor

    Yorum Ekle

  7. Chromo Noria Touch Screen Replacement: adım 7, 2 resimden 1. Chromo Noria Touch Screen Replacement: adım 7, 2 resimden 2.
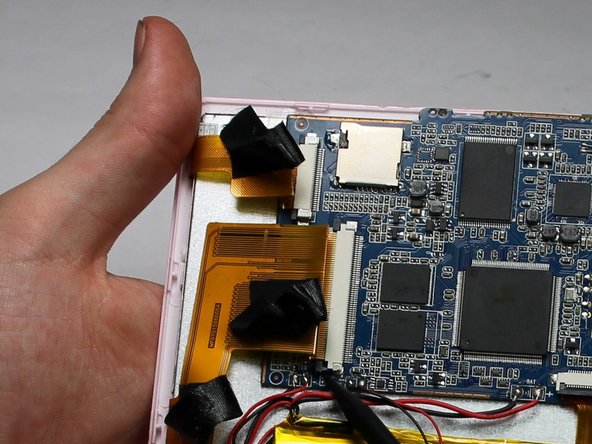
    • Using a small plastic opening tool, flip the black connector up until it makes "tick" sound.

    • Now, the flexing cable is ready to be removed.
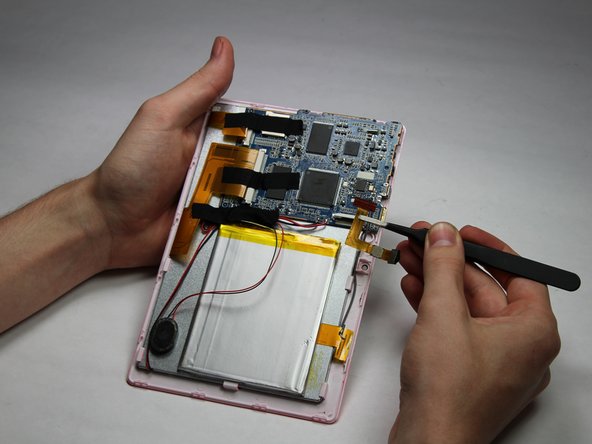
    FixBot'a Sor

    Yorum Ekle

  8. Chromo Noria Touch Screen Replacement: adım 8, 2 resimden 1. Chromo Noria Touch Screen Replacement: adım 8, 2 resimden 2.
    Bu adımda kullanılan alet:
    Tweezers
    $4.99
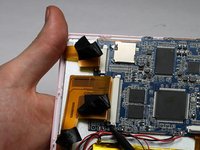
    • Using a pair of tweezers, hold the flexing cable right below the black connector.

    • Gently pull the flexing cable out of the connector while balancing the other side of the device with another hand.

    FixBot'a Sor

    Yorum Ekle

  9. Chromo Noria Touch Screen Replacement, Speaker: adım 9, 1 resimden 1.
    • Using your spudger tool, remove speaker from the backboard.

    FixBot'a Sor

    Yorum Ekle

  10. Chromo Noria Touch Screen Replacement: adım 10, 2 resimden 1. Chromo Noria Touch Screen Replacement: adım 10, 2 resimden 2.
    • Using the spudger tool, detach the speaker from the back of the screen.

    FixBot'a Sor

    Yorum Ekle

  11. Chromo Noria Touch Screen Replacement: adım 11, 1 resimden 1.
    • Soldering irons get very hot! Be careful when handling one. If you'd like a tutorial on how to use one, click here.

    • Using a Soldering Iron, desolder both wires from the motherboard.

    FixBot'a Sor

    Yorum Ekle

  12. Chromo Noria Touch Screen Replacement, Motherboard: adım 12, 2 resimden 1. Chromo Noria Touch Screen Replacement, Motherboard: adım 12, 2 resimden 2.
    • Using a Phillips #00 Precision Screwdriver, remove the three 3mm screws by turning the screwdriver counter-clockwise.

    FixBot'a Sor

    Yorum Ekle

  13. Chromo Noria Touch Screen Replacement: adım 13, 1 resimden 1.
    • Remove the three pieces of tap keeping the wires in place.

    FixBot'a Sor

    Yorum Ekle

  14. Chromo Noria Touch Screen Replacement: adım 14, 3 resimden 1. Chromo Noria Touch Screen Replacement: adım 14, 3 resimden 2. Chromo Noria Touch Screen Replacement: adım 14, 3 resimden 3.
    • Place a spudger on the small black pins on either side of the flex cables.

    • Gently push the spudger towards the back of flex cables to unlock the flex cable.

    • Remove the flex cables from their insert.

    FixBot'a Sor

    Yorum Ekle

  15. Chromo Noria Touch Screen Replacement: adım 15, 1 resimden 1.
    • Soldering irons get very hot! Be careful when handling one. If you'd like a tutorial on how to use one, click here.

    • Desolder the eight connections.

    FixBot'a Sor

    Yorum Ekle

  16. Chromo Noria Touch Screen Replacement: adım 16, 1 resimden 1.
    • Lift the motherboard to remove.

    FixBot'a Sor

    Yorum Ekle

  17. Chromo Noria Touch Screen Replacement, Touch Screen: adım 17, 3 resimden 1. Chromo Noria Touch Screen Replacement, Touch Screen: adım 17, 3 resimden 2. Chromo Noria Touch Screen Replacement, Touch Screen: adım 17, 3 resimden 3.
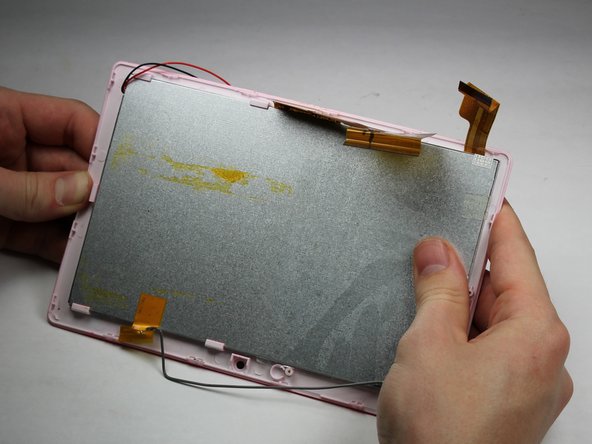
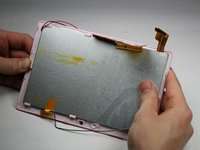
    • Apply downward pressure to each of the clips that hold the touchscreen to the plastic surround.

    • Careful to not apply so much pressure as to break the device! These hinges should move easily.

    • Work your way around the device in a clockwise motion as you progress.

    FixBot'a Sor

    Yorum Ekle

Sonuç

To reassemble your device, follow these instructions in reverse order.

İptal et: Bu kılavuzu tamamlamadım.

Bir başkası bu kılavuzu tamamladı.

Nick Rohn

Üyelik tarihi: 10/30/16

475 İtibar

3 adet Kılavuz yazıldı

Ekip

Baylor, Team 5-6, Williams Fall 2016 Baylor, Team 5-6, Williams Fall 2016 üyesi

BU-WILLIAMS-F16S5G6

3 Üyeler

12 adet Kılavuz yazıldı

0Kılavuz Yorumları

Yorum Ekle

İstatistikleri Görüntüle:

Son 24 Saat: 0

Son 7 gün: 3

Son 30 gün: 21

Her zaman: 577