Giriş
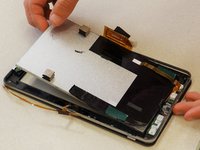
The LCD Digitizer in the device is there the display and touch screen take place, it is where the majority of the interaction occurs with the user. If somehow the screen dies out or the screen was damaged it must be replaced. In order to reach the LCD Digitizer the device's internal components must be removed all the way past the motherboard. The LCD Digitizer is held in place by tape and screws in the bezel on one side and with the motherboard and battery on the other.
Neye ihtiyacın var
-
-
To replace the back cover of the device you must pry it open using the access points. One is located on the top of the device above the camera and the other is on the bottom left hand side.
-
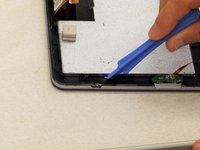
Use the spudger to pry at the access points to open the device.
-
-
-
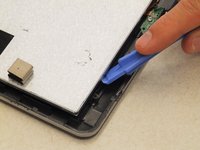
Once the back cover begins to separate from the body of the device continue working the spudger around the perimeter of the device until the back cover is free.
-
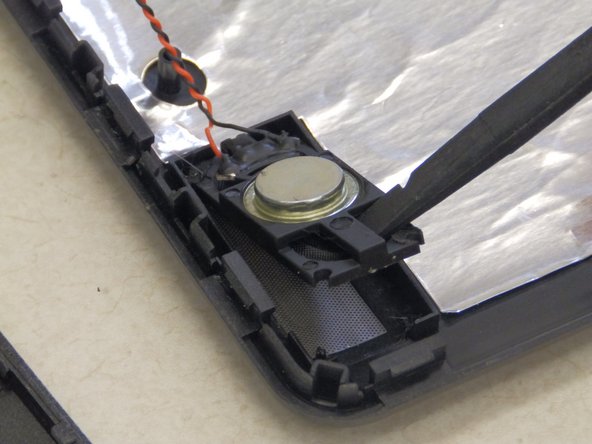
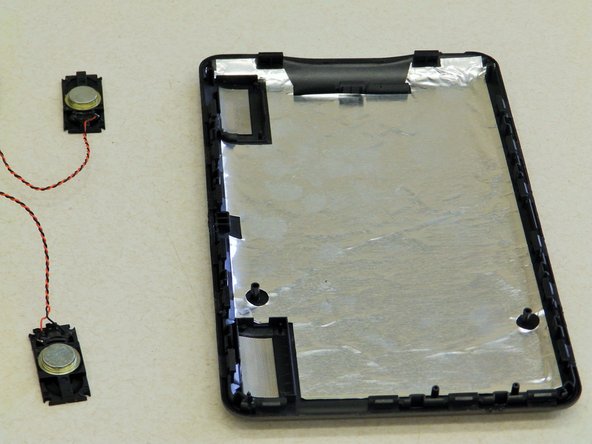
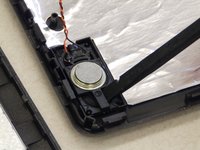
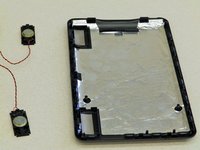
Once the back cover is free from the body of the device, open both sides like a book, placing them flat on the table as shown. Be sure to pay attention to the speaker wires that hold the two pieces together.
-
-
-
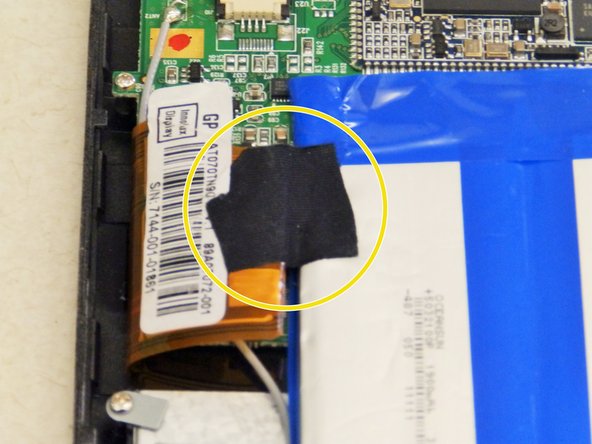
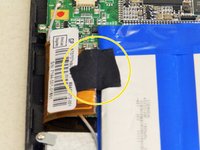
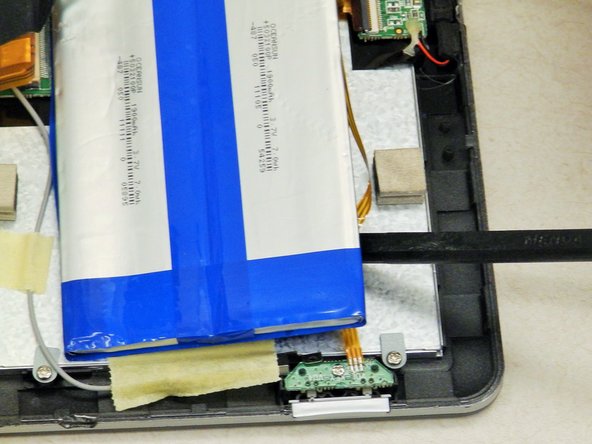
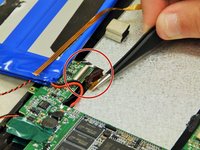
Locate the black tape connected to the battery and peel it back as indicated in the images.
-
-
-
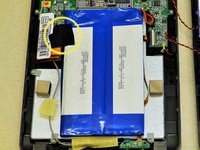
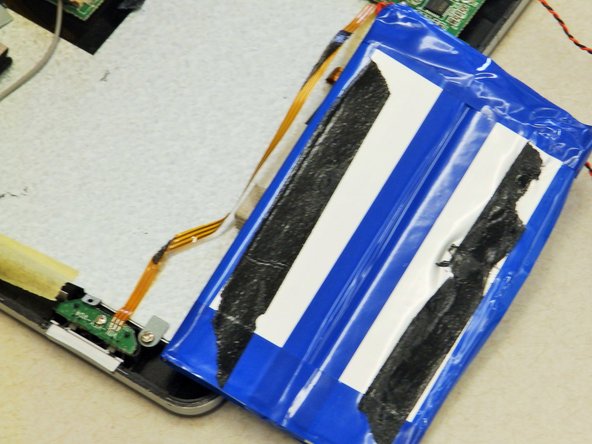
After the battery is freed from the device, it will remain connected to the motherboard by two short wires.
-
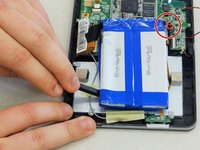
Use the spudger tool to gently pry around both sides of the battery until it can be lifted from the device.
-
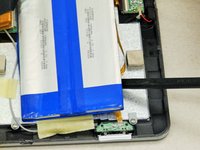
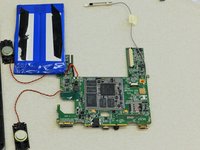
Roll the battery over (as shown in the image) so that its underside is now facing up. This will prevent damage to the motherboard.
-
-
-
-
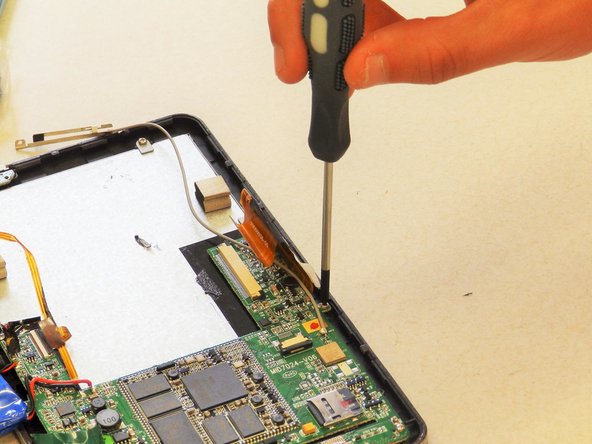
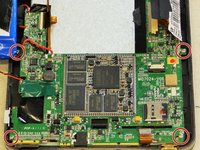
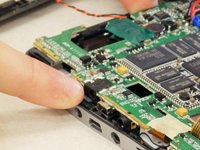
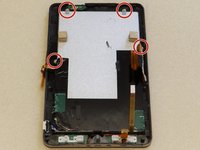
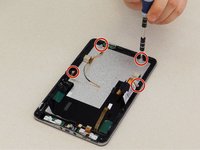
Locate the four 5mm screws holding the motherboard in place and remove them using the Phillips #0 Screwdriver.
-
-
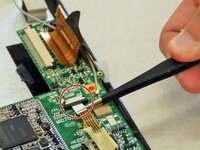
Bu adımda kullanılan alet:Tweezers$4.99
-
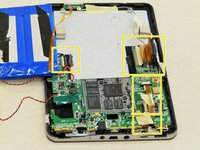
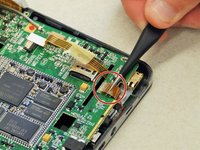
Locate the four ribbon cables shown in the yellow highlighted areas.
-
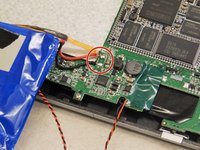
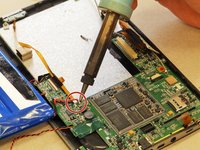
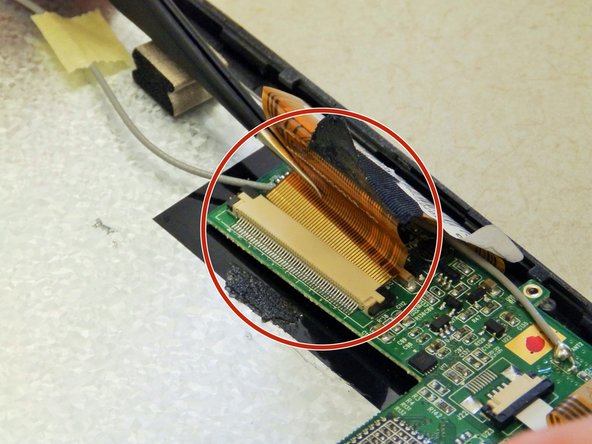
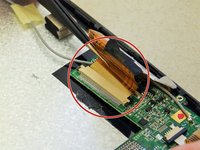
The digitizer is connected by a ZIF (zero insertion force) connector. The two black pieces on each end need to be pressed in simultaneously before the ribbon cable can be removed.
-
While pressing the black pieces, grasp the digitizer ribbon cable (widest one) with the tweezers and pull away from the connector as shown.
-
-
-
Lay the device face down on the table so the metallic back of the digitizer is facing upwards.
-
Use a Phillips screwdriver to unscrew the four 5mm screws holding the digitizer to the frame.
-


To reassemble your device, follow these instructions in reverse order.
Ekip

Clemson, Team 6-3, Benson Spring 2016 Clemson, Team 6-3, Benson Spring 2016 üyesi
CLEM-BENSON-S16S6G3
4 Üyeler
16 adet Kılavuz yazıldı