
Cracked Grout Replacement

Deanna Demydyak ve 2 diğer katkıda bulunanlar
En son 12 Oca 2023 tarihinde güncellendi
Görüntüleme: 11 B
İstatistikleri görüntüle:
- Son 24 Saat:
- 9
- Son 7 Gün:
- 65
- Son 30 Gün:
- 317
- Her zaman:
- 11.292
Yorumlar: 2
1 comment on steps, 1 guide comment.
Go to guide commentsTamamlandı: 11 12
11 kişi bu kılavuzu "tamamlandı" olarak işaretledi. Sıradaki sen olacak mısın?
12 kişi bu kılavuzu "tamamlandı" olarak işaretledi. Siz de dahil - harika iş!
Sık Kullanılanlar: 3 4
3 kişi bu kılavuzu favorilerine ekledi (ve abone oldu). Sıradaki sen olacak mısın?
Siz de dahil olmak üzere 4 kişi bu kılavuzu favorilerine ekledi (ve abone oldu)!
Öne Çıkan Öğrenci Kılavuzu
Bu kılavuz, çalışkan öğrencilerimizin alın teriyle üretildi ve iFixit kadrosu tarafından epey havalı bulunuyor.
Giriş
1. adıma git ↓Over time as a result of aging and other factors such as the original installment of the grout, climate, temperature, etc. your grout may begin to crack. With the right tools and direction, it is possible to repair these minor damages in the grout on your own. This guide will provide you with the instructions and tools to repairing these cracks in the grout. The tools listed in this guide are not common household items and can either be bought or rented. They are recommended to be used with protective eye wear and a mask to protect from dust and debris.
Neye ihtiyacın var
Aletler
-
-
-
-
-
-
Safety Glasses4.9


-
-
-
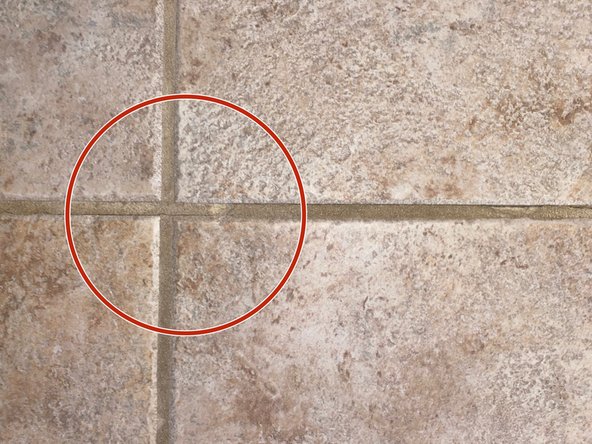
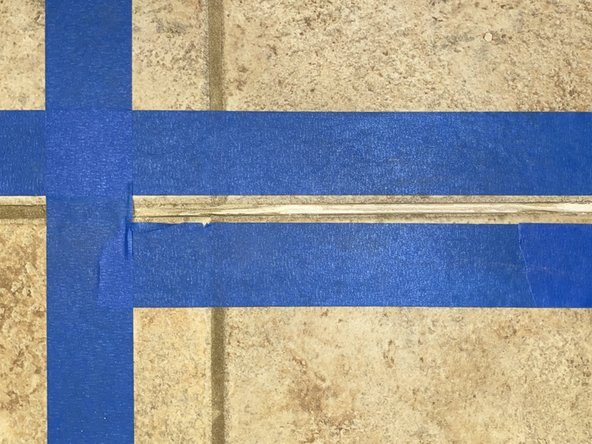
Identify the crack you will be repairing.
-
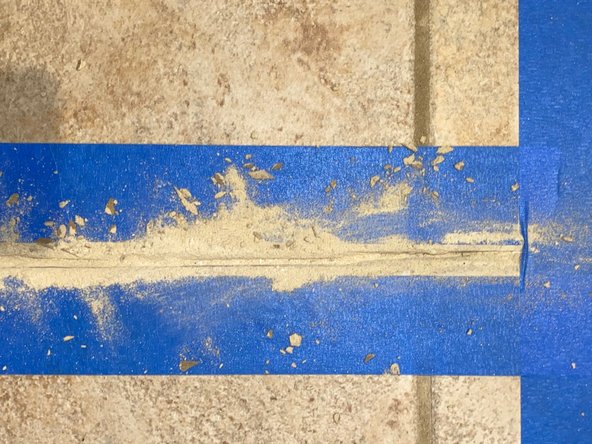
Surround it with Painters Tape.
 FixBot'a Sor
-
-
-
Use the concrete grinder to remove the grout surrounded with tape where the crack is located.
-
-
-
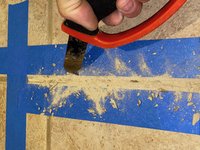
Go in with your handheld grout remover and scrape out the remaining grout between the tile until it is completely hollow.
-
-
-
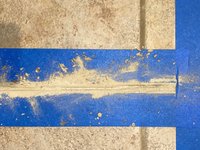
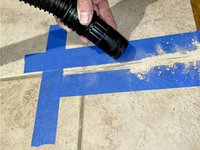
Vacuum the dust and grout that was removed to reveal a clean and hollow space.
-
-
-
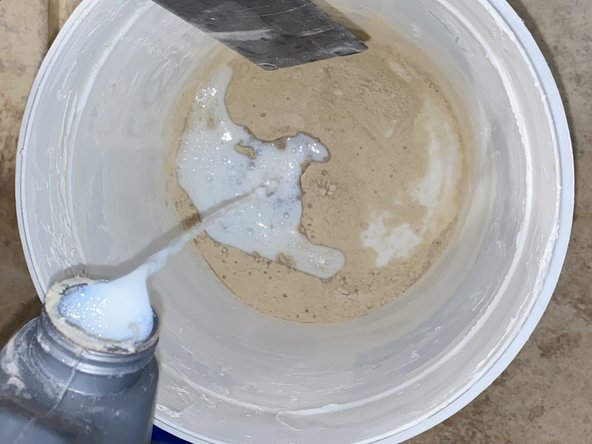
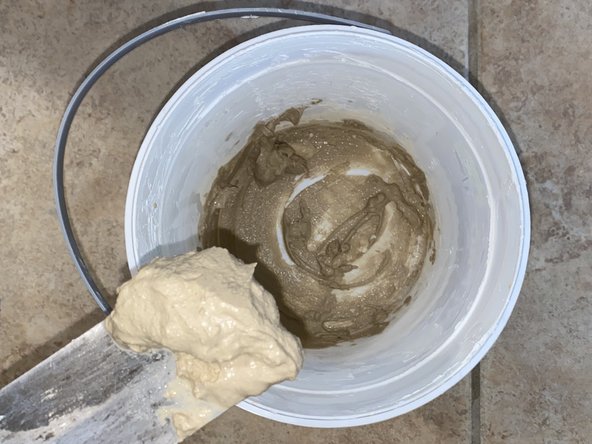
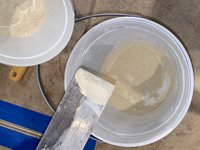
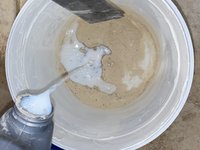
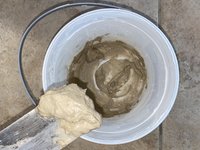
Color match your grout by using grout samples to get your desired color of grout.
-
-
-
-
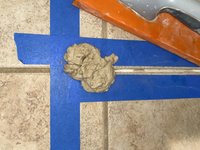
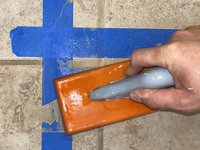
Take the rubber grout float and press the grout paste securely into the crack.
-
-
-
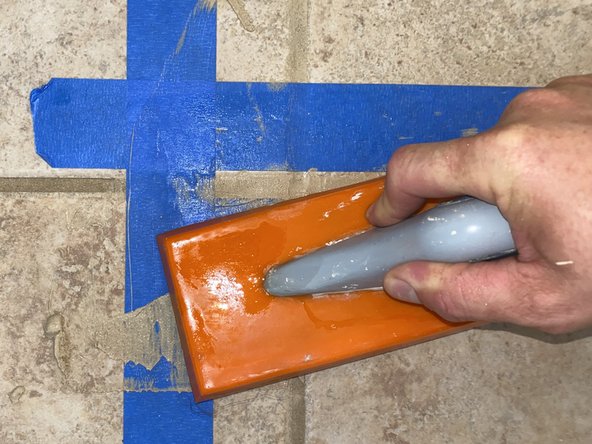
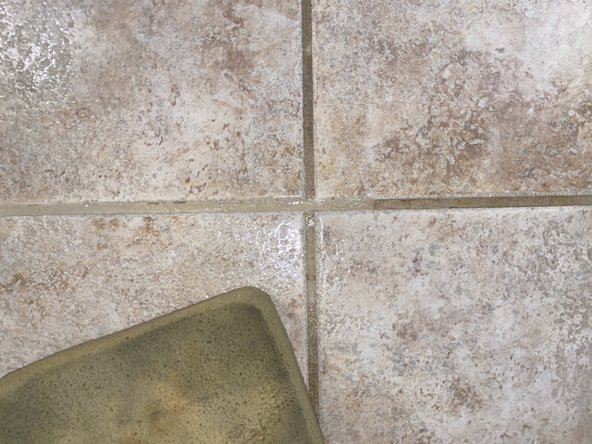
Take the grouting sponge and smooth out the grout evenly.
-
Let the grout sit and harden for twenty-four hours.
-
-










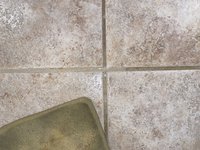

To repair any other cracks in grout, repeat these steps.
İptal et: Bu kılavuzu tamamlamadım.
11 farklı kişi bu kılavuzu tamamladı.

Ekip

USF Sarasota-Manatee, Team S1-G1, Stewart Spring 2020 USF Sarasota-Manatee, Team S1-G1, Stewart Spring 2020 üyesi
USFSM-STEWART-S20S1G1
23 Üyeler
228 adet Kılavuz yazıldı
