Ana içeriğe geç
Disassembling HP Photosmart D110a Printer Hood

Disassembling HP Photosmart D110a Printer Hood

Joseph Camilleri

Joseph Camilleri ve 11 diğer katkıda bulunanlar

En son January 13, 2025 tarihinde güncellendi

Tahmin yok
Orta
İşlem Görüntüleri
Adım Kırpıcı
Daha iyi giriş
Eksik Ayrıntılar

Disassembling the printer is relatively simple, and involving only one screw being removed and some cables being unplugged.

Neye ihtiyacın var

Aletler

Daha fazlasını göster…

  1. Disassembling HP Photosmart D110a Printer Hood, Printer Hood Assembly: adım 1, 1 resimden 1.
    • Pull down both front panels to open the printer. Lift the scanner flap upward by pulling down on it; there are two mouth pieces that need to be pulled down.

    • Adjust the flap covering the scanner upward, as shown.

  2. Disassembling HP Photosmart D110a Printer Hood: adım 2, 1 resimden 1.
    • Pull the scanner flap gently away from the printer to release its two clips.

  3. Disassembling HP Photosmart D110a Printer Hood: adım 3, 1 resimden 1.
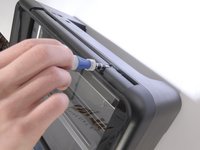
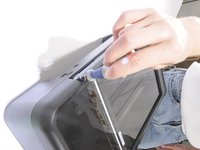
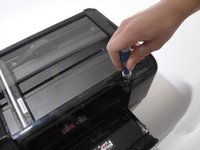
    • Locate the three screws on top of the printer.

    • The orange circle shows a fourth screw located behind the power panel. Ignore this one for now, as directions to remove this screw are in Step 5.

  4. Disassembling HP Photosmart D110a Printer Hood: adım 4, 3 resimden 1. Disassembling HP Photosmart D110a Printer Hood: adım 4, 3 resimden 2. Disassembling HP Photosmart D110a Printer Hood: adım 4, 3 resimden 3.
    • Using a T-9 screwdriver, remove the three screws from the printer's top.

  5. Disassembling HP Photosmart D110a Printer Hood: adım 5, 2 resimden 1. Disassembling HP Photosmart D110a Printer Hood: adım 5, 2 resimden 2.
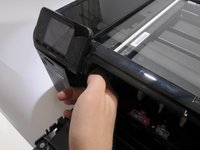
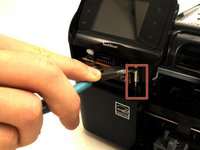
    • To remove the power button panel:

    • Reach inside the printer's front opening.

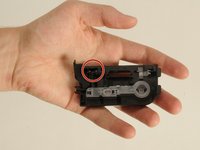
    • Press the small clip behind the power button.

    • A picture of the power button panel removed is provided to show the location of the clip that needs to be pressed.

    • Pull the panel out from right to left.

  6. Disassembling HP Photosmart D110a Printer Hood: adım 6, 2 resimden 1. Disassembling HP Photosmart D110a Printer Hood: adım 6, 2 resimden 2.
    • Remove the fourth screw, which was covered by the power button panel.

    • Do not try and torque the screw from an angle. This will ruin the screw's head, and make it even more difficult to remove the screw. Only remove it as already described.

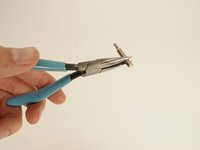
    • This screw is placed awkwardly. We found holding a T9 bit in a pair of needle nose pliers gave us enough leverage to pull it up.

  7. Disassembling HP Photosmart D110a Printer Hood: adım 7, 3 resimden 1. Disassembling HP Photosmart D110a Printer Hood: adım 7, 3 resimden 2. Disassembling HP Photosmart D110a Printer Hood: adım 7, 3 resimden 3.
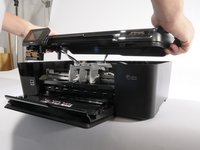
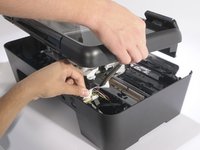
    • With a partner's help:

    • Have one person lift the hood 2-3 inches.

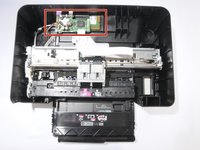
    • Have the other person disconnect the three cables from the motherboard (the green PCB) to the hood by gently pulling upward on them.

    • Remove the hood completely.

  8. Disassembling HP Photosmart D110a Printer Hood, Printer Hood: adım 8, 3 resimden 1. Disassembling HP Photosmart D110a Printer Hood, Printer Hood: adım 8, 3 resimden 2. Disassembling HP Photosmart D110a Printer Hood, Printer Hood: adım 8, 3 resimden 3.
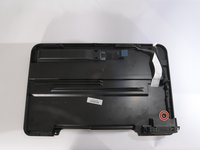
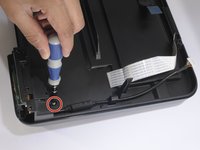
    • Remove the single T-9 screw from the hood's underside, as shown.

  9. Disassembling HP Photosmart D110a Printer Hood: adım 9, 2 resimden 1. Disassembling HP Photosmart D110a Printer Hood: adım 9, 2 resimden 2.
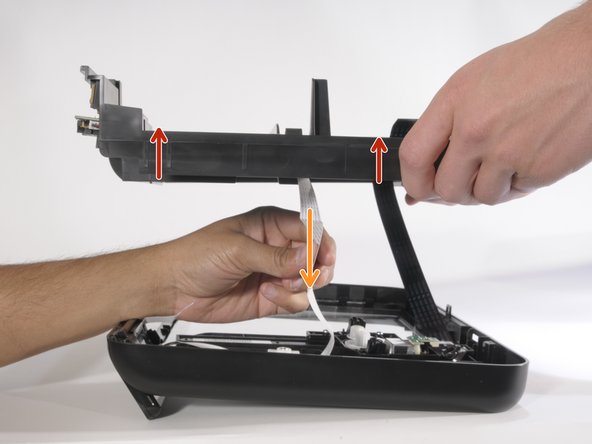
    • With the screw removed, separate the two pieces of the hood by lifting it vertically.

    • Only lift the the top piece enough so that there is no tension applied to the ribbon cables shown.

    • Carefully pull down the white ribbon cable through the top piece of the hood.

  10. Disassembling HP Photosmart D110a Printer Hood: adım 10, 2 resimden 1. Disassembling HP Photosmart D110a Printer Hood: adım 10, 2 resimden 2.
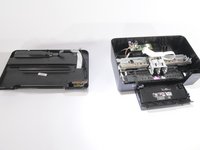
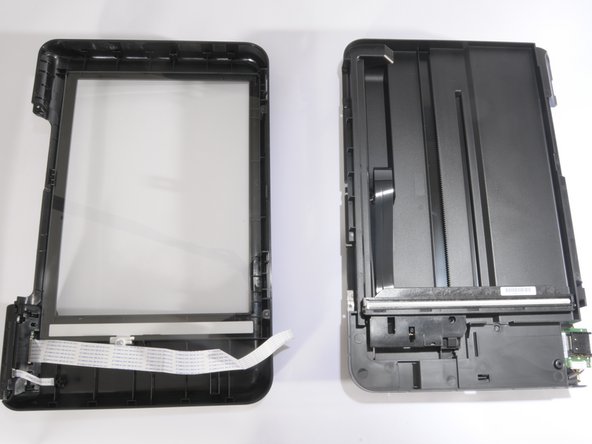
    • Separate the hood pieces while keeping the black ribbon cable connected. Rest the scanner piece carefully to avoid stressing its ribbon cable.

Sonuç

To reassemble your device, follow these instructions in reverse order.

19 farklı kişi bu kılavuzu tamamladı.

Joseph Camilleri

Üyelik tarihi: 04/01/11

237 İtibar

1 Kılavuz yazıldı

Ekip

Cal Poly, Team 10-38, Forte Spring 2011 Cal Poly, Team 10-38, Forte Spring 2011 üyesi

CPSU-FORTE-S11S10G38

5 Üyeler

10 adet Kılavuz yazıldı

9 Yorum

Thanks for this guide. I never would have found that fourth screw without this guide. The illustration of the "clip" for removal of the power quadrant face could have been more detailed and/or you could have said in the description, "Feel for the TAB on the right center of the power button quadrant behind the "cartridge door open" feeler and push it toward the outside of the printer". Other than that, this was great.

Just A Mechanic - Yanıt

Hi Joseph,

Thanks for the guide. Very easy to follow. Saved me some dollars.

joenovelo - Yanıt

Great Support,.!!!

I am a handy person and a Computer tech for family and friends,.

Some time You just need Instruction on how to do do things, Other wise You taking the risks of braking things instead of fixing them

Thanks Guys

Milton Portillo - Yanıt

Thank you for posting this. In place of the pliers, I recommend using a small reversible ratchet offset (mine was 3-1/4"W x 6-3/4"L x 1/2"H) to remove the 4th screw. It won't slide of the screw like pliers and will make both the removal and replacement much easier.

theratchet - Yanıt

Where can I find spare parts for HP PSC photosmart D110?

Regards

Carlos Ahumada - Yanıt
Yorum Ekle

İstatistikleri Görüntüle:

Son 24 Saat: 1

Son 7 gün: 7

Son 30 gün: 41

Her zaman: 21,124