
Disassembling the Canon PowerShot A200 Case
5 - 10 dakika
Kolay
Eksik Adımlar
Öğrenci İş Başında
Giriş
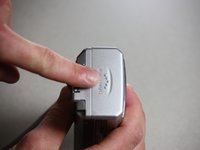
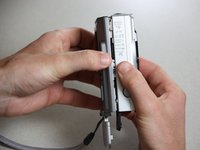
1. adıma gitThese are instructions to disassemble the camera case so that internal components can be accessed.
This is a prerequisite guide for repairs to the Canon PowerShot A200.
Neye ihtiyacın var


-
-
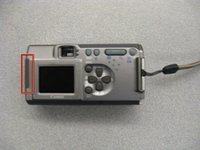
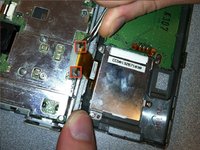
Use a Phillips #00 screwdriver to remove the two screws located at the bottom of the camera.
-


Neredeyse bitti!
To reassemble your device, follow these instructions in reverse order.
Sonuç
To reassemble your device, follow these instructions in reverse order.
Ekip

Cal Poly, Team 7-37, Regan Winter 2011 Cal Poly, Team 7-37, Regan Winter 2011 üyesi
CPSU-REGAN-W11S7G37
4 Üyeler
10 adet Kılavuz yazıldı