
Garmin Nuvi 200w Speaker Replacement
Giriş
1. adıma gitThe speaker of the Garmin Nuvi 200W is prone to water damage and may fail over time. Replacing the speaker can make the Nuvi 200W sound new again, at much less cost!
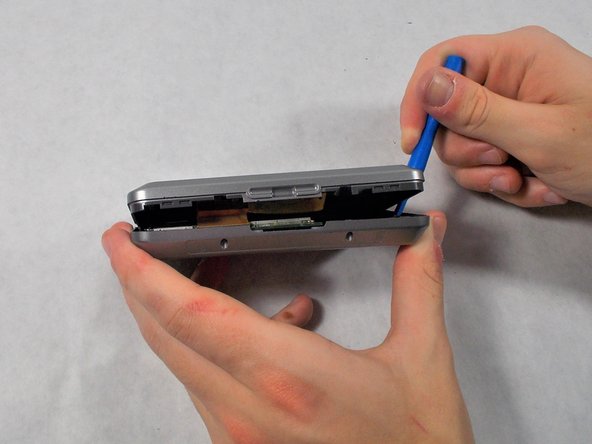
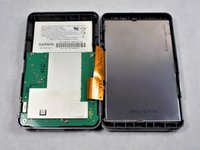
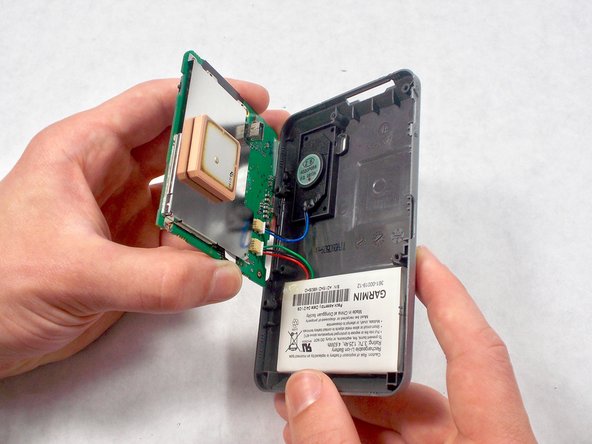
It is important to note, however, that the case and it's internals require very specific screws, that are small and easy to lose. It is recommended that a magnet or tap is used to secure screws after removal. It is also important to gently remove the back cover, as it will be attached to other interior elements. This connection is sensitive and should be treated as such until the guide shows proper disconnection of this particular cable.
Only basic tools are required, such as screw drivers, and opening tools.
Neye ihtiyacın var
Aletler


Daha fazlasını göster…
-
-
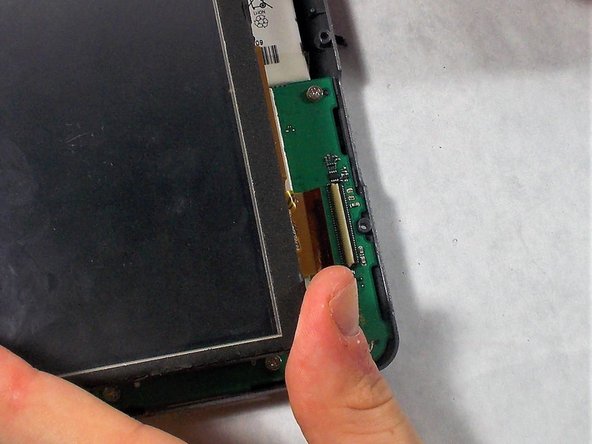
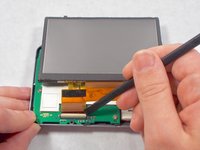
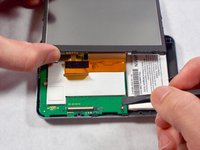
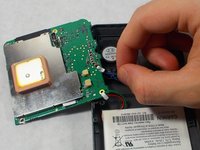
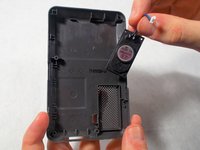
Carefully use the black spudger to lift the white retaining clamp on the display cable ZIF connector.
-
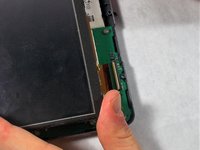
Slide the orange ribbon cable away from the ZIF connector.
-
-
-
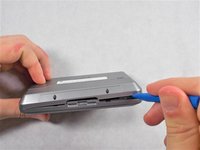
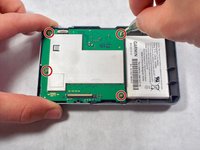
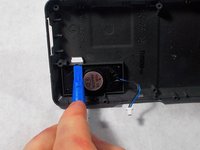
Using a screw driver, unscrew the four 2mm screws holding the motherboard in place.
-
-
-
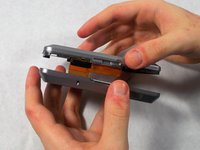
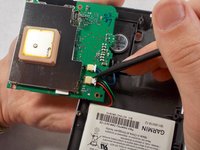
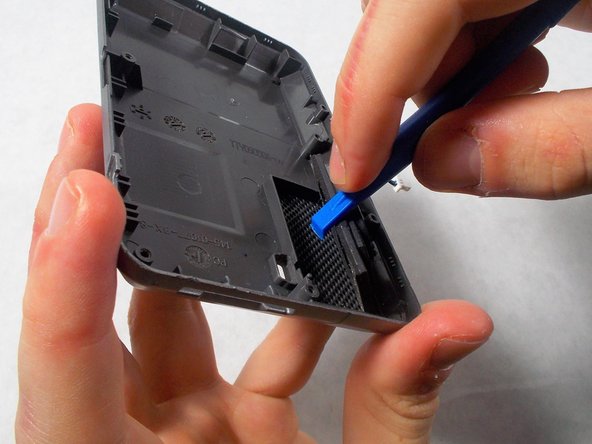
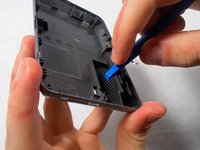
Using the plastic opening tool, carefully apply pressure to lift the speaker up from the back cover.
-


To reassemble your device, follow these instructions in reverse order.
To reassemble your device, follow these instructions in reverse order.
İptal et: Bu kılavuzu tamamlamadım.
Bir başkası bu kılavuzu tamamladı.
Ekip

UMass Dartmouth, Team S5-G4, Botvin Spring 2017 UMass Dartmouth, Team S5-G4, Botvin Spring 2017 üyesi
UMASSD-BOTVIN-S17S5G4
3 Üyeler
6 adet Kılavuz yazıldı