Bu sürüm, hatalı düzenlemeler içerebilir. En son doğrulanmış bellek kopyası dönün.
Neye ihtiyacın var
-
Bu adım çevrilmemiş. Çevrilmesine yardım edin
-
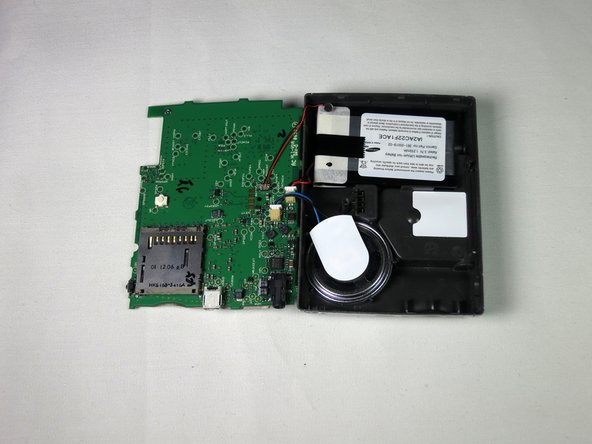
After following the instructions in the main dis-assembly guide, you should have the screen detached from the motherboard.
-
-
Bu adım çevrilmemiş. Çevrilmesine yardım edin
-
Use the tweezers or the spudger to lift the tan latch off the ribbon cable (ZIF connector)and gently pull out the ZIF connector and cable from underneath the opened latch.
-
-
-
Bu adım çevrilmemiş. Çevrilmesine yardım edin
-
The motherboard will now freely separate from the back casing; lay it flat next to the housing.
-
-
Bu adım çevrilmemiş. Çevrilmesine yardım edin
-
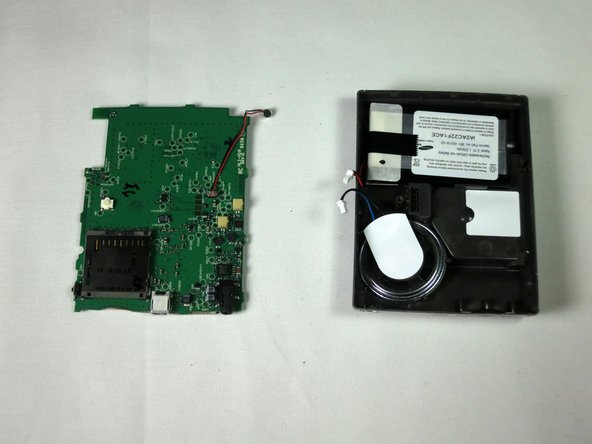
Disconnect the speaker and battery from their terminals on the motherboard. This should disconnect the motherboard completely from the back panel.
-
-
Bu adım çevrilmemiş. Çevrilmesine yardım edin
-
Gently pull out the microphone wire from the terminal. Tweezers are recommended for precision.
-
-
Bu adım çevrilmemiş. Çevrilmesine yardım edin
-
The microphone component should now be completely separated from the motherboard.
-
Plug in new, functional microphone component.
-


Ekip

Cal Poly, Team 13-65, Johann Spring 2013 Cal Poly, Team 13-65, Johann Spring 2013 üyesi
CPSU-JOHANN-S13S13G65
3 Üyeler
6 adet Kılavuz yazıldı