Garmin Nuvi 680 Motherboard Replacement
Giriş
1. adıma gitIf your Garmin Nuvi 680 has stopped working, follow this step-by-step guide for replacing the motherboard in the Garmin Nuvi 680.
The motherboard contains all of the important components that make your Garmin Nuvi work. If the motherboard stops working, the system will begin to fail. A broken motherboard can cause:
- A flickering screen.
- A black screen.
- Touch screen doesn't work.
- No sound.
- Doesn't charge.
- Doesn't turn on.
Visit the Garmin Support Center for more information or to see some frequently asked questions.
Before you begin, make sure that the GPS is powered off. Work in a place where there isn't a chance of electrostatic discharge (electric shock). For example, carpets can create electrostatic discharge, so try to work on a table.
Neye ihtiyacın var
-
-
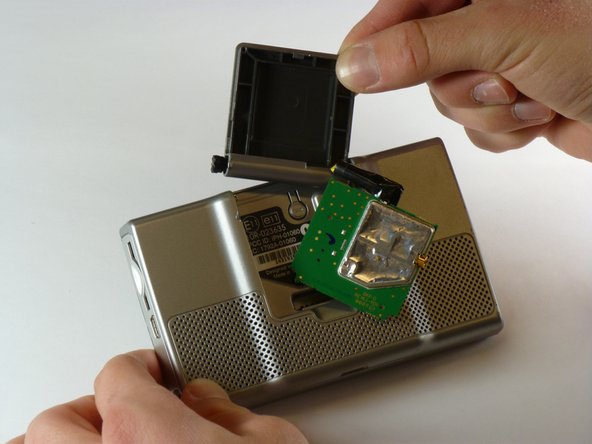
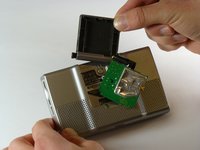
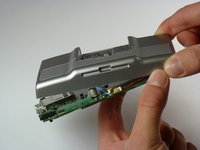
Locate the antenna on the back of the device and gently flip it open to reveal the screws underneath.
-
Remove the two 4.42 mm screws in the top-left and top-right corners of the antenna cover using a T5 Torx screwdriver
-
-
-
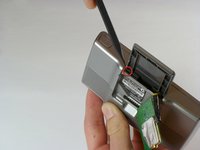
Insert the pointed end of a spudger into the leftmost slit at the top of the antenna case, where you previously removed the circuit board
-
Once the spudger is inserted into the leftmost end of the slit at the top of the antenna case, slide it to the rightmost side of the slit.
-
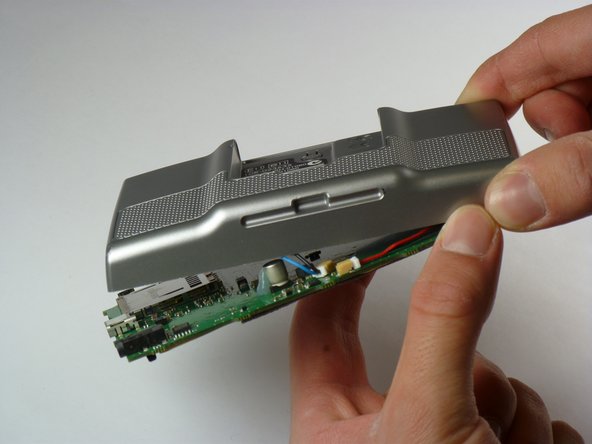
Slide the antenna case out of the device.
-
-
-
Identify the antenna assembly, which is now exposed after removing the antenna cover.
-
The two screws are positioned at the top-left and top-right corners of the antenna assembly
-
Use a T5 Torx screwdriver to remove the 10.82 mm screws from the top-left and top-right corners of the antenna assembly.
-
-
-
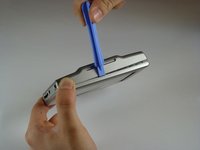
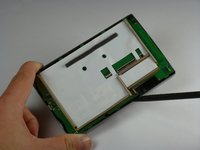
Using your iFixit Opening Tool, gently insert a flat end of the tool into the slit of the top cover.
-
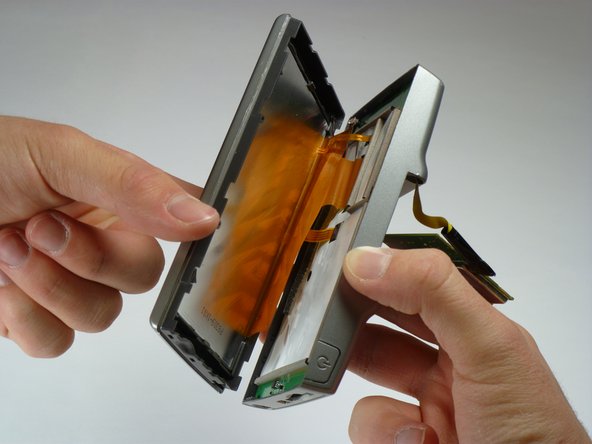
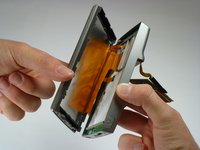
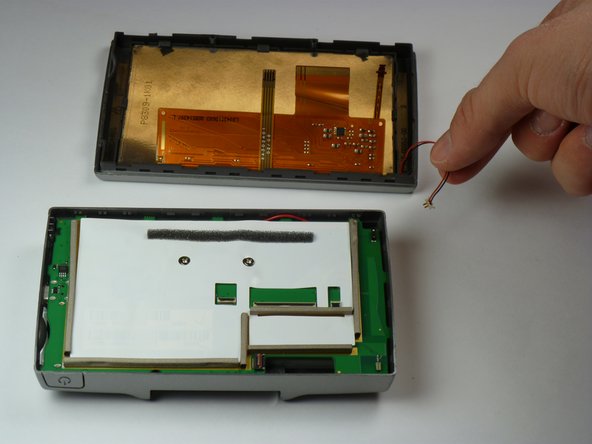
Use the Opening Tool and your hands to pull apart the front and back of the device. Grip the top and bottom sides with your hand while inserting the tool into the slit to gently separate the two halves
-
-
-
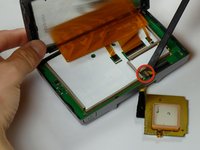
Use a spudger to disconnect the yellow antenna wire from the ZIF connector by opening the brown latch holding the wire in place.
-
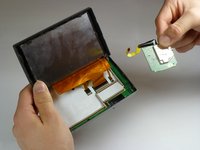
Remove the antenna.
-
-
-
Lift the latches on the ribbon cable connectors. All the ribbon cables may have latches. The right most latch may have a latch that flips in the opposite direction from the others.
-
Gently pull the ribbon cables out of their connectors. They should slide out easily.
-
-
-
Use a Phillips #1 screwdriver to remove the two 6.88 mm screws located towards the center of the motherboard.
-
To reassemble your device, follow these instructions in reverse order.
To reassemble your device, follow these instructions in reverse order.
İptal et: Bu kılavuzu tamamlamadım.
Bir başkası bu kılavuzu tamamladı.


