Giriş
This repair guide was authored by the iFixit staff and hasn’t been endorsed by Google. Learn more about our repair guides here.
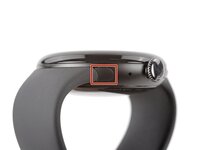
Use this guide to replace a cracked, chipped, scratched, or broken back sensor glass (aka Bio Sensor Hub) on your Google Pixel Watch 4.
If the biometric sensors on your watch aren't working, you may need to replace the back sensor glass.
This guide was written using a 41 mm LTE model Pixel Watch 4. While some photos may contain slight visual discrepancies, procedures for all 41 mm and 45 mm models are functionally the same.
Neye ihtiyacın var
-
-
Before starting your repair:
-
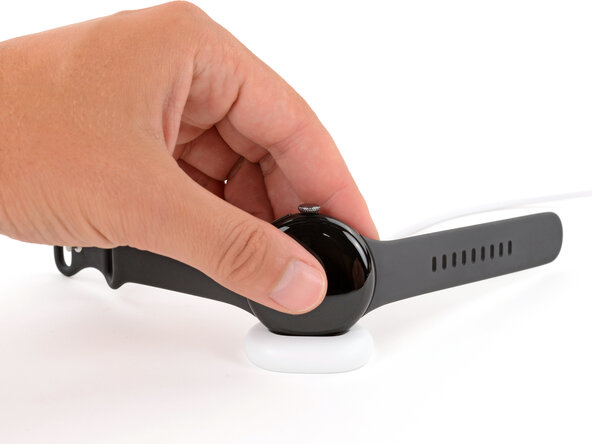
Remove your watch from the charger.
-
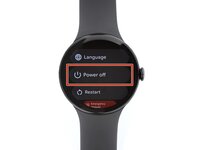
Press and hold the crown button, then tap Power off to shut down your watch.
-
-
-
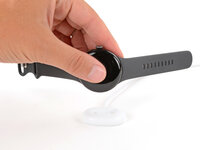
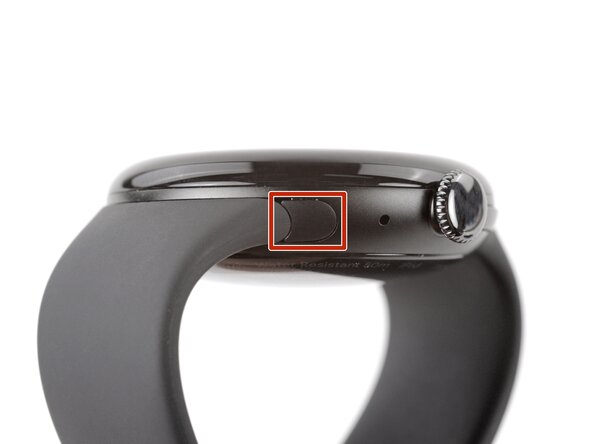
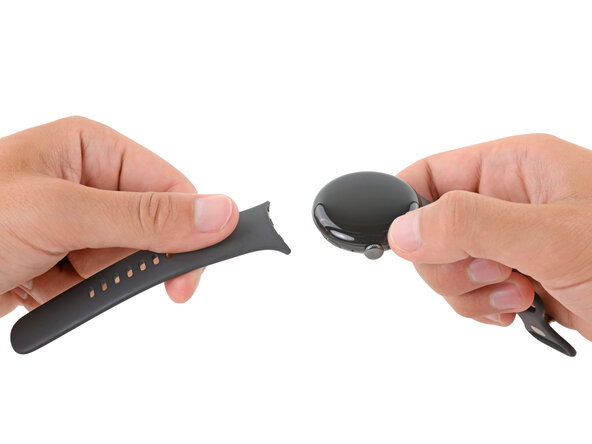
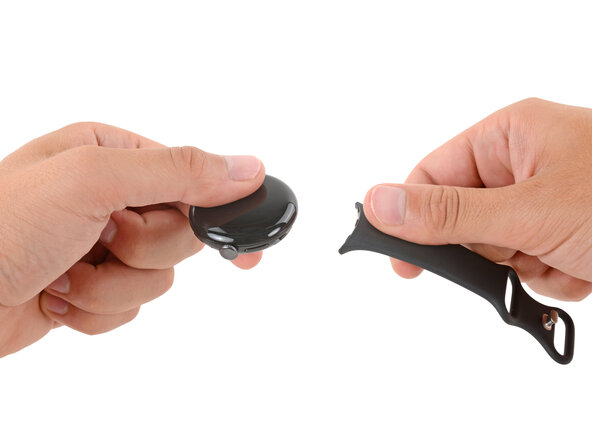
Remove each watch band by depressing the release button and sliding the band out of its groove.
-
-
-
-
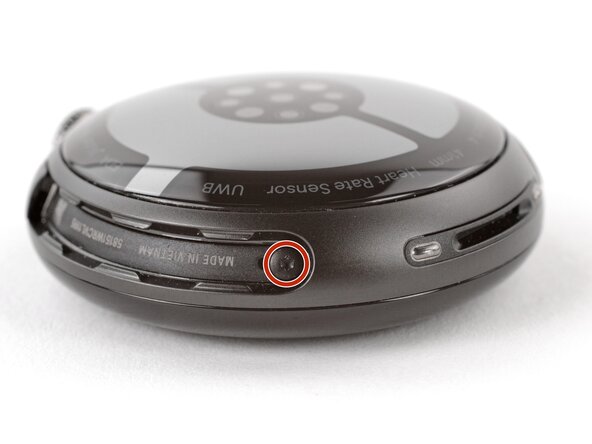
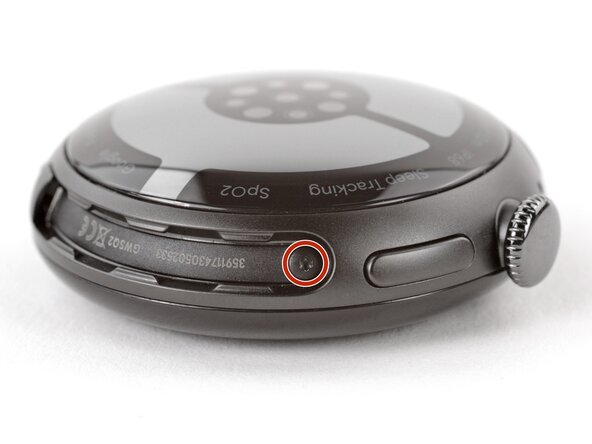
Use a Torx Plus 2IP screwdriver to remove the 3.0 mm‑long screw from both watch band grooves (two screws total).
-
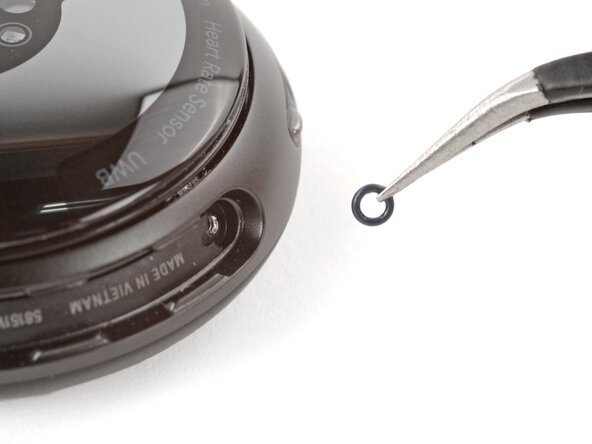
Make sure the O‑rings are on the screws before installing them.
-
Push down firmly on the back glass while installing the screws to make sure the glass gets properly seated.
-
-
-
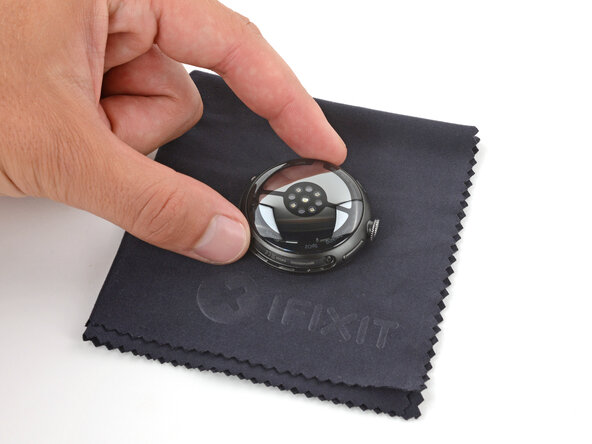
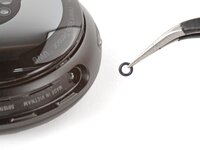
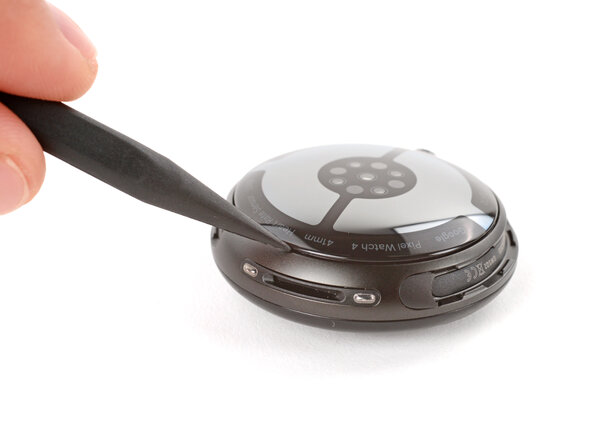
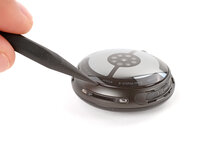
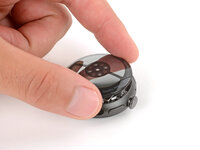
Insert the point of a spudger (or a clean fingernail) into the seam between the back sensor glass and frame and pry up until the cover detaches.
-
-
-
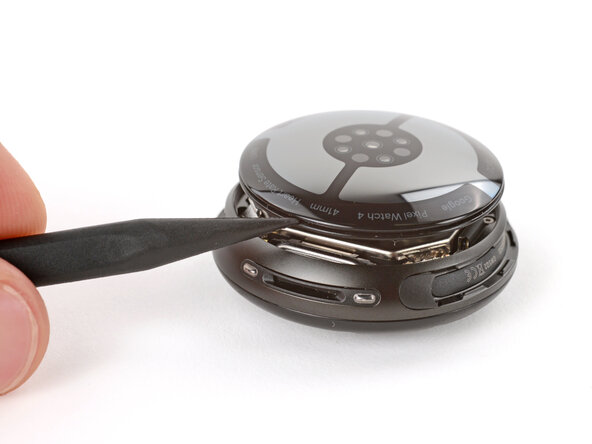
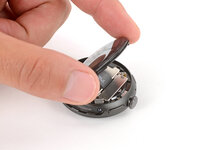
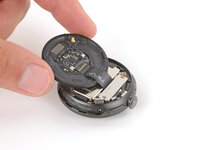
Gently lift the back glass and flip it over the side of the watch opposite the crown.
-
-
-
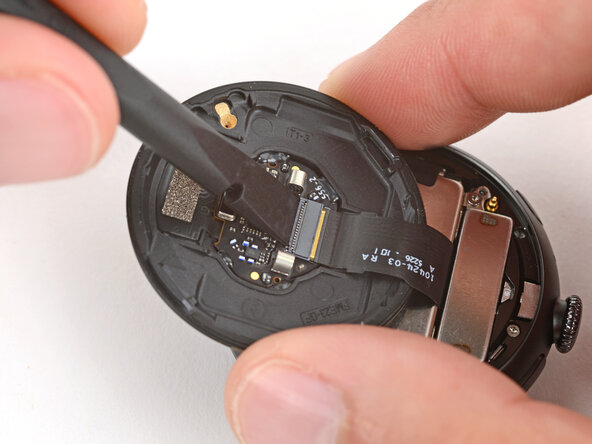
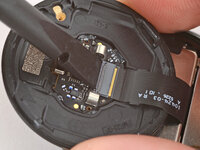
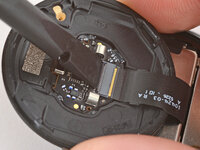
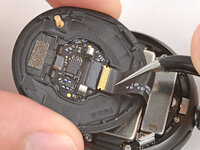
Use a spudger to lift the small, hinged locking‑flap on the back sensor glass ZIF connector.
-
-
-
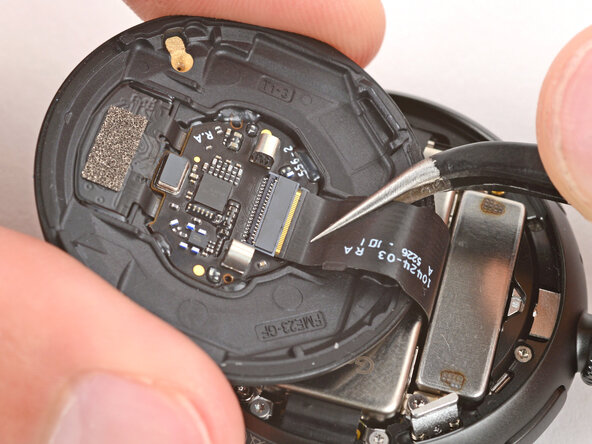
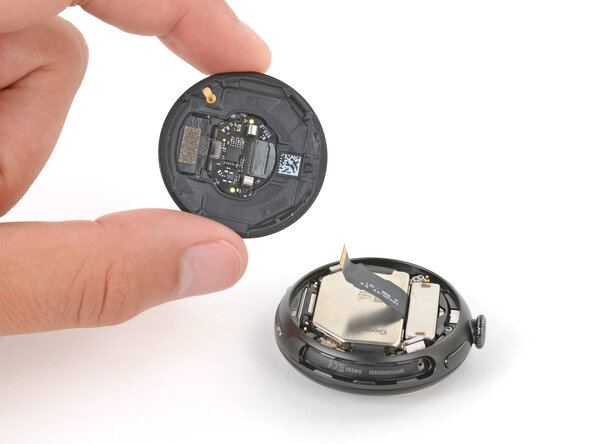
Gently slide the cable out of its socket and remove the back sensor glass.
-


To reassemble your device, follow these instructions in reverse order.
Take your e-waste to an R2 or e-Stewards certified recycler.
Repair didn’t go as planned? Try some basic troubleshooting, or ask our Answers community for help.
