Ana içeriğe geç

HMDX Chill Motherboard Replacement

Neye ihtiyacın var

  1. HMDX Chill Motherboard Replacement, Remove Rubber Base: adım 1, 3 resimden 1. HMDX Chill Motherboard Replacement, Remove Rubber Base: adım 1, 3 resimden 2. HMDX Chill Motherboard Replacement, Remove Rubber Base: adım 1, 3 resimden 3.
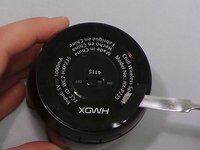
    • Insert a metal spudger under the rubber base.

    • Pry the rubber base off.

  2. HMDX Chill Motherboard Replacement: adım 2, 1 resimden 1.
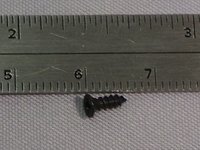
    • Use a Phillips #1 screwdriver to remove four 9 mm screws from the base of the device.

  3. HMDX Chill Motherboard Replacement: adım 3, 2 resimden 1. HMDX Chill Motherboard Replacement: adım 3, 2 resimden 2.
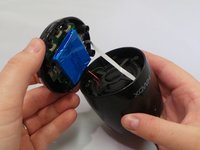
    • Grip the base of the HMDX Chill.

    • Pull the base upwards.

  4. HMDX Chill Motherboard Replacement, Motherboard: adım 4, 3 resimden 1. HMDX Chill Motherboard Replacement, Motherboard: adım 4, 3 resimden 2. HMDX Chill Motherboard Replacement, Motherboard: adım 4, 3 resimden 3.
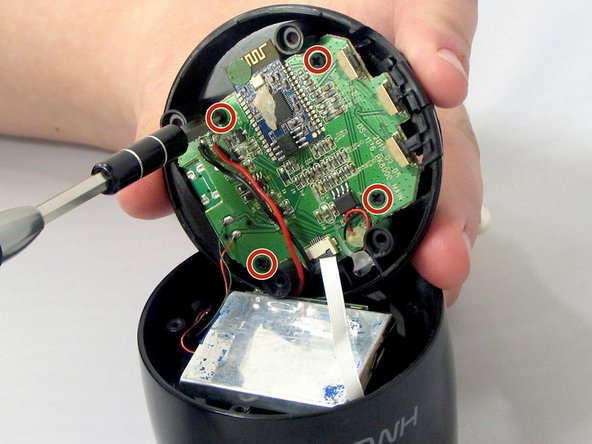
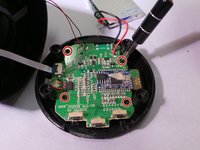
    • Use a Phillips #1 screwdriver to remove the four 6 mm screws that secure the motherboard to the base of the device.

  5. HMDX Chill Motherboard Replacement: adım 5, 1 resimden 1.
    • Pull the motherboard away from the base gently.

    • Do not pull too hard on the motherboard. It is still attached to the base by wires.

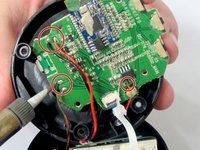
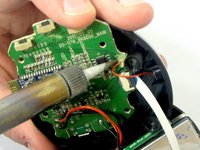
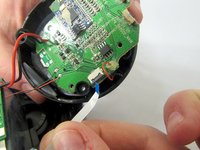
  6. HMDX Chill Motherboard Replacement: adım 6, 3 resimden 1. HMDX Chill Motherboard Replacement: adım 6, 3 resimden 2. HMDX Chill Motherboard Replacement: adım 6, 3 resimden 3.
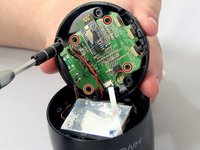
    • Use a soldering iron to desolder the wires connecting the motherboard to the case.

  7. HMDX Chill Motherboard Replacement: adım 7, 2 resimden 1. HMDX Chill Motherboard Replacement: adım 7, 2 resimden 2.
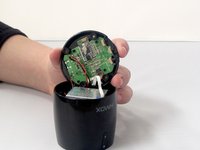
    • Insert the spudger between the case and the wire and move the spudger upwards.

    • This will cause the case to prop open.

    • The wire behind the motherboard will now be visible. Pull this out from behind.

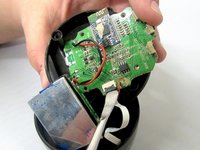
  8. HMDX Chill Motherboard Replacement: adım 8, 1 resimden 1.
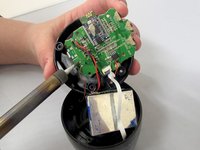
    • Use the soldering iron to desolder the wires connecting the motherboard to the base of the HMDX Chill.

Sonuç

To reassemble your device, follow these instructions in reverse order.

Jourdan Holubasch

Üyelik tarihi: 03/31/16

759 İtibar

7 adet Kılavuz yazıldı

Ekip

EWU-Giguere-S16S1G1 EWU-Giguere-S16S1G1 üyesi

Community

4 Üyeler

7 adet Kılavuz yazıldı

0 Yorum

Yorum Ekle

İstatistikleri Görüntüle:

Son 24 Saat: 0

Son 7 gün: 1

Son 30 gün: 2

Her zaman: 389