
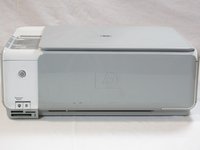
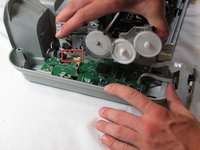
HP Photosmart c3180 Main Circuit Board Replacement
Neye ihtiyacın var


-
-
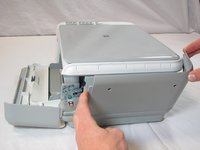
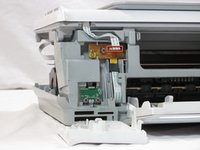
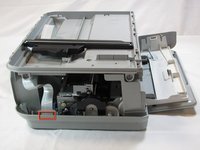
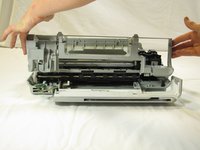
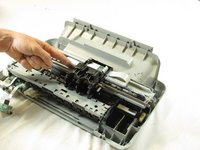
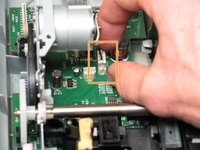
Rotate the printer 90 degrees counter clockwise so that the side panel next to control panel is facing you.
-
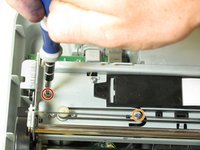
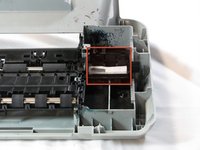
Remove the two T10 12mm Torx screws from the left side panel.
-
-
-
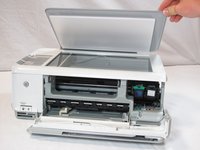
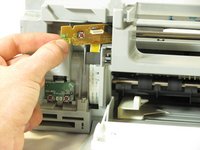
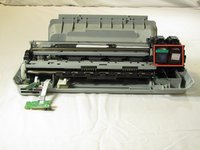
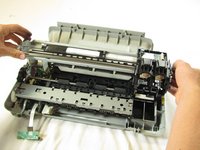
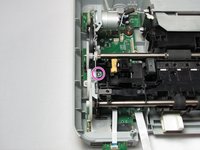
Set aside the top panel of the printer.
-
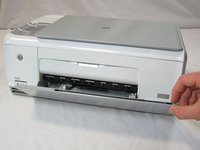
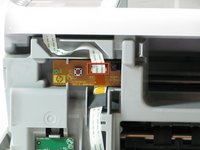
Remove the two T10 12 mm Torx screws from the top front of the printer
-
-
-
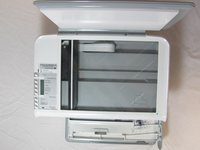
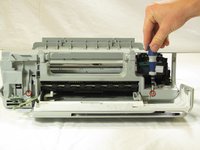
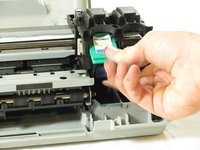
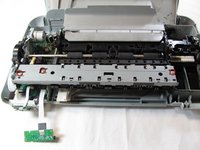
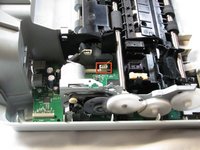
Set aside the ink cartridge carriage.
-
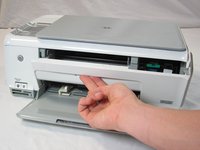
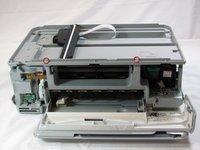
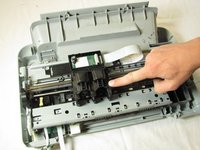
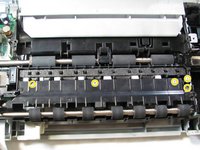
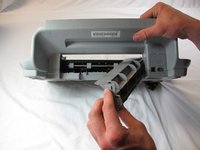
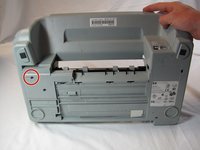
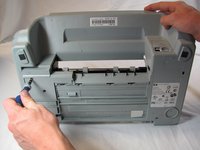
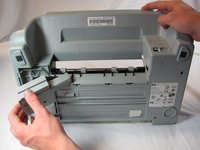
Remove the three T10 12mm Torx screws holding the paper guide to the printer body.
-
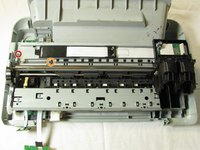
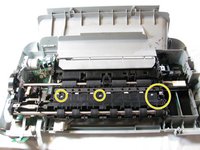
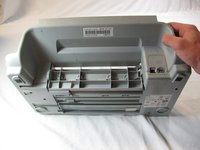
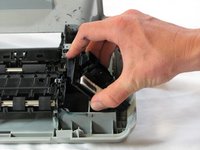
Lift the paper guide directly up to remove it and set it aside.
-
-
-
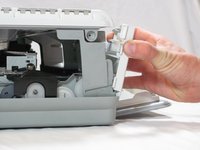
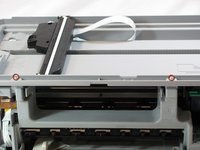
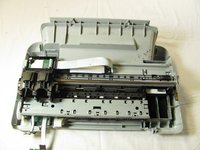
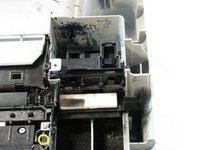
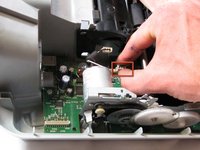
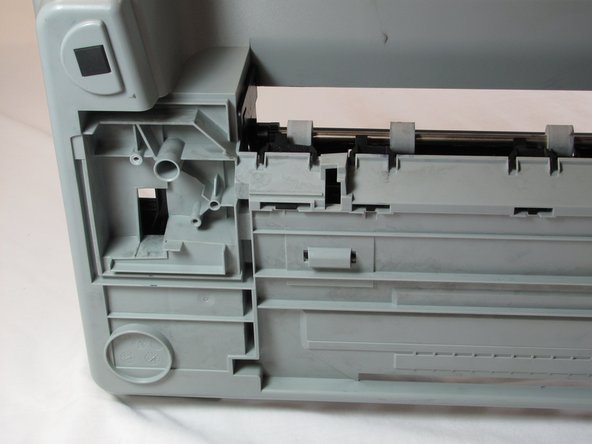
Set aside the feed roller assembly.
-
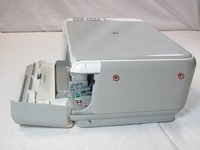
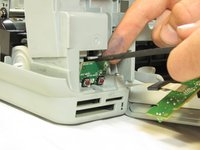
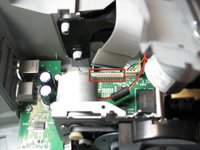
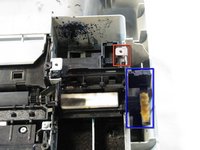
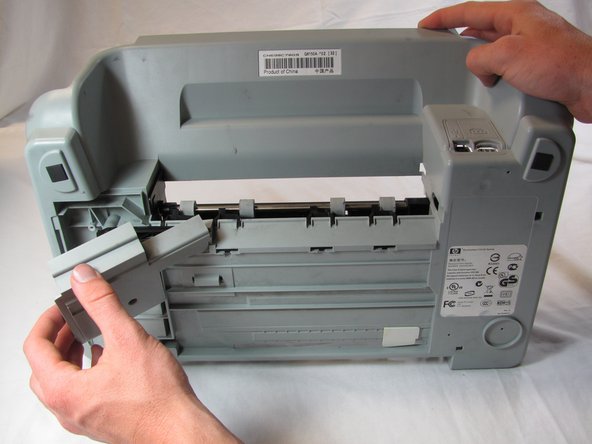
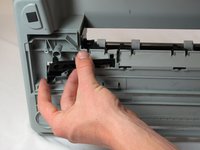
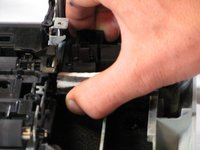
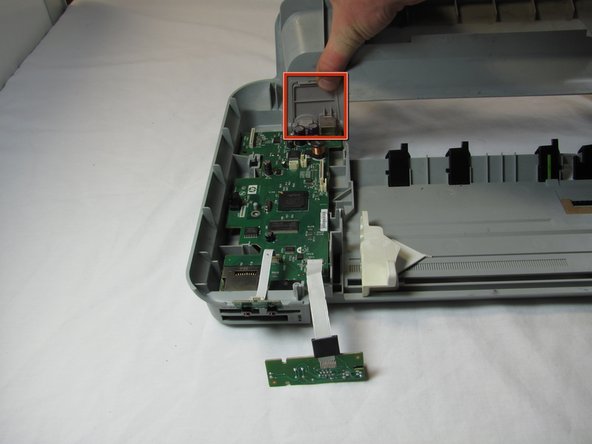
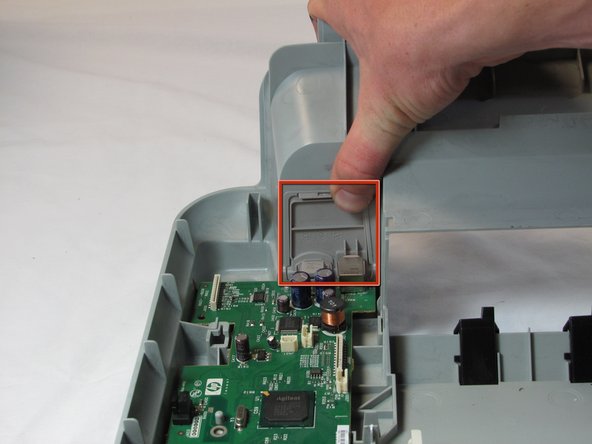
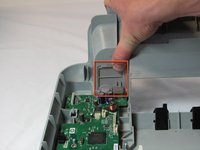
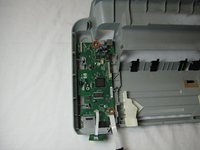
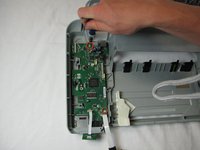
Push down on the tab that is on the power and USB back panel and then away from the printer to remove the power and USB back panel.
-


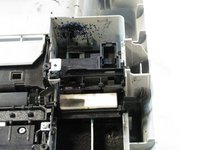


To reassemble your device, follow these instructions in reverse order.
To reassemble your device, follow these instructions in reverse order.
İptal et: Bu kılavuzu tamamlamadım.
7 farklı kişi bu kılavuzu tamamladı.
Ekip

Cal Poly, Team 20-30, Maness Fall 2011 Cal Poly, Team 20-30, Maness Fall 2011 üyesi
CPSU-MANESS-F11S20G30
4 Üyeler
25 adet Kılavuz yazıldı
4 Yorum
Muito boas elucidações das etapas para desmontagem da HP C3180
Excellent guide! You saved my printer. Thanks!
Hi, love your instructional slide shows. Very detailed. Thank you.
So now the big question: where do I buy the parts from? I have an HP C4280 all-in-one printer/scanner and I need to replace {because of your videos} either the control panel circuitry or the main control panel. But I have no idea where to get them. Can you suggest anyone?
Thank you,
Diane L.