Giriş
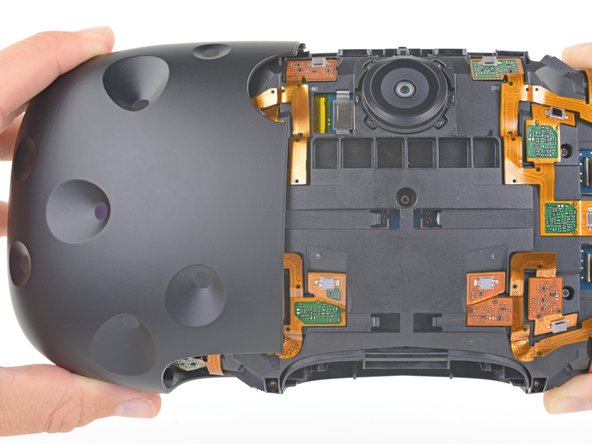
The HTC Vive's camera may send distorted or inaccurate images to the Vive. This guide will show you how to replace the Vive's camera.
Neye ihtiyacın var
-
-
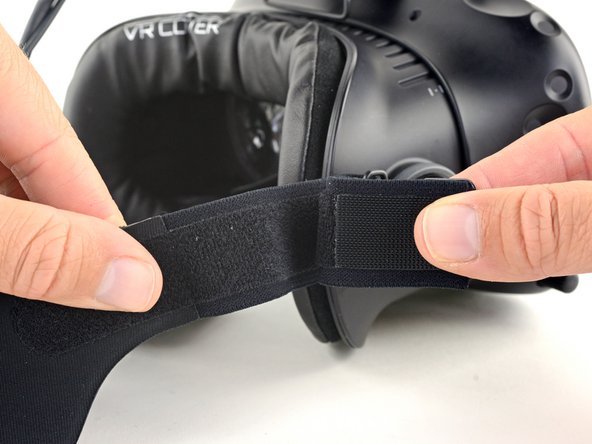
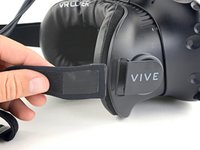
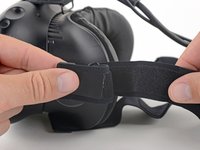
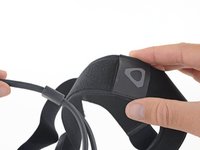
Pull the hook-and-loop (Velcro) closure at the top of the head strap apart to release the top of the head strap.
-
-
-
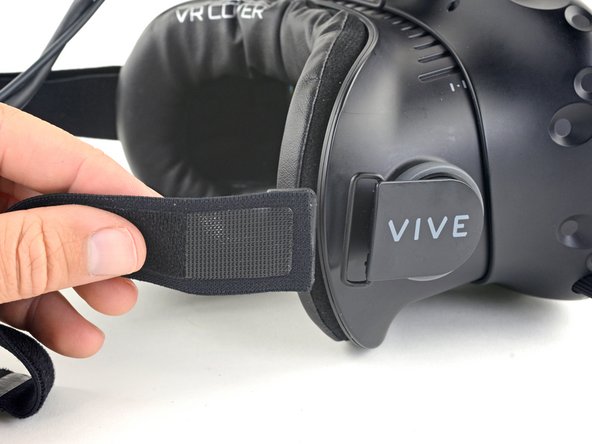
Slide the top part of the head strap through its metal loop on the headset to remove it.
-
-
-
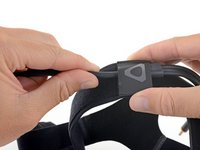
Pull the hook-and-loop closure at the right side of the head strap apart to release the right side of the head strap.
-
Slide the right side of the head strap through its metal loop to remove it.
-
-
-
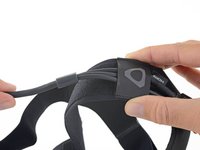
Pull the hook-and-loop closure at the left side of the head strap apart to release the left side of the head strap.
-
Slide the left side of the head strap through its metal loop to remove it.
-
-
-
Slide the head strap along the cable, away from the Vive.
-
When the head strap comes to the end of the cable, gently slide it over the plugs and remove it.
-
-
-
Use a T5 Torx driver to remove the two 12 mm-long screws securing the head strap mounts on either side of the headset.
Helaas blijkt de T5 Torx schroevendraaier aan de schroeven van de bevestigingsbeugels geen grip te krijgen. Wat dan gedaan?
-
-
-
Bu adımda kullanılan alet:Tweezers$4.99
-
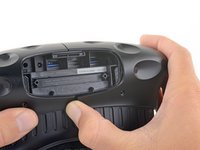
Use tweezers to remove the small stickers over the four screws securing the outer shell.
-
Use a T5 Torx driver to remove the four 3.4 mm-long screws securing the outer shell.
PSA: There are four screws you need to remove that are covered with small black stickers (two on top, two on bottom)
Holy cow. Thank you for adding this comment Oscar. I was just about to break it.
PC McGee -
-
-
-
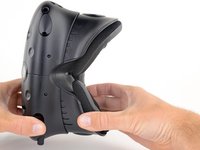
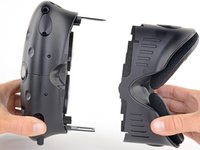
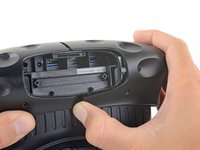
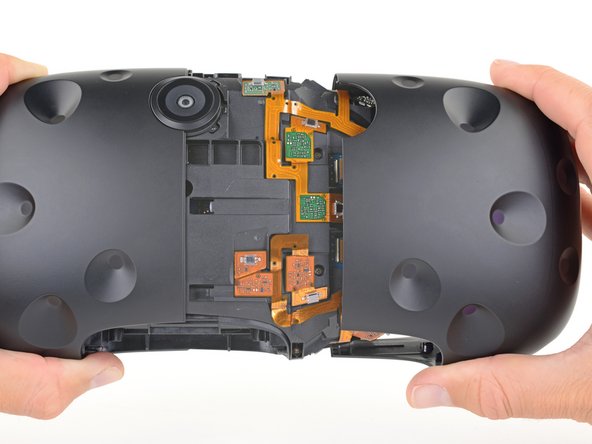
Use the flat end of a spudger to pry up the top edge of the right half of the outer shell, behind the component cover and near the seam in the center, until it is unclipped from the headset.
-
-
Bu adımda kullanılan alet:Tweezers$4.99
-
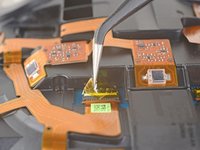
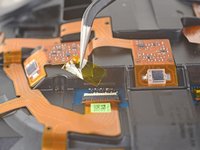
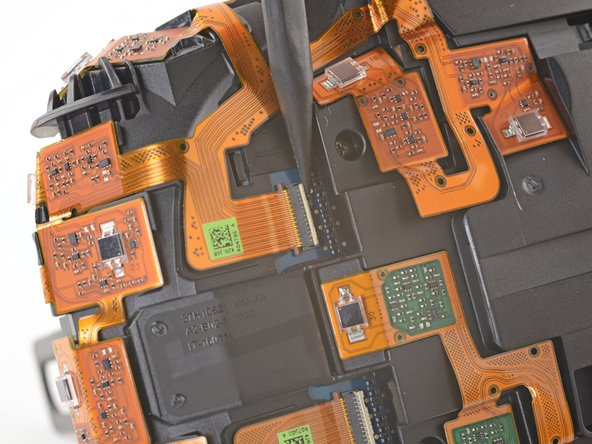
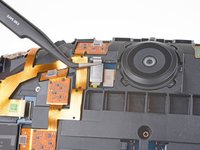
Use tweezers to remove the clear tape over all four of the sensor array cable connectors.
-
-
-
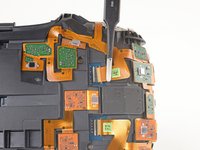
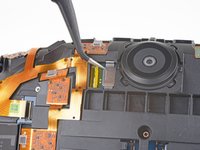
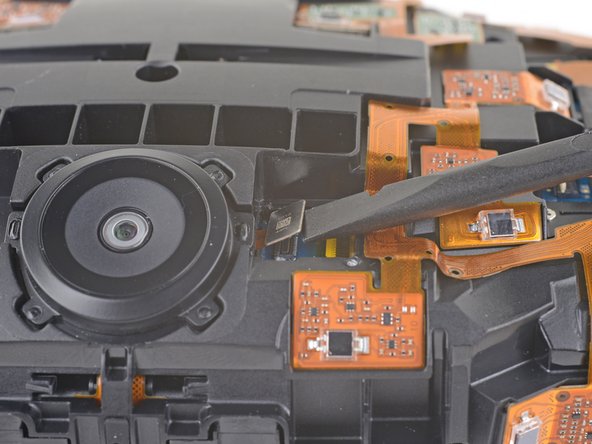
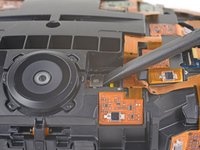
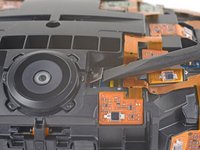
Use the pointed end of a spudger to flip up the small locking flap on one of the sensor array ZIF connectors.
-
Slide the cable straight out of its socket on the motherboard.
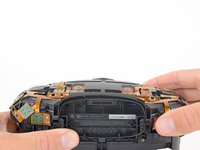
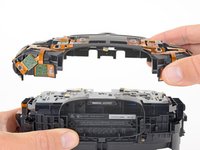
This guide is grossly incomplete. Do NOT try to pull up the sensor array after taking these five screws off. There are 8 more screws that have to be removed, as well as 2 tabs that need to be pushed before the sensor array comes off.
-Two screws on the bottom (by the camera) to each side. There are four screws here, but only the outermost two need to be taken off. See the two sensors on the bottom? The screws under the outside corner of each sensor are the ones you remove.
-Two screws on the top, to the right and left of the cable opening.
-Four screws on the back, to the left and right of the lenses. Turn the Vive around, the screws are deep inside four holes.
-Finally, two tabs on the bottom by the camera. If you look closely you will see them!
-
-
-
Repeat the previous step for the remaining three sensor array cables to disconnect the remaining cables.
Sure, but how do you get a replacement array?
It starts with “lift the sensor array" but how am I supposed to do that? Its not just lifting off after unscrewing & disconnecting. What am I missing here?
-
-
-
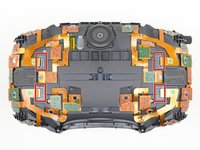
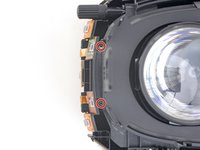
Use a PH000 driver to remove the five 3.9 mm screws securing the sensor array.
-
-
-
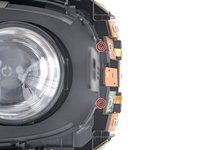
Use a PH000 driver to remove the four 3.9 mm screws securing the sensor array.
-
-
Bu adımda kullanılan alet:Tweezers$4.99
-
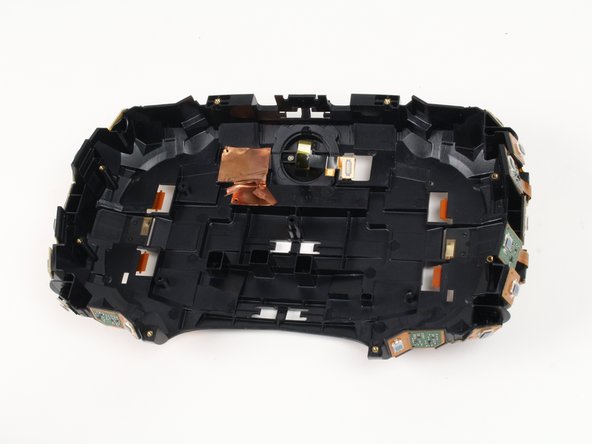
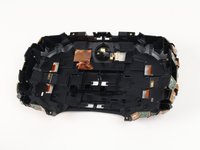
Flip the sensor array over 180 degrees.
-
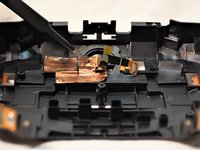
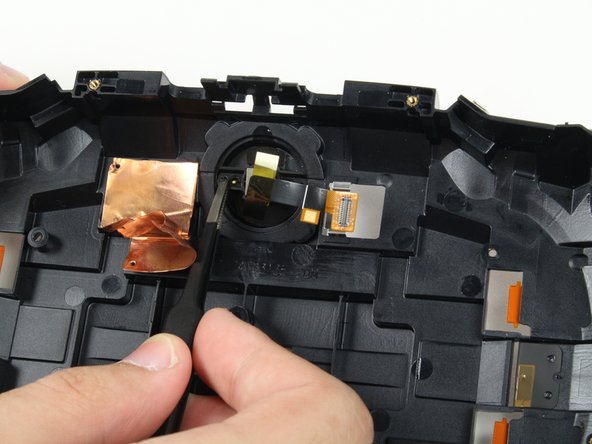
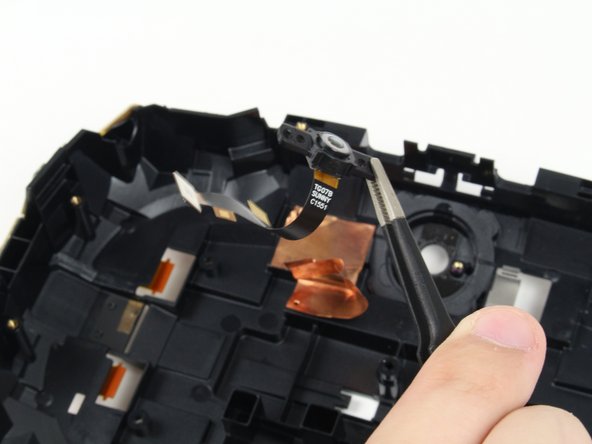
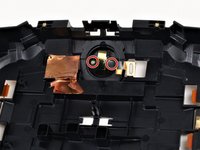
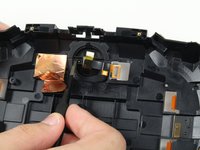
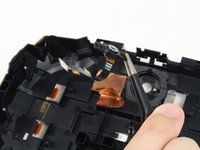
Using tweezers, move the copper tape covering the camera to the side so you can see the screws holding the camera.
-
To reassemble your device, follow these instructions in reverse order.
To reassemble your device, follow these instructions in reverse order.
1Rehber Yorum
Do you know where I can buy a replacement camera? Mine seems to be dead.


