Ana içeriğe geç
Onarım Topluluğuna Katılın - Hesap Oluşturun

Haiboxing 18859 Servo Replacement

Neye ihtiyacın var

  1. Haiboxing 18859 Servo Replacement, Battery: adım 1, 3 resimden 1. Haiboxing 18859 Servo Replacement, Battery: adım 1, 3 resimden 2. Haiboxing 18859 Servo Replacement, Battery: adım 1, 3 resimden 3.
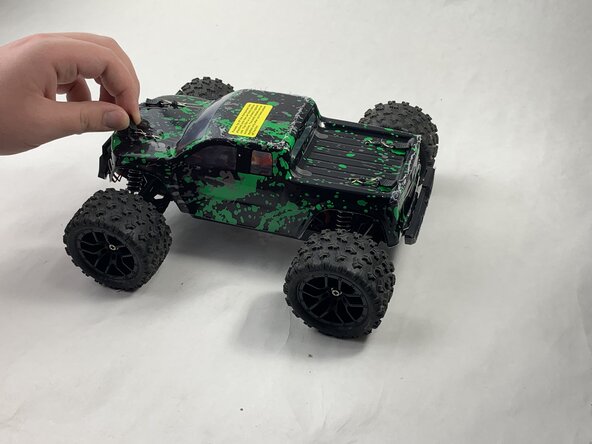
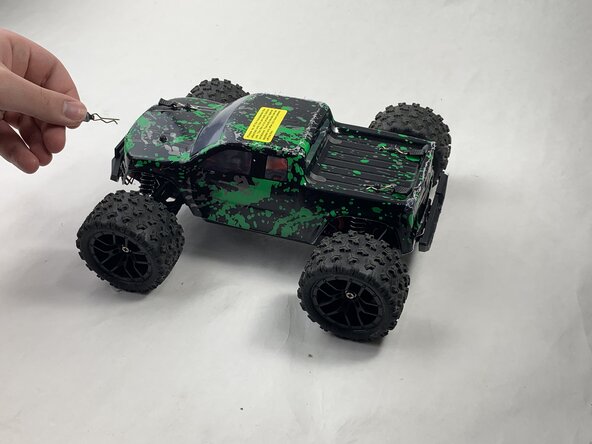
    • Remove the 4 clips holding down the hard plastic shell of the RC car. Do this by pinching them with your thumb and index finger and pulling away.

    FixBot'a Sor

    Yorum Ekle

  2. Haiboxing 18859 Servo Replacement: adım 2, 1 resimden 1.
    • Lift the hard plastic shell off of the RC car.

    FixBot'a Sor

    Yorum Ekle

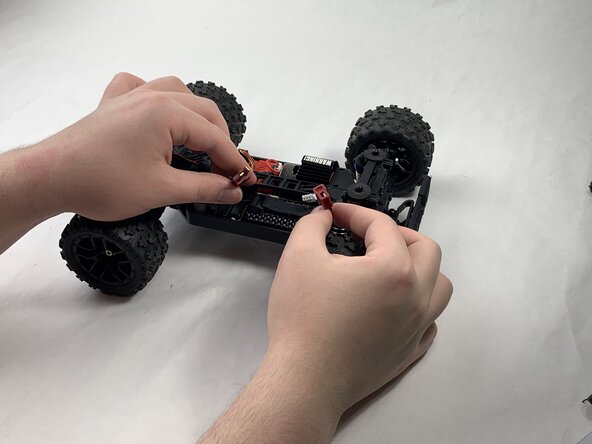
  3. Haiboxing 18859 Servo Replacement: adım 3, 3 resimden 1. Haiboxing 18859 Servo Replacement: adım 3, 3 resimden 2. Haiboxing 18859 Servo Replacement: adım 3, 3 resimden 3.
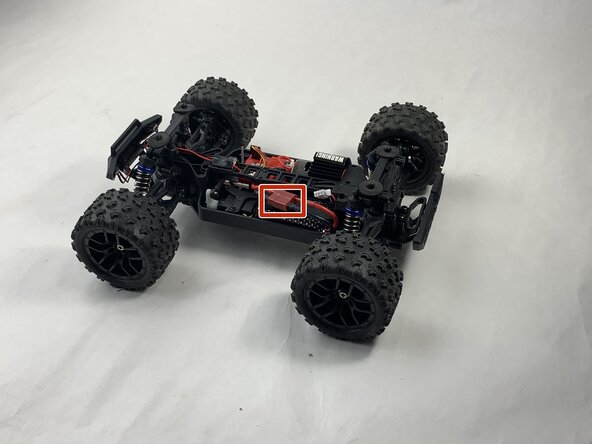
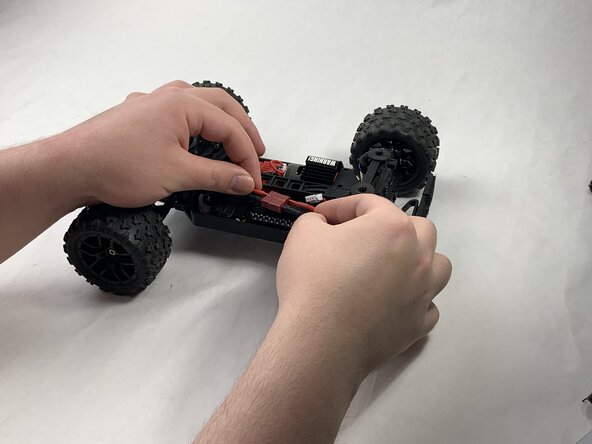
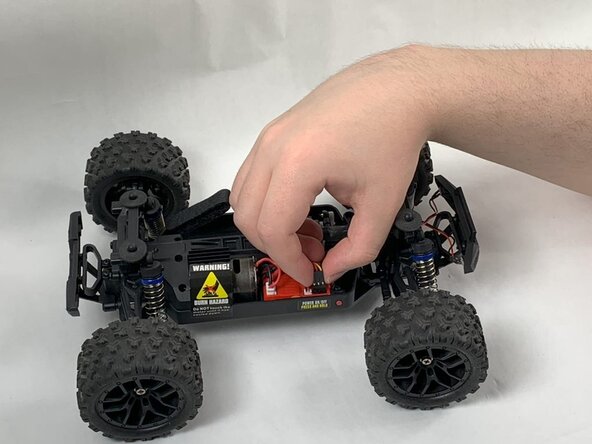
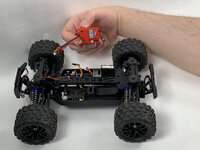
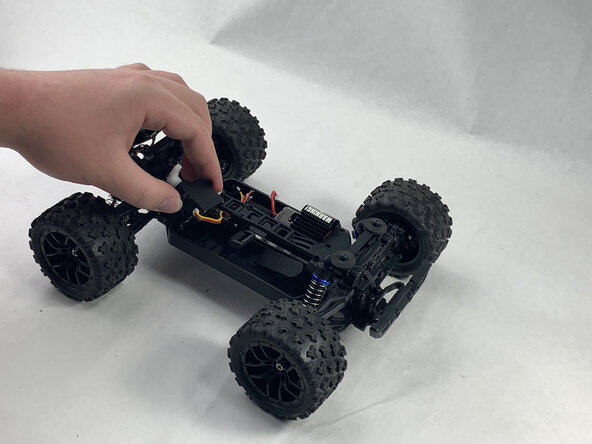
    • Disconnect the Lego-style battery connector by gripping either side and pulling them away from each other, slowly and consistently.

    FixBot'a Sor

    Yorum Ekle

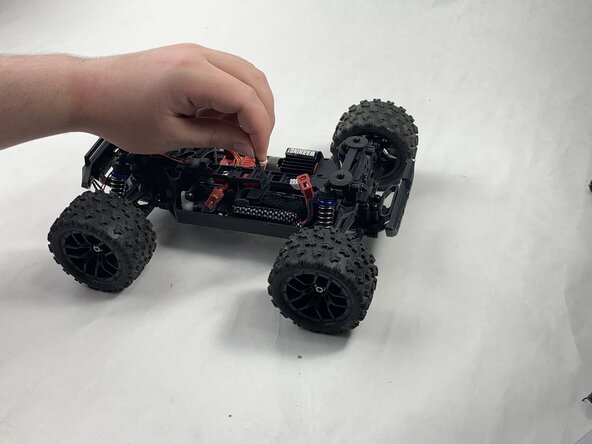
  4. Haiboxing 18859 Servo Replacement: adım 4, 3 resimden 1. Haiboxing 18859 Servo Replacement: adım 4, 3 resimden 2. Haiboxing 18859 Servo Replacement: adım 4, 3 resimden 3.
    • Unfasten the Velcro strap that secures the battery.

    FixBot'a Sor

    Yorum Ekle

  5. Haiboxing 18859 Servo Replacement: adım 5, 2 resimden 1. Haiboxing 18859 Servo Replacement: adım 5, 2 resimden 2.
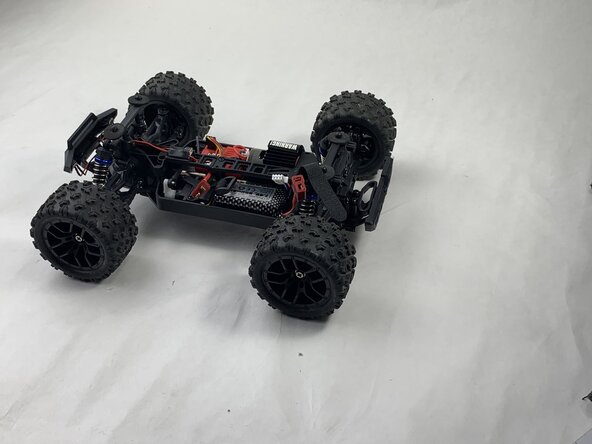
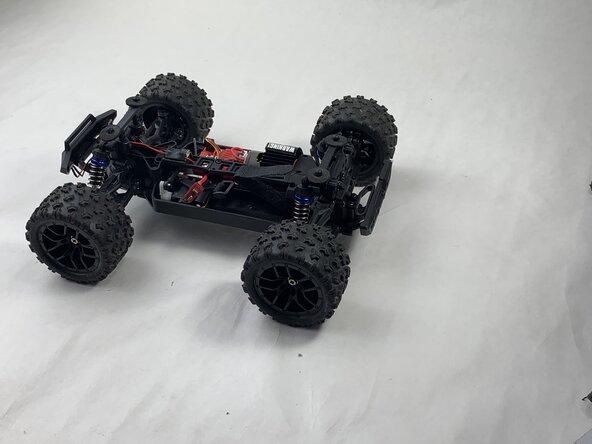
    • Remove the battery.

    FixBot'a Sor

    Yorum Ekle

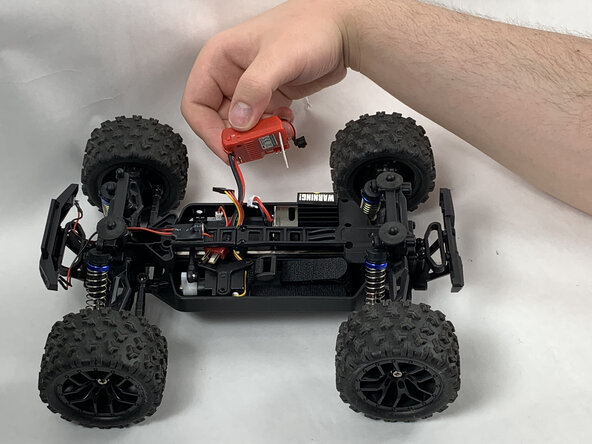
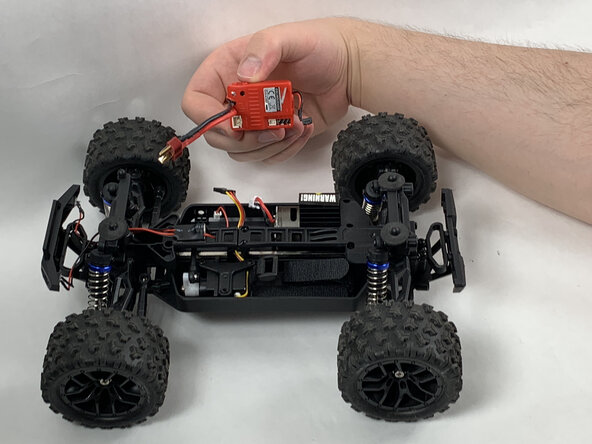
  6. Haiboxing 18859 Servo Replacement, Receiver: adım 6, 3 resimden 1. Haiboxing 18859 Servo Replacement, Receiver: adım 6, 3 resimden 2. Haiboxing 18859 Servo Replacement, Receiver: adım 6, 3 resimden 3.
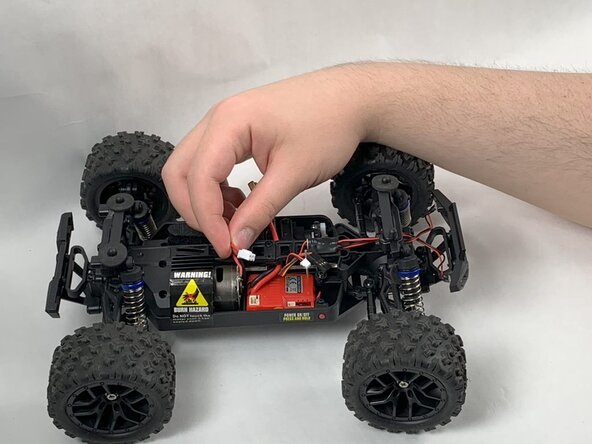
    • Disonnect all connectors attached to the red, plastic receiver.

    FixBot'a Sor

    Yorum Ekle

  7. Haiboxing 18859 Servo Replacement: adım 7, 1 resimden 1.
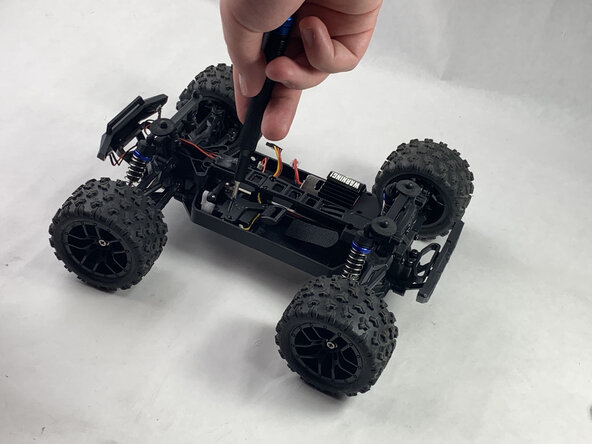
    • Remove the 8 mm Phillips #0 screw holding the front corner of the receiver down.

    • Remove the front corner piece.

    FixBot'a Sor

    Yorum Ekle

  8. Haiboxing 18859 Servo Replacement: adım 8, 3 resimden 1. Haiboxing 18859 Servo Replacement: adım 8, 3 resimden 2. Haiboxing 18859 Servo Replacement: adım 8, 3 resimden 3.
    • Remove the receiver.

    FixBot'a Sor

    Yorum Ekle

  9. Haiboxing 18859 Servo Replacement, Servo: adım 9, 2 resimden 1. Haiboxing 18859 Servo Replacement, Servo: adım 9, 2 resimden 2.
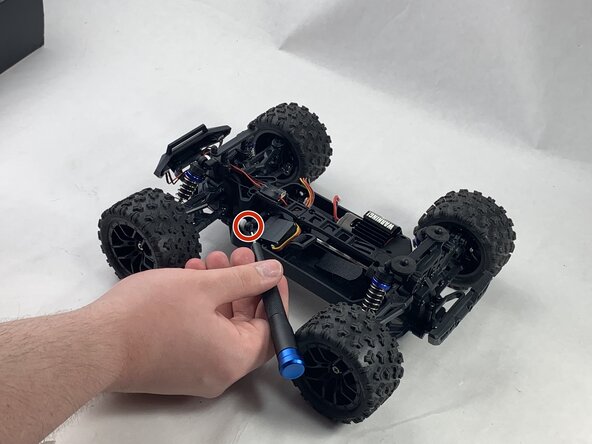
    • Remove the three 10 mm Phillips #0 screws holding the three-pointed plastic bracket in place.

    FixBot'a Sor

    Yorum Ekle

  10. Haiboxing 18859 Servo Replacement: adım 10, 1 resimden 1.
    • Remove the three-pointed plastic bracket.

    FixBot'a Sor

    Yorum Ekle

  11. Haiboxing 18859 Servo Replacement: adım 11, 1 resimden 1.
    • Remove the 10 mm Phillips #00 screw holding the white piece of the servo to the black plastic piece of the shaft.

    FixBot'a Sor

    Yorum Ekle

  12. Haiboxing 18859 Servo Replacement: adım 12, 1 resimden 1.
    • Remove the servo.

    FixBot'a Sor

    Yorum Ekle

Sonuç

To reassemble your device, follow the above steps in reverse order.
Take your e-waste to an R2 or e-Stewards certified recycler.
Repair didn’t go as planned? Try some basic troubleshooting or ask our Answers community for help.

İptal et: Bu kılavuzu tamamlamadım.

Kevin Hillmann

Üyelik tarihi: 03/21/25

258 İtibar

2 adet Kılavuz yazıldı

Ekip

UMass Dartmouth, Team 6-3, Botvin Spring 2025 UMass Dartmouth, Team 6-3, Botvin Spring 2025 üyesi

UMASSD-BOTVIN-S25S6G3

3 Üyeler

5 adet Kılavuz yazıldı

0Kılavuz Yorumları

Yorum Ekle

İstatistikleri Görüntüle:

Son 24 Saat: 0

Son 7 gün: 8

Son 30 gün: 40

Her zaman: 375