Ana içeriğe geç
How to Apply New Back Glass Adhesive in Your Google Pixel 9

How to Apply New Back Glass Adhesive in Your Google Pixel 9

Spencer Day

Spencer Day ve başka bir katkıda bulunan

En son November 7, 2024 tarihinde güncellendi

20 - 30 dakika
Orta

Use this guide to replace the back glass adhesive in your Google Pixel 9.

Note: This guide should be followed during reassembly, after you've completed your repair and are about to reattach the back glass.

Neye ihtiyacın var

Parçalar

Aletler

Daha fazlasını göster…

iFixit bu bağlantılar üzerinden satın aldığınızda komisyon kazanır.
  1. How to Apply New Back Glass Adhesive in Your Google Pixel 9, Remove the old back glass adhesive: adım 1, 3 resimden 1. How to Apply New Back Glass Adhesive in Your Google Pixel 9, Remove the old back glass adhesive: adım 1, 3 resimden 2. How to Apply New Back Glass Adhesive in Your Google Pixel 9, Remove the old back glass adhesive: adım 1, 3 resimden 3.
    • When removing the back glass adhesive during this step, be very careful not to damage any of the fragile components near the perimeter of the frame.

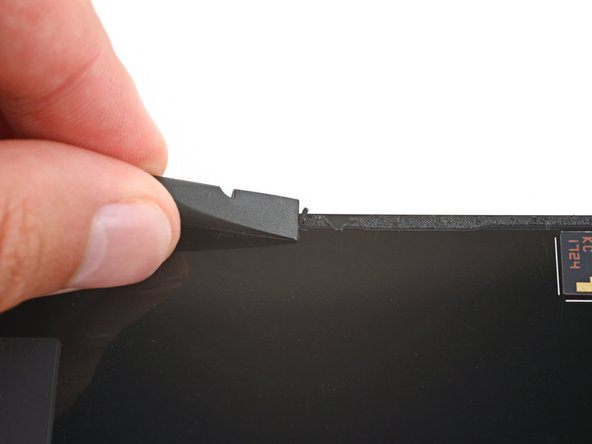
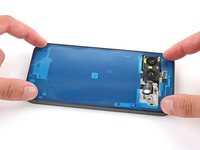
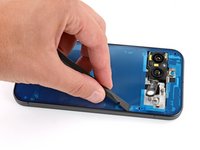
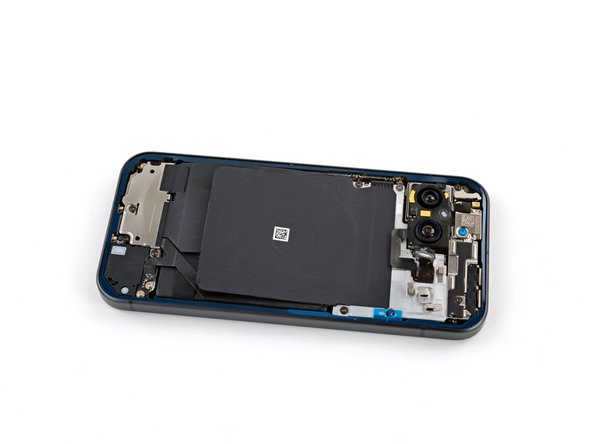
    • Use a spudger to scrape up and remove all the old back glass adhesive from the perimeter of the frame.

    • This will take some time as the adhesive can be tricky to remove. Work slowly and try to roll the adhesive onto itself.

    • Once you've removed all the old adhesive, use isopropyl alcohol and a microfiber cloth to clean up the adhesive residue from the perimeter of the frame.

    • In order for the new adhesive to form a good bond, the frame needs to be completely clean of all adhesive and its residue.

  2. How to Apply New Back Glass Adhesive in Your Google Pixel 9: adım 2, 3 resimden 1. How to Apply New Back Glass Adhesive in Your Google Pixel 9: adım 2, 3 resimden 2. How to Apply New Back Glass Adhesive in Your Google Pixel 9: adım 2, 3 resimden 3.
    • If you're installing a new back glass cover, skip this step.

    • Repeat the previous step to remove all the back glass adhesive and its residue from the underside of the back glass.

  3. How to Apply New Back Glass Adhesive in Your Google Pixel 9, Apply the new back glass adhesive: adım 3, 1 resimden 1.
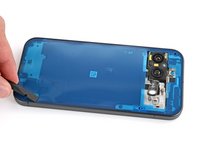
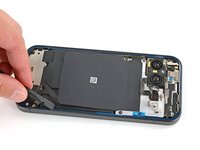
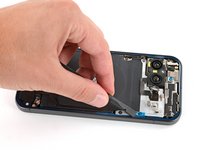
    • Remove the larger clear liner from the back glass adhesive.

  4. How to Apply New Back Glass Adhesive in Your Google Pixel 9: adım 4, 3 resimden 1. How to Apply New Back Glass Adhesive in Your Google Pixel 9: adım 4, 3 resimden 2. How to Apply New Back Glass Adhesive in Your Google Pixel 9: adım 4, 3 resimden 3.
    • Be very careful during this step! Once the adhesive sticks to the frame, you won't be able to reposition it. If the adhesive gets applied incorrectly, you'll have to start over with a new one.

    • Carefully place the adhesive onto the frame so the large cutout goes over the cameras. Use the frame's lip to help position the sheet.

  5. How to Apply New Back Glass Adhesive in Your Google Pixel 9, Secure the back glass adhesive: adım 5, 3 resimden 1. How to Apply New Back Glass Adhesive in Your Google Pixel 9, Secure the back glass adhesive: adım 5, 3 resimden 2. How to Apply New Back Glass Adhesive in Your Google Pixel 9, Secure the back glass adhesive: adım 5, 3 resimden 3.
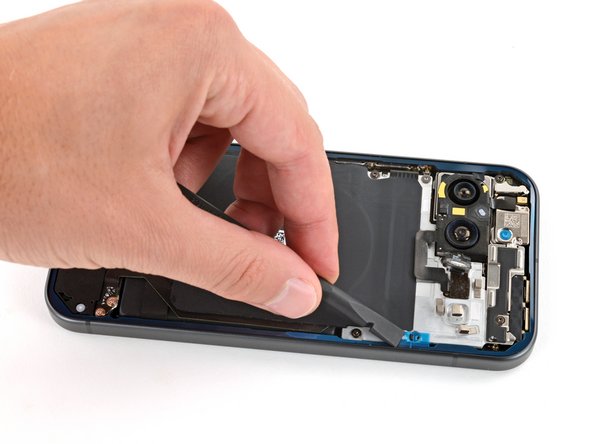
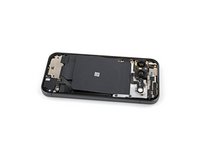
    • Use the flat end of a spudger to firmly press around the adhesive perimeter to secure it to the frame.

  6. How to Apply New Back Glass Adhesive in Your Google Pixel 9, Remove the first liner: adım 6, 3 resimden 1. How to Apply New Back Glass Adhesive in Your Google Pixel 9, Remove the first liner: adım 6, 3 resimden 2. How to Apply New Back Glass Adhesive in Your Google Pixel 9, Remove the first liner: adım 6, 3 resimden 3.
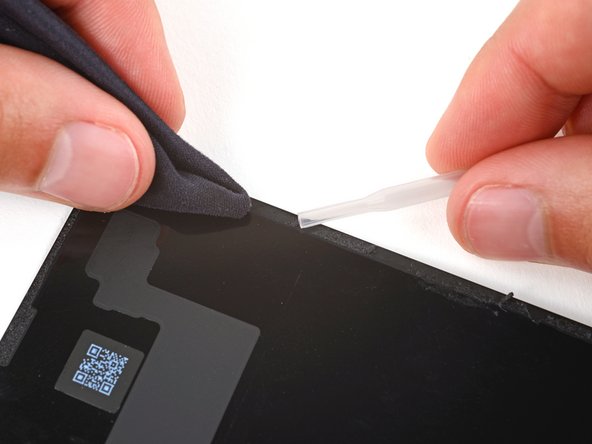
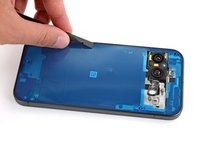
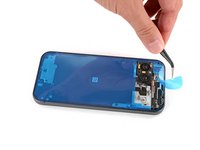
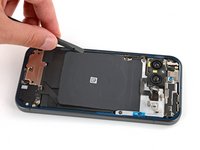
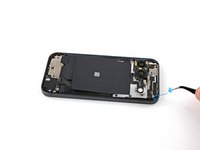
    • Grip the top right corner of the large blue liner with tweezers or your fingers and remove the liner.

    • If any of the adhesive starts to peel up with the liner, gently lay it back on the frame and use the flat end of a spudger to secure it.

  7. How to Apply New Back Glass Adhesive in Your Google Pixel 9: adım 7, 3 resimden 1. How to Apply New Back Glass Adhesive in Your Google Pixel 9: adım 7, 3 resimden 2. How to Apply New Back Glass Adhesive in Your Google Pixel 9: adım 7, 3 resimden 3.
    • Use the flat end of a spudger to firmly press around the perimeter of the adhesive to secure it to the frame.

  8. How to Apply New Back Glass Adhesive in Your Google Pixel 9, Flash unit information: adım 8, 3 resimden 1. How to Apply New Back Glass Adhesive in Your Google Pixel 9, Flash unit information: adım 8, 3 resimden 2. How to Apply New Back Glass Adhesive in Your Google Pixel 9, Flash unit information: adım 8, 3 resimden 3.
    Bu adımda kullanılan alet:
    Tesa 61395 Tape
    $2.99
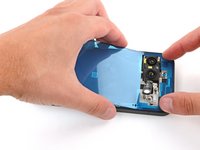
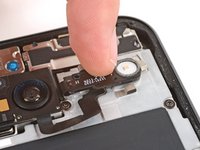
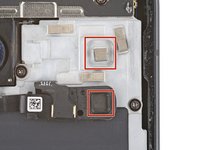
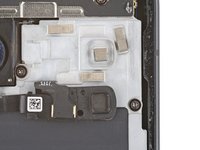
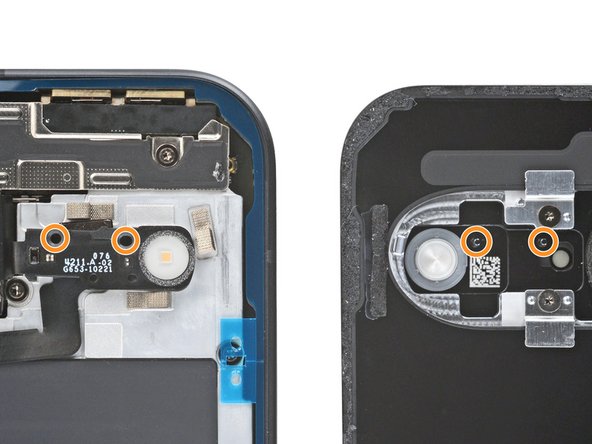
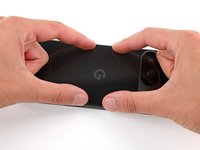
    • Press the flash unit into place on the midframe, making sure the square protrusion on the underside of the right edge goes into its recess on the midframe.

    • If the adhesive isn't sticky, you may need to use strips of thin double‑sided tape to secure the flash unit.

  9. How to Apply New Back Glass Adhesive in Your Google Pixel 9: adım 9, 3 resimden 1. How to Apply New Back Glass Adhesive in Your Google Pixel 9: adım 9, 3 resimden 2. How to Apply New Back Glass Adhesive in Your Google Pixel 9: adım 9, 3 resimden 3.
    • Use tweezers or your fingers to remove the remaining blue liners, using the pull tabs on the right edge.

  10. How to Apply New Back Glass Adhesive in Your Google Pixel 9, Remove any camera bump liners: adım 10, 2 resimden 1. How to Apply New Back Glass Adhesive in Your Google Pixel 9, Remove any camera bump liners: adım 10, 2 resimden 2.
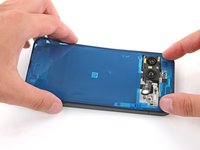
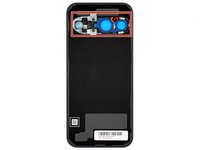
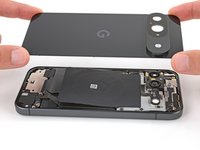
    • Remove any liners from the underside of the back glass, near the camera cutout area.

    • The flash unit has two circular cutouts along its top edge that correspond with metal posts on the underside of the back glass. When putting the back glass onto the frame, make sure the posts go into their cutouts.

  11. How to Apply New Back Glass Adhesive in Your Google Pixel 9, Secure the back glass: adım 11, 3 resimden 1. How to Apply New Back Glass Adhesive in Your Google Pixel 9, Secure the back glass: adım 11, 3 resimden 2. How to Apply New Back Glass Adhesive in Your Google Pixel 9, Secure the back glass: adım 11, 3 resimden 3.
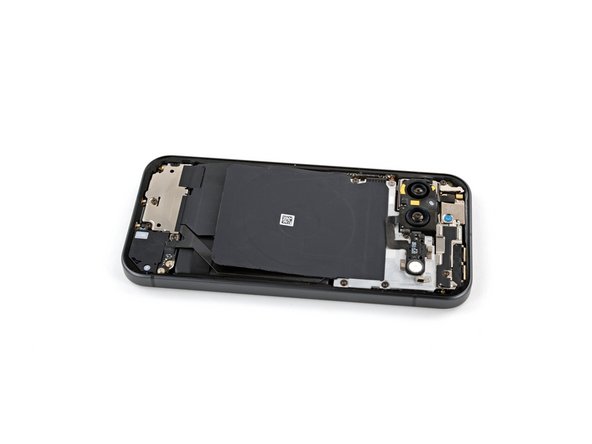
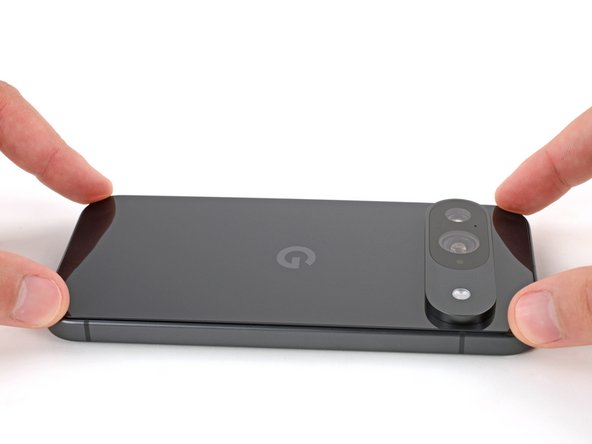
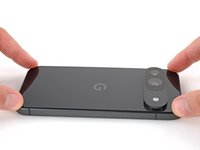
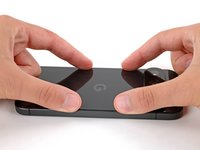
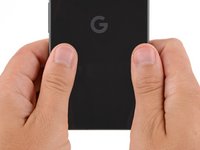
    • Place the back glass onto the frame and firmly press it into place.

  12. How to Apply New Back Glass Adhesive in Your Google Pixel 9: adım 12, 3 resimden 1. How to Apply New Back Glass Adhesive in Your Google Pixel 9: adım 12, 3 resimden 2. How to Apply New Back Glass Adhesive in Your Google Pixel 9: adım 12, 3 resimden 3.
    • Press down and squeeze firmly around the entire perimeter of the back glass to secure it with the adhesive.

    • When powering on your Pixel for the first time after your repair, make sure the phone is laying flat and nothing is touching the screen (fingers, plastic liners, screen protectors, cases).

Sonuç

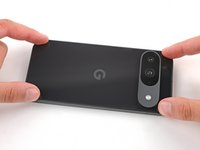
Congratulations on completing your repair!

Take your e-waste to an R2 or e-Stewards certified recycler.

Repair didn’t go as planned? Try some basic troubleshooting, or ask our Answers community for help.

Spencer Day

Üyelik tarihi: 09/14/22

104.324 İtibar

740 adet Kılavuz yazıldı

Ekip

iFixit iFixit üyesi

Staff

121 Üyeler

19.802 adet Kılavuz yazıldı

0Kılavuz Yorumları

Yorum Ekle

İstatistikleri Görüntüle:

Son 24 Saat: 2

Son 7 gün: 15

Son 30 gün: 79

Her zaman: 578