Giriş
Application of thermal paste is essential to keep the processor cool and happy. Follow this general guide to reapply thermal paste after removing a heat sink or CPU during a repair. For more advanced directions, specific to your CPU, check out Arctic Silver's page of application methods.
To apply thermal paste to a phone, follow this guide.
Neye ihtiyacın var
-
-
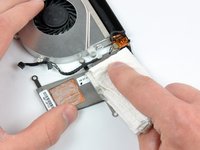
Use the flat end of a spudger to scrape off as much solidified thermal paste from the copper core(s) of the heat sink as possible.
-
-
-
-
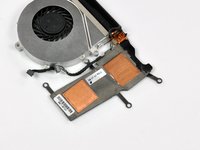
Use a coffee filter or a lint-free cloth and a little isopropyl alcohol (a.k.a. IPA, 90% concentration or greater) to clean the thermal paste residue off the thermal contact surface of your heat sink.
-
Once the surface is clean, use a fresh piece of coffee filter or cloth and a little more IPA to remove any oils and prepare the surface.
-
Do not touch either the chip or the heatsink, or allow any dust or debris to get on them. Even a fingerprint can be a major obstacle to thermal transfer on a chip.
-
Allow the heat sink(s) to dry completely!
-
-
-
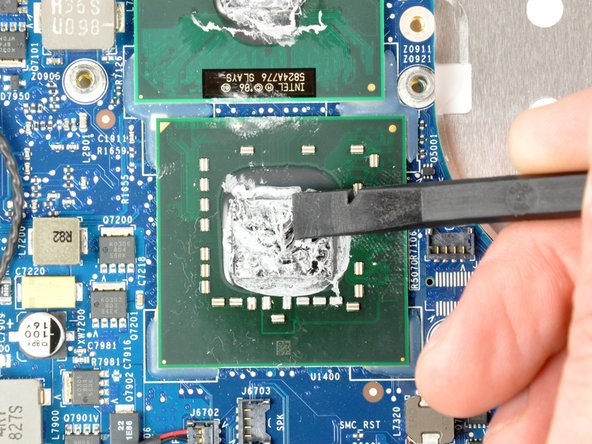
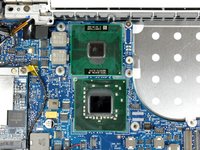
Use the flat end of a plastic spudger to remove any solidified thermal paste from the surface of the processor(s).
-
-
-
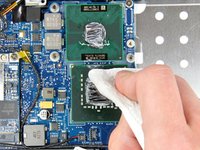
Again, use a coffee filter or lint-free cloth and a little IPA or ArctiClean Thermal Material Remover to clean any thermal paste residue off the processor surface.
-
Use a fresh piece of coffee filter or cloth and some IPA to remove any remaining oils and prepare the surface.
-
Allow the processor(s) to dry completely!
-
-
-
To apply new thermal paste, use the application method recommended for your specific processor type—vertical line, horizontal line, middle dot, or surface spread. Note that surface spread has the potential to trap air bubbles.
-
If you're using the surface spread method:
-
Wrap the tip of your index finger with a piece of plastic (such as a sandwich bag or Saran wrap).
-
Dispense a very small amount of thermal paste onto processor core(s).
-
Use your finger to gently smear the thermal paste over the entire processor core(s).
-
The processor(s) is now ready for heat sink installation.
-


To reassemble your device, follow your device's disassembly instructions in reverse order.
İptal et: Bu kılavuzu tamamlamadım.
1158 farklı kişi bu kılavuzu tamamladı.

41Kılavuz Yorumları
For heat sinks with a spring on the screws: Wonder why there are springs on the heat sink screws? Do not over tighten them, the springs are there to help you apply the correct amount of pressure on to the CPU and GPU. If you tighten them all the way, it may not be the correct pressure! Leave maybe 1 mm of space, just before the screw stops turning. iFixit forgot to mention this important part, and also in the heat paste guide!!
This is completely untrue. The holes bored in the heat sinks are in fact a larger diameter than both the threads and the shoulder of the heat sink screws. The screws should be fully tightened (as they were from the factory) to maintain correct pressure against the processors.