Giriş
Use this guide to open your Logitech MX Master 3S mouse.
Open your mouse to clean its internals, troubleshoot mechanical problems, or replace a part.
Neye ihtiyacın var
-
-
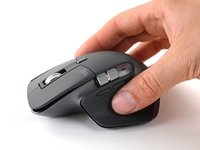
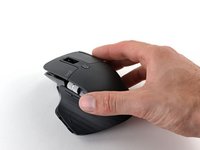
Flip the mouse's power switch into the OFF position, unplug any cables, and flip it over so the feet are facing up.
-
Heat an iOpener and apply it to each of the mouse feet for about one minute each.
-
-
-
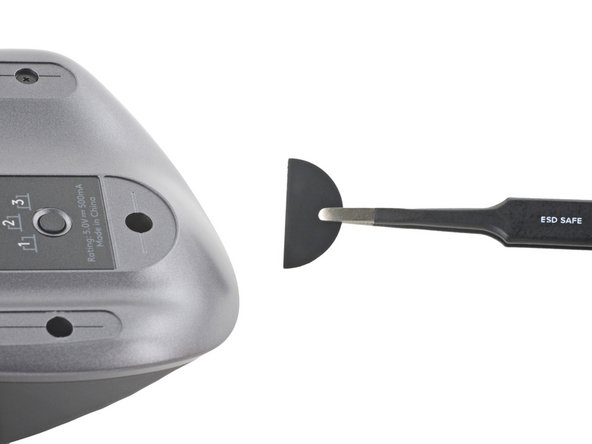
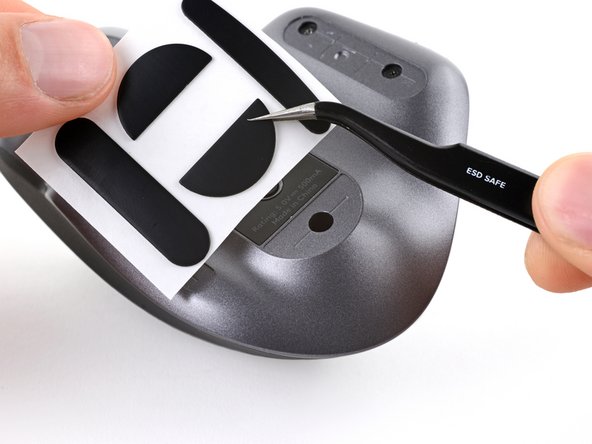
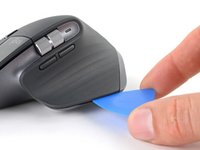
Slide an opening pick under an edge of the left mouse foot.
-
Slide your pick under the foot to separate its adhesive until you can grab it with your fingers.
-
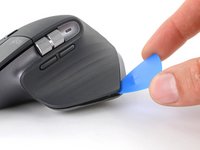
Peel up and remove the left mouse foot.
-
-
-
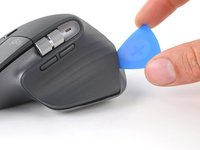
Repeat the previous two steps for the three remaining feet.
-
-
Bu adımda kullanılan alet:Tweezers$4.99
-
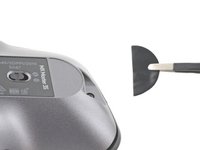
Slide the flat end of a spudger under an edge of the adhesive. If the adhesive seems stuck, you may need to heat the adhesive further.
-
Use a pair of tweezers or a spudger to remove any large chunks of leftover adhesive.
-
Thoroughly clean the bottom of the mouse with isopropyl alcohol and a lint-free or microfiber cloth. Allow the surface to dry completely.
-
Peel your new mouse feet away from their adhesive liners and press them firmly into place.
-
-
-
-
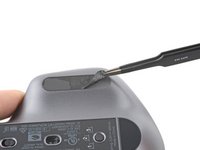
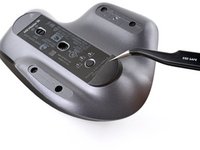
Use a Phillips screwdriver to remove the five 4.3 mm‑long screws securing the bottom half of the lower case.
-
Use a T5 Torx driver to remove the one 4.2 mm‑long screw securing the top half of the lower case.
-
-
-
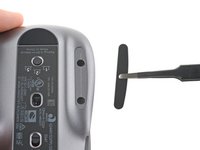
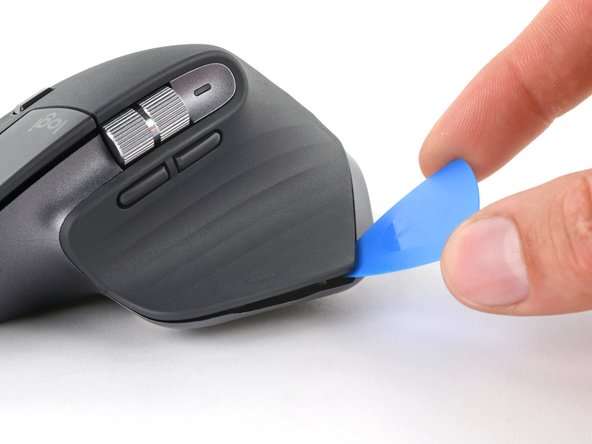
Insert your opening pick into the seam between the thumb rest and the lower case.
-
Slide your pick right, towards the rear of the upper shell and pry upward to release the left clips.
-
-
-
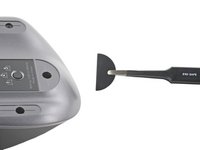
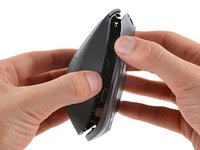
Gently pry the upper shell and lower case apart to release the clips on the right side of the mouse.
-
-
-
Lay your mouse down onto your work surface, making sure none of the clips re-engage.
-
Grasp the upper shell and partially lift up the right edge.
-
Pull the upper shell up and back to release the final clip and separate the upper shell from the lower case.
-
-
-
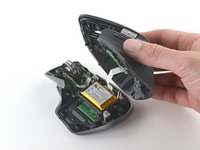
Lift the upper shell away from the lower case and lay it to the right of the mouse.
-
-
-
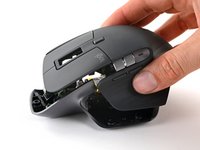
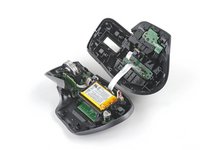
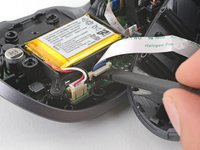
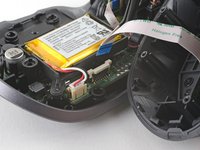
Use the flat end of a spudger to gently lift up the sliding lock on the interconnect cable socket.
-
Slide the cable straight out of its socket on the motherboard.
-


To reassemble your device, follow these instructions in reverse order.
Repair didn’t go as planned? Check out our Answers community for help.
Reuse or Recycle—Never put discarded electronic parts in household waste. Visit Logitech Recycling to find your nearest recycling points, including the option to mail back old devices to Logitech for free if there’s no convenient solution in your area. You can also take your e-waste to any R2 or e-Stewards certified recycler. And don’t let good working parts or repaired devices die a slow death in your sock drawer—pass them along to someone who can use them.
Share your experience—Leave a comment here or send your feedback directly to Logitech at repair@logitech.com to help shape future repair guides and product design.
İptal et: Bu kılavuzu tamamlamadım.
17 farklı kişi bu kılavuzu tamamladı.

Ekip

7Kılavuz Yorumları
Is the upper shell the MX Master 3s same as the upper shell of the MX Master 3?
Yes. I replaced the really grimy grey upper of my MX master 3s with the black upper of a regular MX master 3.
Can you show us how to replace the left click button?
Agree, and spare parts for the left buttons would be even better!
Kailh 6x6x7.3 red button