Giriş
Use this guide to apply adhesive and seal the rear glass (or back panel) on your iPhone 16 Pro.
Replace your adhesive to maintain your iPhone's water and dust resistance after a repair or after the existing seal has worn out. Note that your iPhone's water resistance depends on how well you apply its adhesive.
Before starting this guide, make sure you've completed your repair and have reassembled your iPhone up until the rear glass. Return to your repair guide and do so if you haven't already.
The photos in this guide are of the Max model iPhone and may contain slight visual discrepancies, but they won't affect the procedure.
Neye ihtiyacın var
-
Bu adımda kullanılan alet:Tweezers$4.99
-
Use blunt nose tweezers or your fingers to remove large pieces of adhesive from the frame perimeter.
-
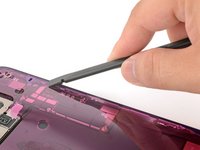
Use a spudger to scrape the adhesive residue off of the frame.
-
If the adhesive feels stubborn, apply some heat using a hair dryer or heat gun and try again.
-
-
Bu adımda kullanılan alet:Microfiber Cleaning Cloths$3.99
-
If you're reusing your back glass, apply a few drops of highly-concentrated isopropyl alcohol (over 90%) to a microfiber or lint-free cloth and wipe around the perimeter to prepare the surface for new adhesive.
-
-
-
Wrap a lint-free cloth or a coffee filter over the point of a spudger and apply a few drops of highly-concentrated isopropyl alcohol (over 90%) to it.
-
Wipe in one direction along the perimeter of the frame to clean the adhesive residue.
-
-
-
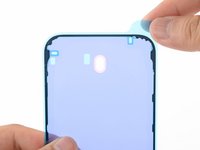
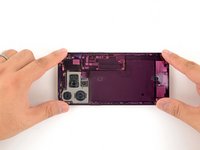
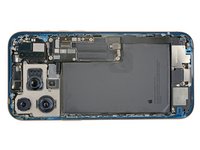
Lay the adhesive sheet over the frame to determine its proper orientation.
-
-
-
-
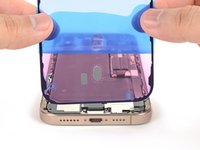
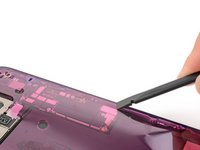
Use your finger or a spudger to press and connect the battery press connector onto the logic board.
-
-
-
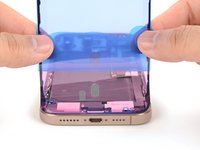
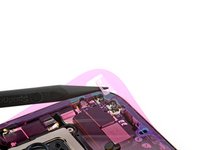
Align the back glass connector cover by its screw holes and lay it in place.
-
-
-
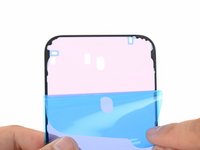
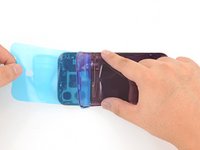
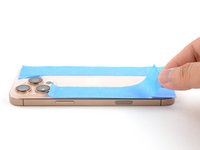
Use your fingers or a spudger to peel away all perimeter liners, exposing the adhesive.
-
Check the frame and back glass for any stray liners and remove them. There should be no liners remaining.
-
-
-
Use a hair dryer, heat gun, or an iOpener to heat the back glass perimeter until it's slightly too hot to touch.
-
-
-
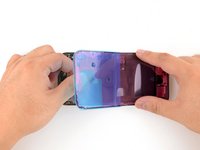
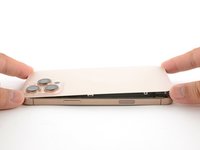
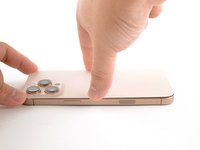
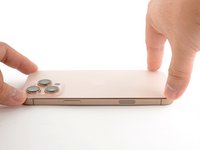
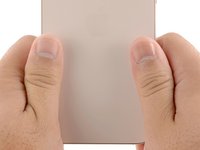
Use your fingers to firmly squeeze around the perimeter of the iPhone.
-
-
-
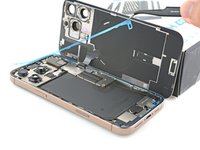
Use a P2 pentalobe driver to install the two 7.4 mm-long screws on either side of the charge port.
-


Congratulations, your new adhesive is good to go!
Congratulations, your new adhesive is good to go!

