
How to disassemble and clean your Roomba 560
Giriş
1. adıma gitThis guide will walk you through a complete disassembly of the Roomba's dust-bin, brush assemblies, and outer-housing.
Neye ihtiyacın var
Aletler


Daha fazlasını göster…
-
-
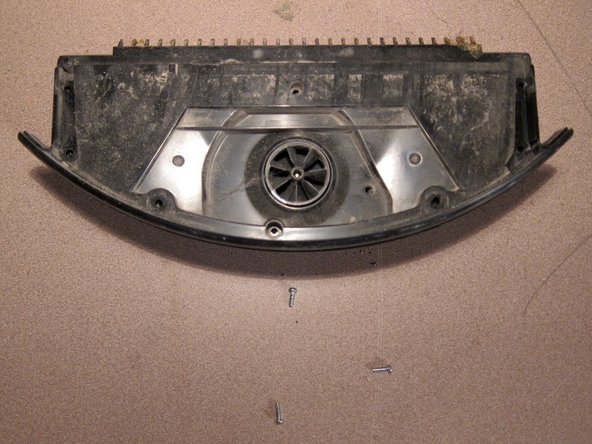
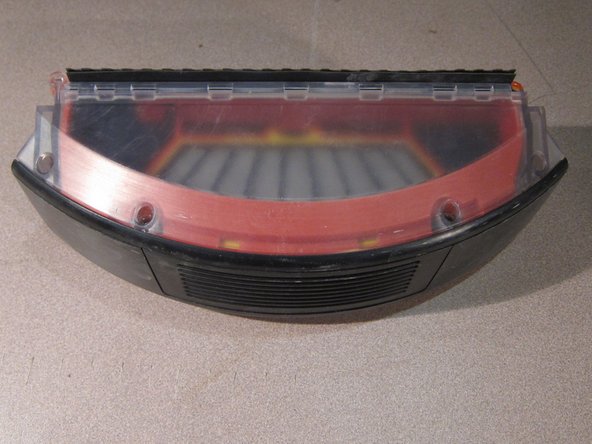
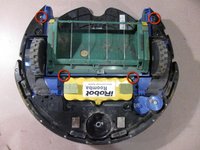
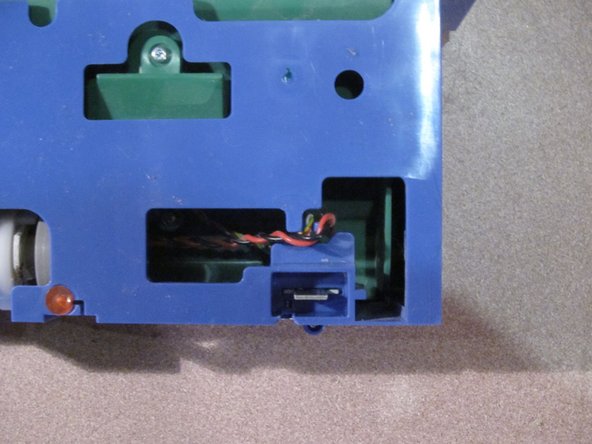
Remove dust bin from Roomba. This will be the first sub-assembly cleaned.
-
-
-
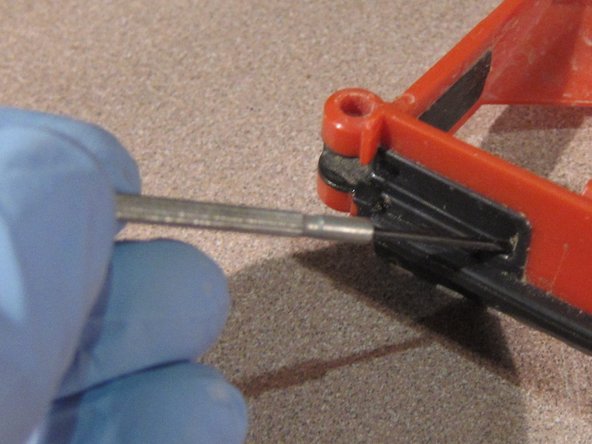
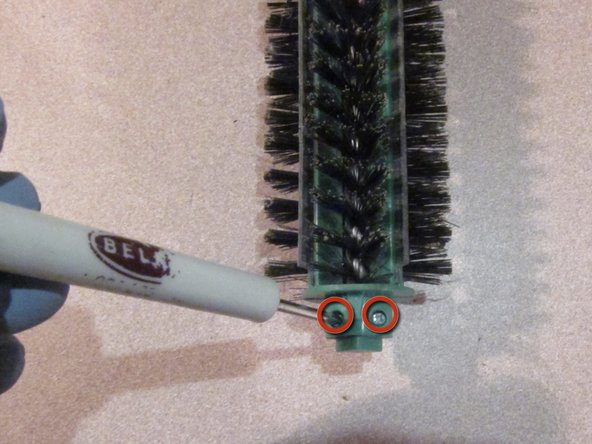
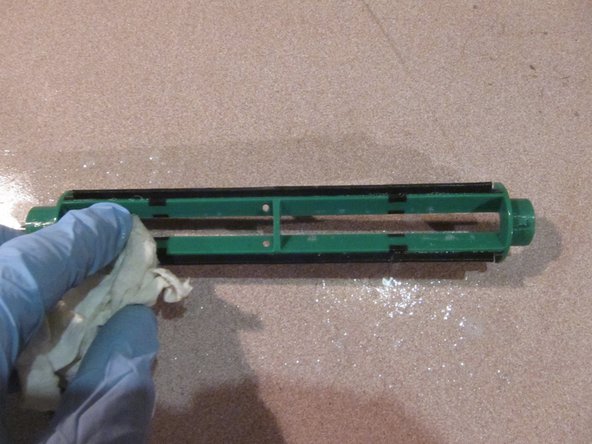
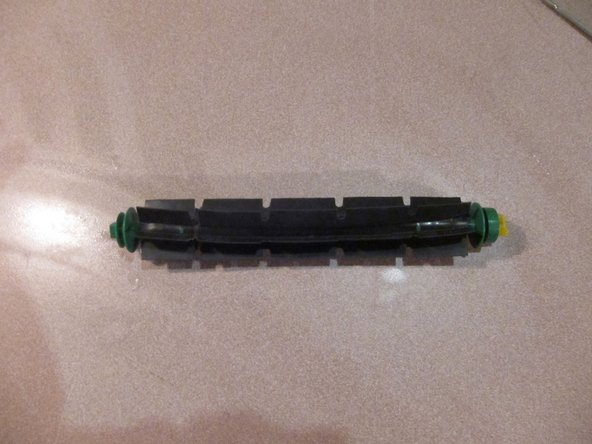
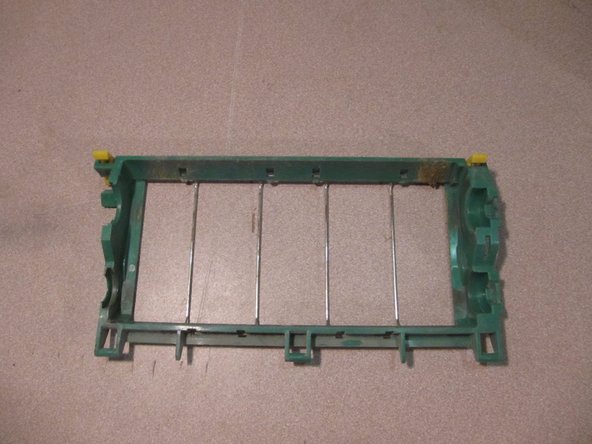
To re-assemble the green brush housing, push the green housing against the side of one row of bristles.
-
Push on the bristles until they no longer fan out and the bristle tips are lined up with the long slot in the green brush housing.
-
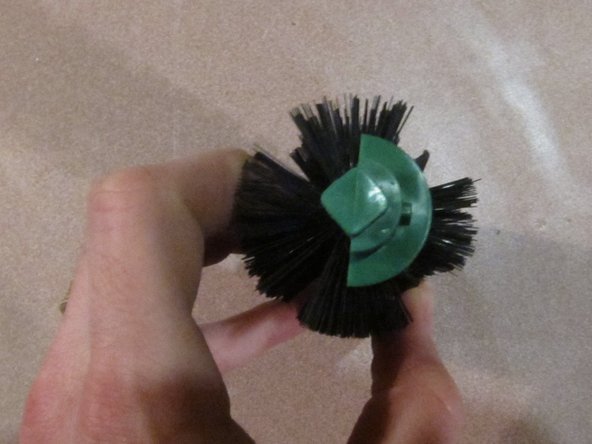
Rotate the green brush housing so the line of bristles goes through the slot in the green brush housing.
-
Repeat step for the other green brush housing.
-
-
-
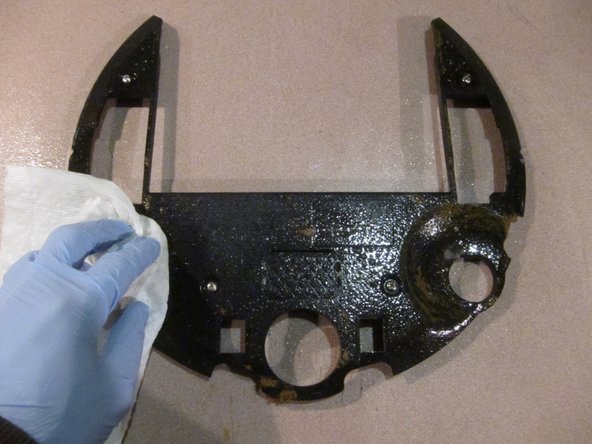
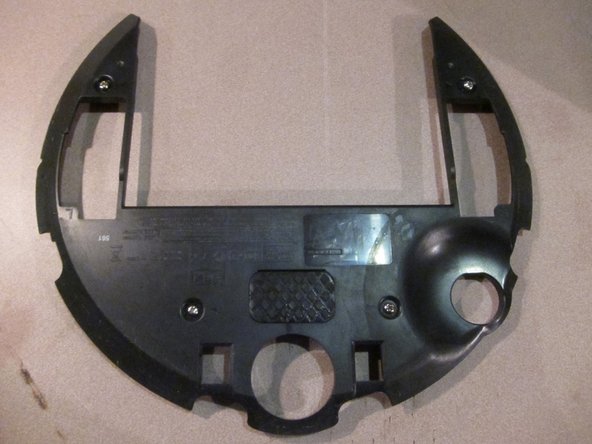
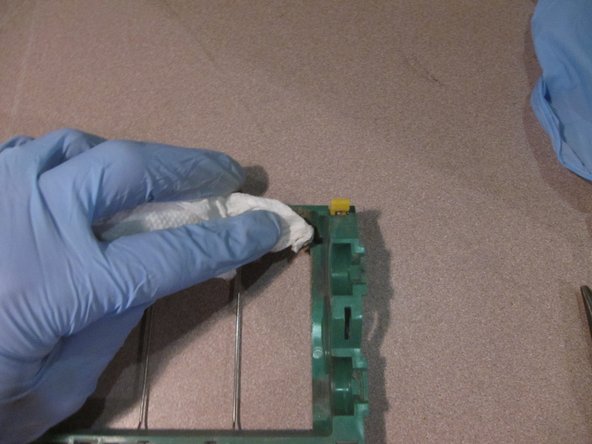
Spray all surfaces with cleaning solution. Wipe clean with paper towel. Follow up with smaller cleaning tools if necessary.
-
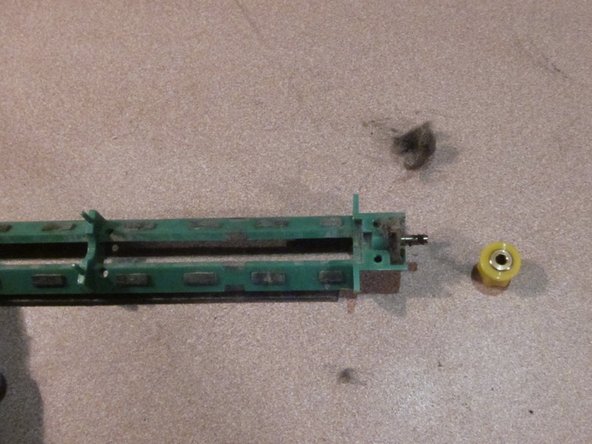
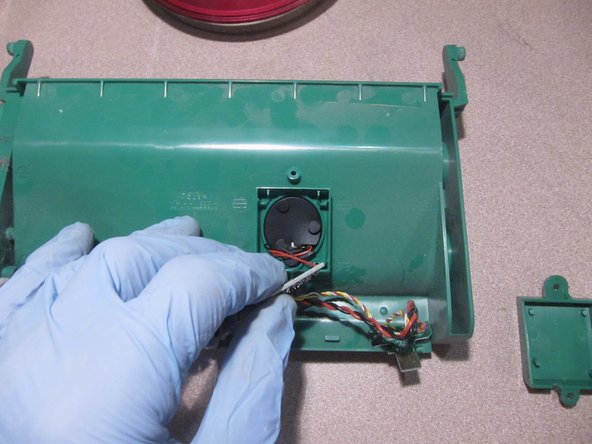
Clean yellow plastic end piece with cleaning solution and paper towel or cotton swab.
-
Replace yellow plastic end piece on axle.
-
Set aside for later installation.
-
-
-
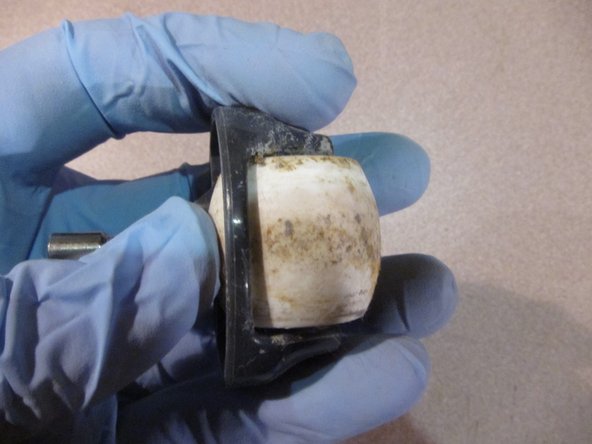
Remove the axle from the wheel.
-
Thoroughly clean the axle and the wheel with a paper towel and cleaning solution.
-
Thoroughly clean wheel housing with paper towel, cotton swab, and cleaning solution.
-
Re-assemble wheel housing by inserting axle in wheel and pressing wheel with axle back into wheel housing.
-
DO NOT insert wheel housing back into Roomba body. That will be done later.
-
-
-
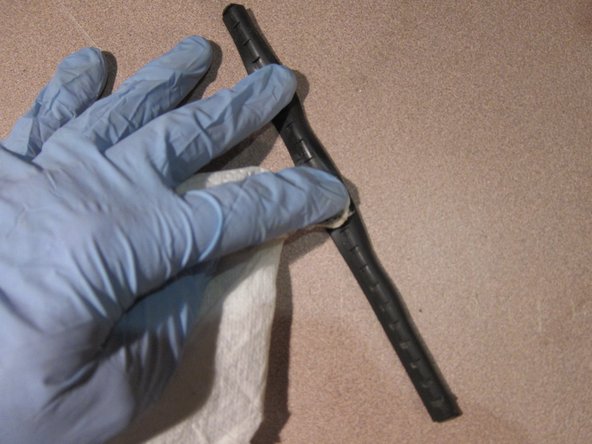
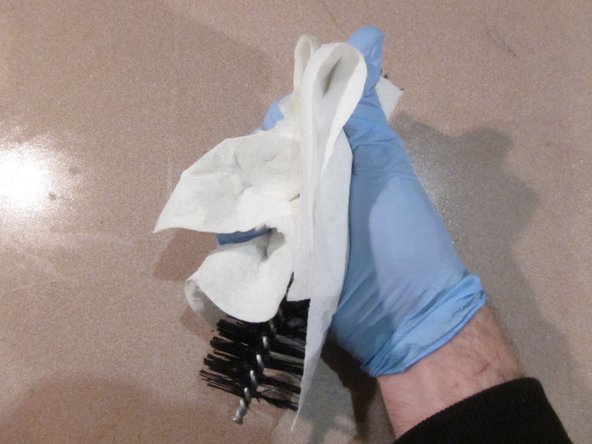
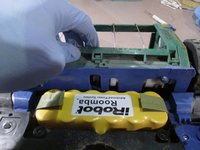
Place edge brush on paper towel and douse with cleaning solution.
-
Rub each set of bristles with paper towel until bristles appear clean and free of debris.
-
Place edge brush on a clean paper towel and douse with bleach water.
-
Rub each set of bristles with paper towel as you did earlier with the cleaning solution.
-
Set aside for later assembly.
-
-
-
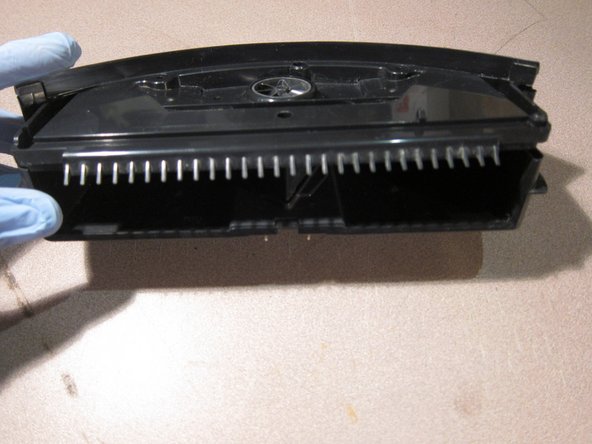
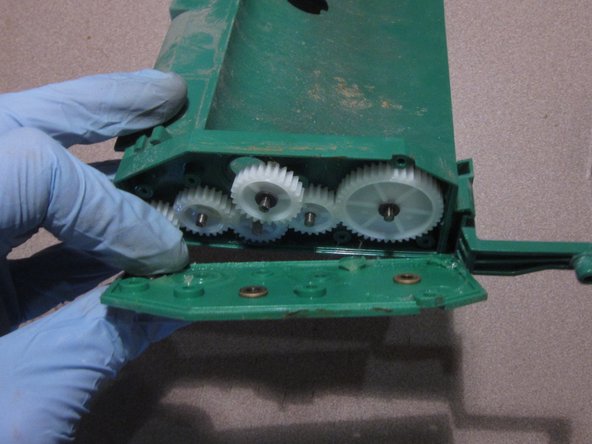
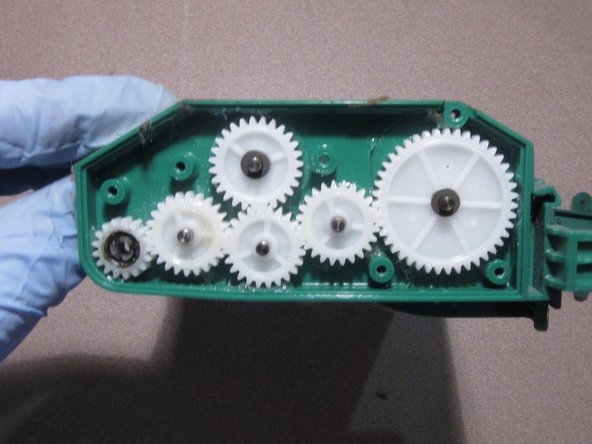
Place the brush assembly with the blue housing facing down.
-
Open the cage lid
-
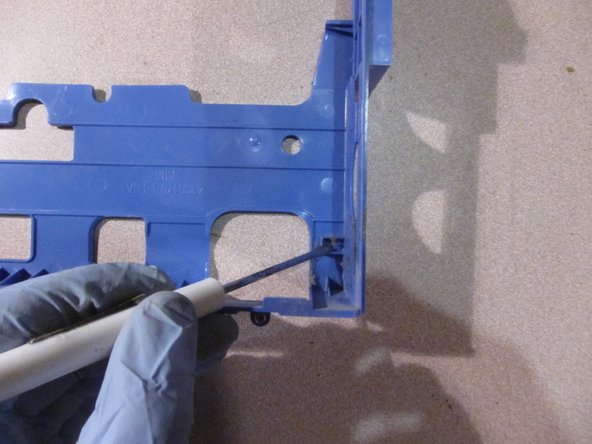
Remove the brush cage lid by firmly pulling up at the hinges. Remove one hinge at a time.
-
Clean all surfaces of the brush cage with cleaning solution, paper towels, and cotton swabs. You may need to use a pick to clean tight corners and slots.
-


To reassemble your device, follow these instructions in reverse order.
To reassemble your device, follow these instructions in reverse order.
İptal et: Bu kılavuzu tamamlamadım.
27 farklı kişi bu kılavuzu tamamladı.
4Kılavuz Yorumları
Just need to do that every few months and mine will probably last another year. I love the idea of the Roomba but the execution of the idea is worse than ...%#*@ I can't think of a poorer design built from as great an idea.
Thanks to the author for putting together such a complete guide to the most maintenance-heavy cleaning-maintenance device of all time.
Thanks.
I will add the companion guide for lazy people.
Step 1. Fire up your air compressor and attach a blower nozzle.
Step 2. Take the Roomba outside. Blow into everything you can. Dust will come out.
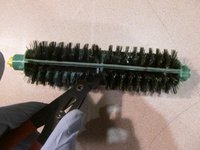
Step 3. Clip the wound-up hair out of the brushes, blow 'em clean again.
That's it. If you've got compressed air, maintaining a Roomba is simple. You could also just use that canned-air duster thing you have sitting next to your computer keyboard.
As far as problems go, only two problems ever seem to occur in real life. The battery is obviously one. The other is a failure somewhere in the cleaning head gear train. This is solved by simply replacing the cleaning head, a five-minute repair requiring a part you can buy on eBay for $50. Now you don't have to worry about taking the cleaning head apart and refurbishing it, because you're lazy and have money. Go ahead, do it the easy way. Get a new cleaning head, blow some compressed air through it while you have it apart, and your bot will be good as new.
I've had my roomba at least 5 years and I've had to fix the bump sensor twice. There is an LED deep in the guts of your roomba that gradually dims, and when it goes you get roomba going in circles and beeping nine times. You can fix it but it requires some crazy disassembly and some soldering. See here for a guide: http://www.schneordesign.com/Avi/irobot/...
I have some extra LEDs from the last time I did this.
An alternative is to replace a surface-mount component on the main circuit board with a different value to accommodate the dimming LED in the sensor. This modification was posted in I think 2011 by a USA uni prof - I forget who. The left bump sensor relevant component to be replaced is R87, a 20k resistor (marked 203 in sm value coding). For the right bump sensor it is R82 again a 20k resistor of course. In each case the component to be removed and replaced is sited adjacent and parallel to a 1k resistor (sm marking 102), R86 and R83 respectively. He suggested using 130k resistors as replacement components, I used 220k to get a few more years out of my ageing Roomba 530. 1/8th watt conventional resistors fit reasonably well in place of the sm devices. It seems the section of the main circuit board containing the parts to be replaced is common to many of the model numbers, including component IDs and layout even when other parts of the board differ to the extent of including extra switches for some models.