Giriş
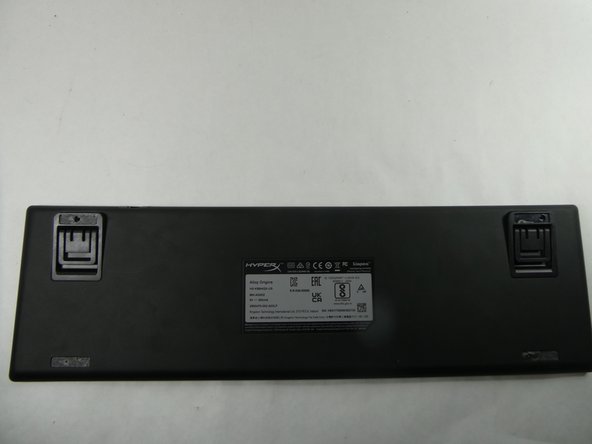
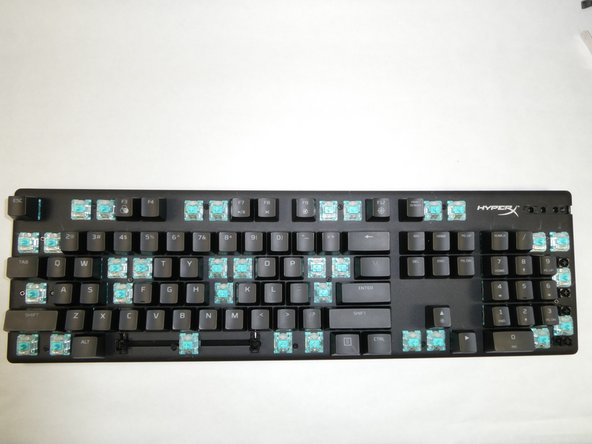
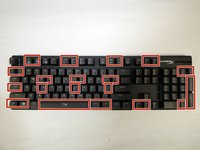
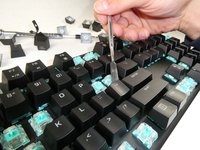
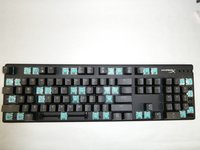
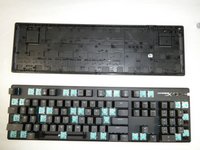
This guide will show how to replace the mechanical key switch LEDs from your HyperX Alloy Origins mechanical keyboard (serial number HX-KB6RDX and its variants).
The HyperX Alloy Origins mechanical keyboard provides RGB lighting to each of its keys through switch-mounted LEDs. Therefore, it is necessary to remove an entire key switch whenever its corresponding LED needs to be replaced.
Before beginning LED replacement, be sure to visit the troubleshooting page before making permanent changes to the PCB! This guide should only be used in the event that one or more keys do not light up while the remaining key LEDs are properly functioning.
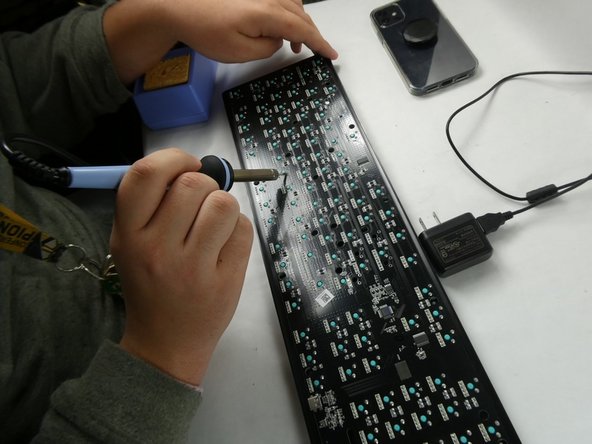
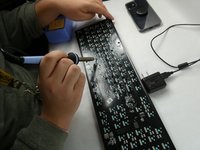
Usage of a desoldering iron or a desoldering pump (alongside a normal soldering iron) is strongly recommended. The HyperX key switches contain pins which make it difficult to wick away solder. This guide uses a sole soldering iron for demonstration purposes only.
Neye ihtiyacın var
-
-
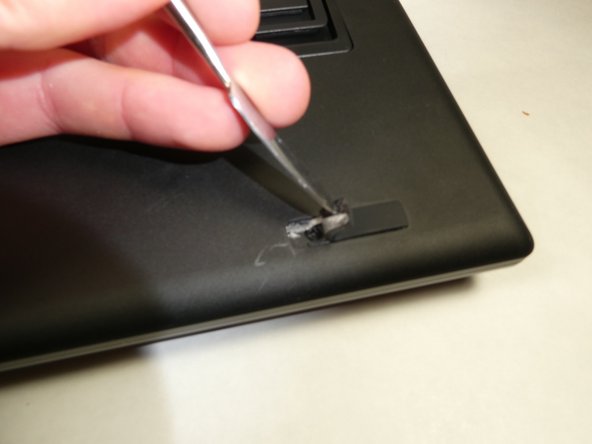
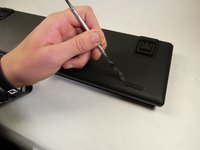
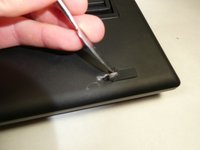
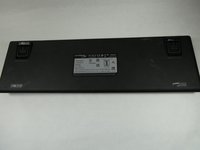
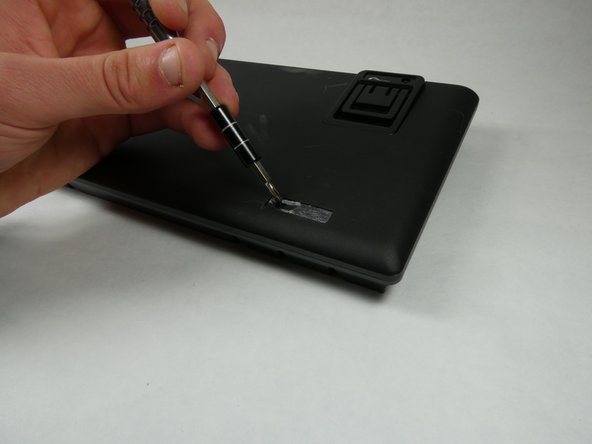
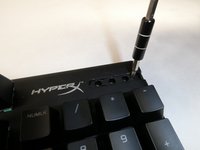
Locate the toggle indicator tab on the top right corner of the keyboard.
-
-
-
-
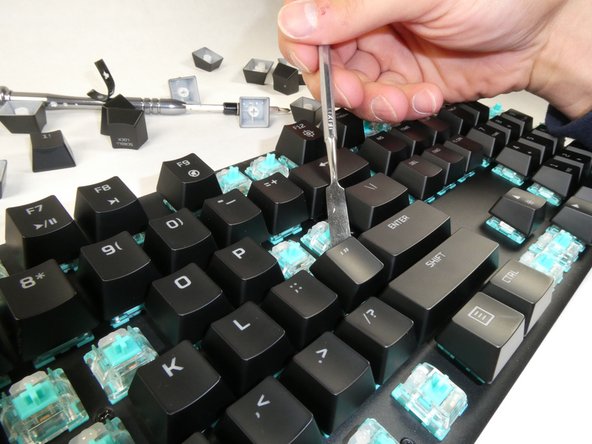
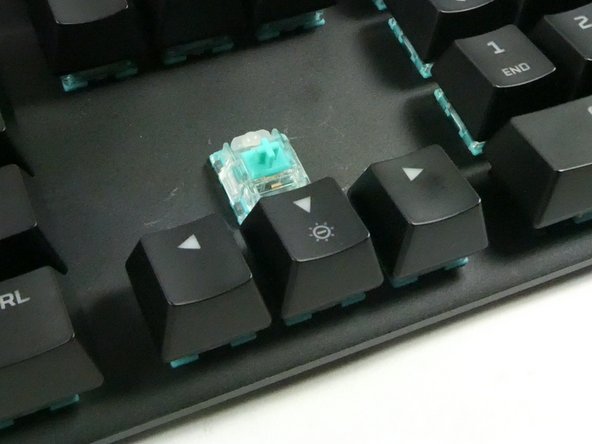
Identify the key switch to be replaced.
-
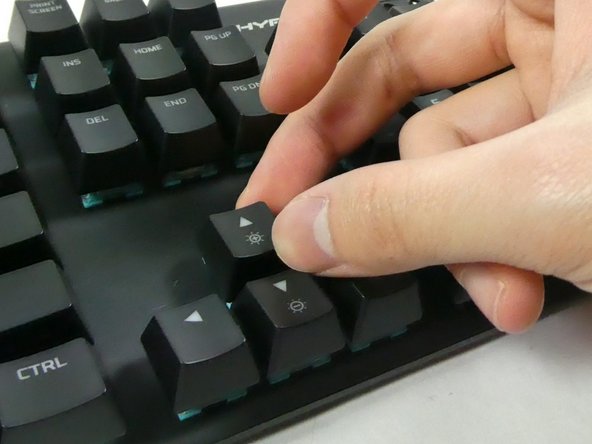
Remove its keycap by carefully prying it off of the keyboard with your fingers.
-
-
Bu adımda kullanılan alet:Desoldering Pump$3.99
-
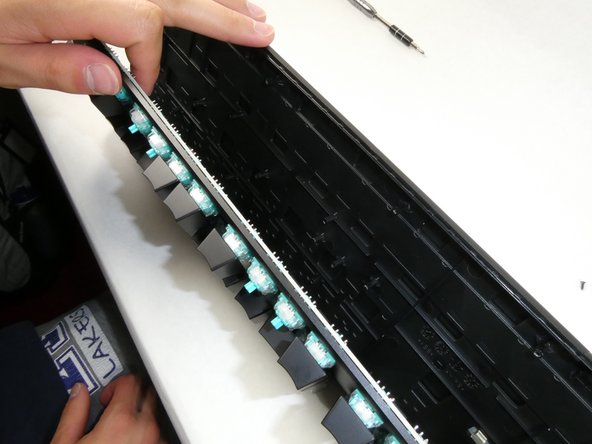
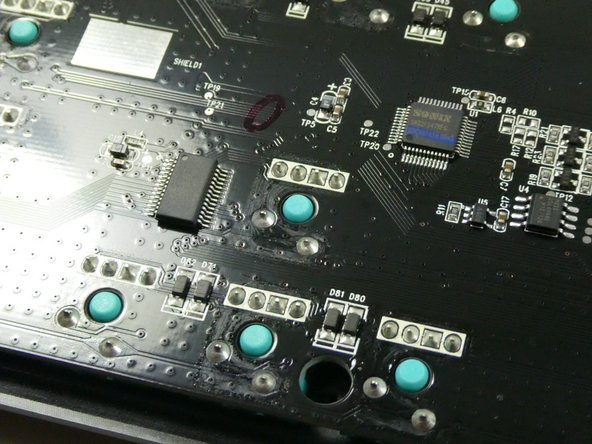
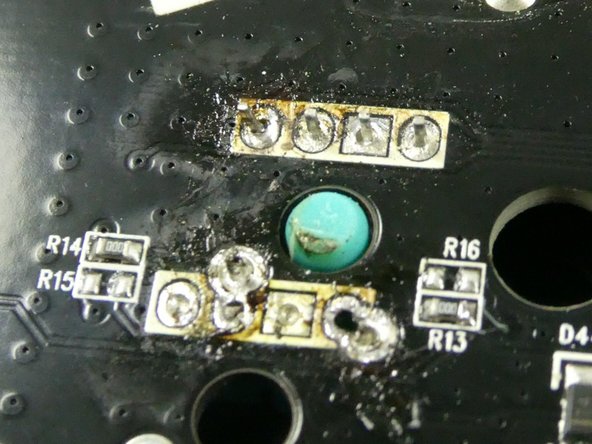
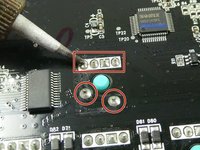
Melt the solder surrounding the four pins of the switch's LED, and the two lower pins of the switch body.
-
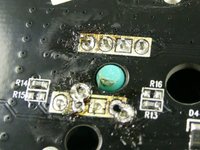
To remove the melted solder, use a desoldering iron, a desoldering pump, or desoldering braid.
-
To reassemble your device, follow these instructions in reverse order. Note that when reattaching the switch back to the keyboard PCB, the switch needs to be held in place behind the keyboard while soldering.
2Kılavuz Yorumları
Hola, muy buena guía.. quizá no lo vi mencionado, pero que modelo? Nombre, tiene el LED en especifico.
Quiero conseguir el repuesto ya que tengo un led que no enciende el color verde. Entonces quería cambiarlo
Hola buenas noches tengo el teclado hyperx alloy origins alguien ha tenido problema que al guardar una configuracion de colores bien sea en F1, F2, F3 el teclado deja de funcionar y se demora alrededor de 1 hora en guardar la configuracion? aproposito el teclado funcionaba normalmente pero un dia el rgb no volvio a encender y en el software Ngenuity se ve el efecto Wave activo.
ya he usado la tecla FN + ESC . ALT IZQ + ESPACIADORA + FN , he reinstalado Ngenuity, he probado en otro pc pero la situacion sigue igual. si alguien me puede ayudar le estaria agradecido.


