Giriş
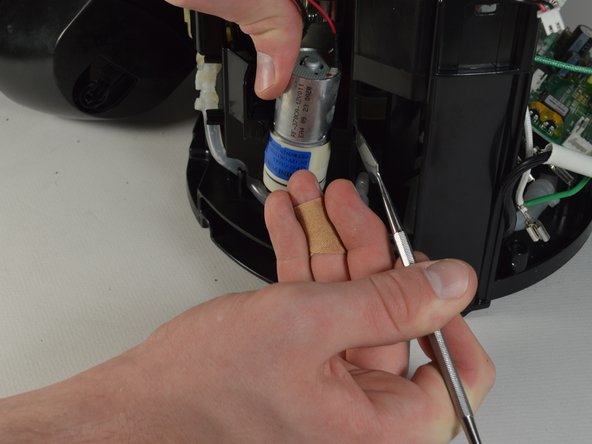
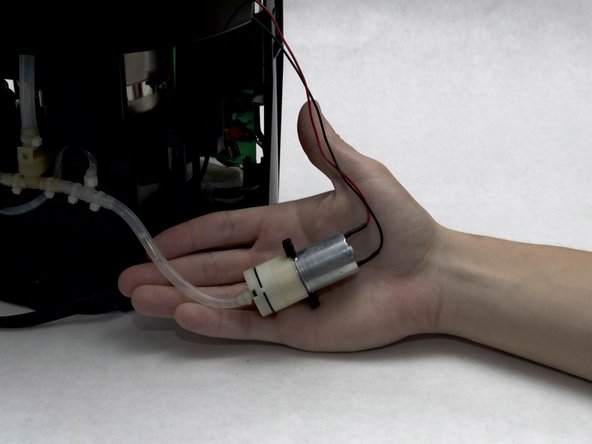
In this guide, you will replace the mini pump. This is necessary if the Keurig is leaking or if liquid is not dispensed properly.
Neye ihtiyacın var
-
-
-
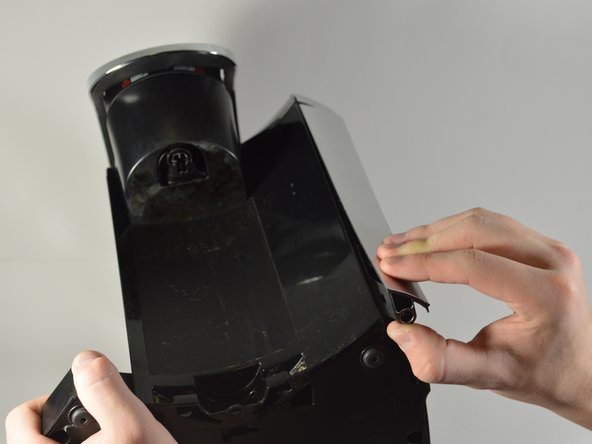
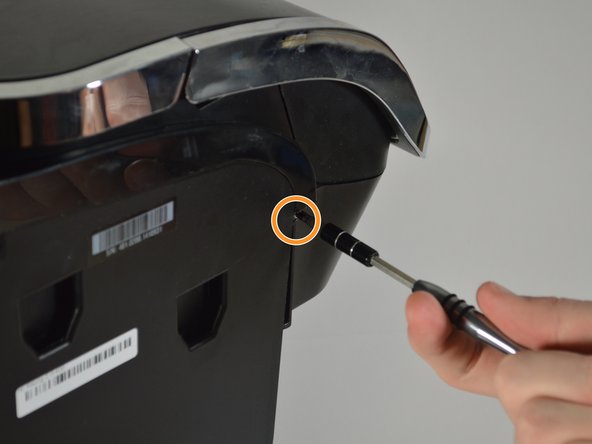
Use the Phillips #1 screwdriver to remove the 120mm screw located on the top left corner from the side of the brewer where the water reservoir was.
-
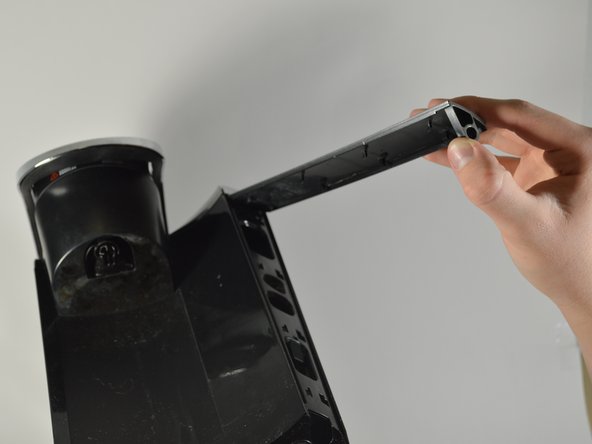
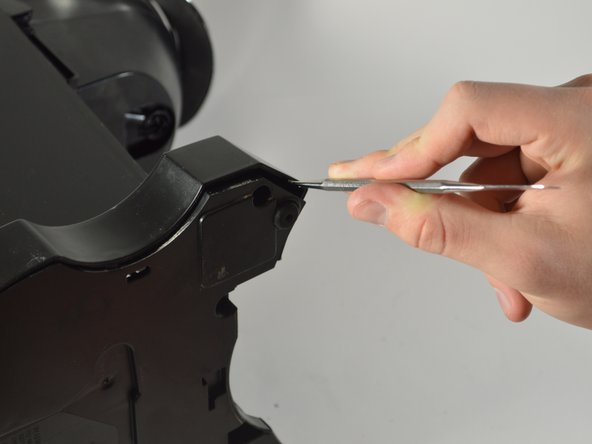
Use the Phillips #1 screwdriver to remove another 120mm screw located under the end of the empty slot running across the left side of the Keurig.
-
-
-
Reorient the brewer as shown in the picture.
-
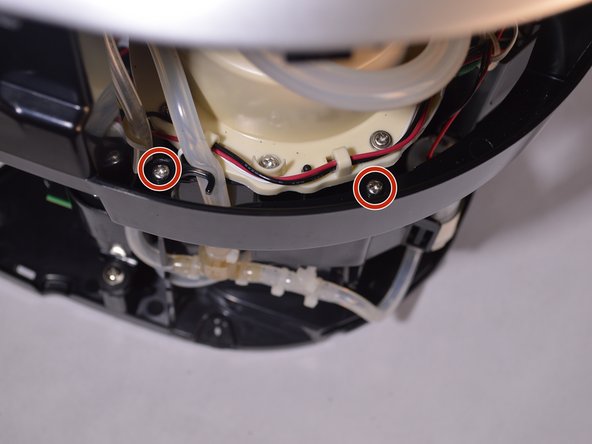
Locate the four 140mm screws holding the top frame of the Keurig in place. Remove these screws using the Phillips #1 screwdriver.
-
Two of the screws are on the inside of the frame close to the water heater.
-
The other two screws are located on the outside of the frame.
-
-
-
Remove the top of the framing that encases the circuit board.
-
Remove the wires that are connected to the top of the circuit board.
-
Pull out the multicolored wires by their bases.
-
The bundle with black wires and one red wire is connected to the very top of the circuit board. To remove these wires, squeeze in the white tabs as you pull them out.
-
To reassemble your device, follow these instructions in reverse order.
To reassemble your device, follow these instructions in reverse order.
İptal et: Bu kılavuzu tamamlamadım.
8 farklı kişi bu kılavuzu tamamladı.
5 Yorum
Why remove the circuit board?
Exactly my question ;)
Link to a new pump please
I agree. Why take out the circuit board. On the older Keurig models it was necessary to obtain access to the minipump, but for the 2.0 once the casing is completely removed access to the minipump is simple. However, if due to the failure of the minipump the pressure sensor ended up getting wet, then there might be a reason: to replace the sensor. There are videos claiming that 0V (0mV in this case) is the right output for the sensor. Not so, the correct output should be around 40mV when the pressure is zero. To test this, attach a voltmeter across pins 1 (-) & 3 (+) on the circuit board (pin 1 is above where the tube goes into the circuit board on the upper left side, 3 is upper right side, pins 4, 5, 6 on the bottom. Spec sheet for that device (FPN-07PG) is at https://www.fujikura.co.jp/eng/resource/.... With the tube disconnected, it will read ~.040 V. If it doesn't, try adding or subtracting pressure using a syringe--the voltage output should change.
Here is the spec sheet for the minipump: https://koge-europe.com/wp-content/uploa...


