
Kindle Fire HD 6 Screen Replacement
Giriş
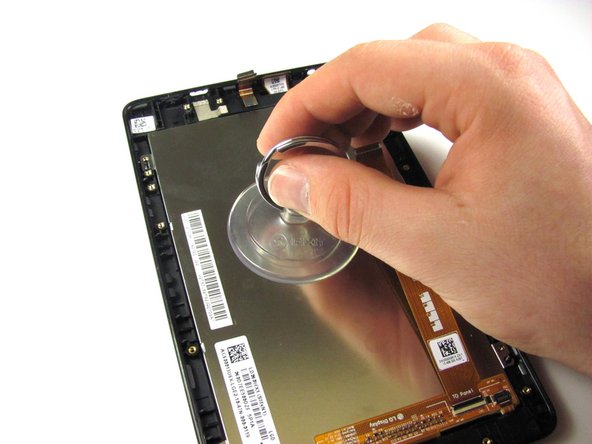
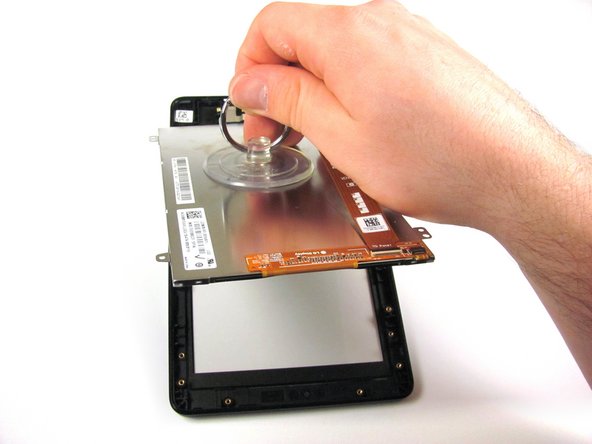
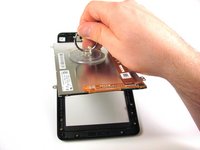
1. adıma gitThis guide explains how to remove the screen from the Kindle Fire HD 6. This guide has many steps, so make sure to give yourself enough time to complete all of these.
Note that some of the connectors in this guide are delicate and require special removal, so make sure to read the steps completely before attempting them.
Neye ihtiyacın var
Parçalar
Aletler
Daha fazlasını göster…
-
-
Place the device face down on a clean cloth or another smooth surface.
-
Insert the plastic opening tool between the device’s front and back panels. You might need to wiggle the tool up and down to wedge it in the gap.
-
Maneuver the tool around the device until the back unclips from the front panel.
-
-
-
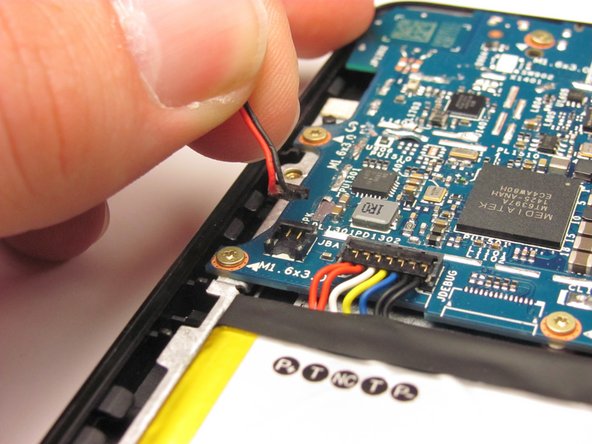
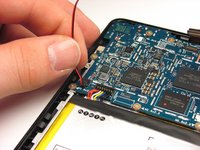
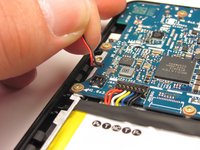
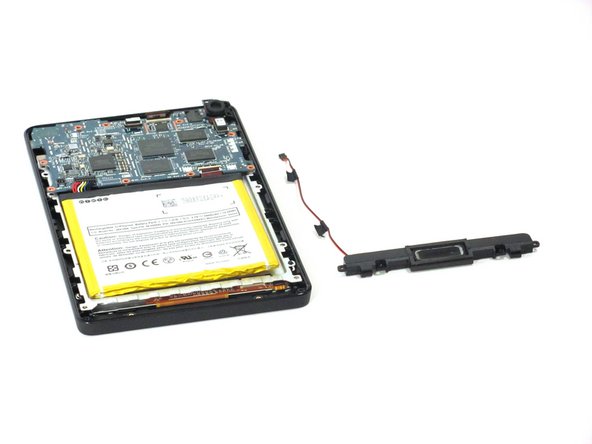
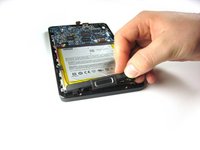
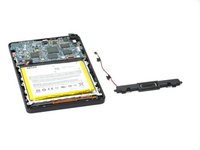
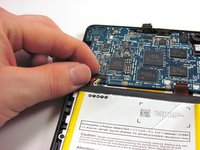
Unclip the speaker wire that runs up the side of the battery and clips into the motherboard next to the battery connector. Gently pull it straight up.
-
-
Bu adımda kullanılan alet:iOpener$12.99
-
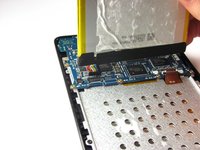
Gently pry the battery free from the adhesive holding it in place.
-
If you're having trouble working the battery free, warm it up with an iOpener or hair dryer to soften the adhesive, and then slide a credit card behind the battery to break up the adhesive.
-
-
-
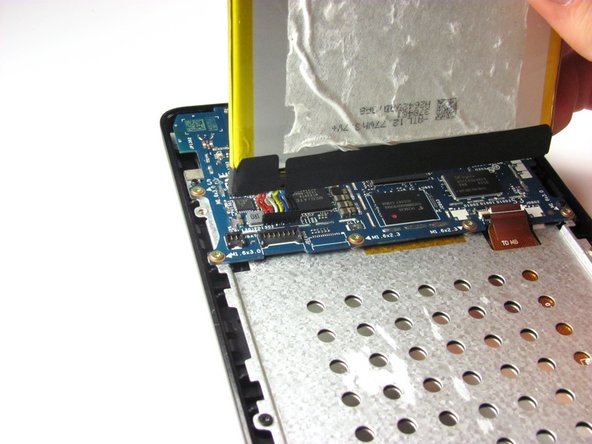
Remove the multi-colored connector that joins the battery and the motherboard by pulling it straight up.
-
Remove the battery.
What if the connector on the motherboard to the battery got damaged in the process of removing the battery?
-
-
-
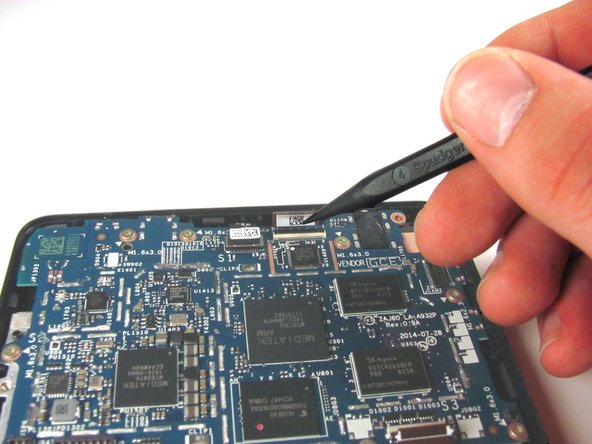
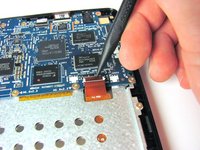
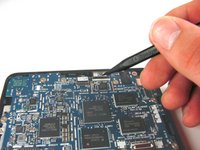
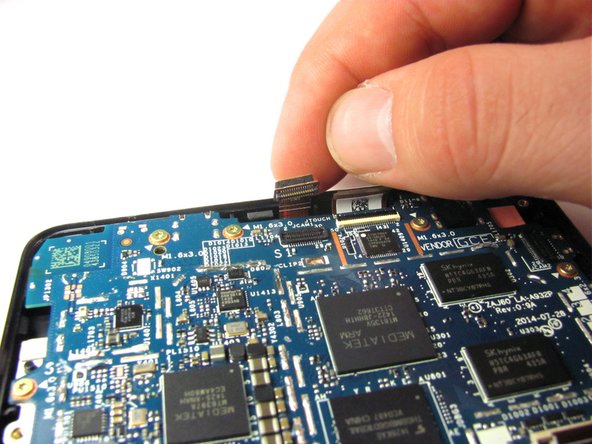
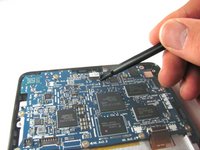
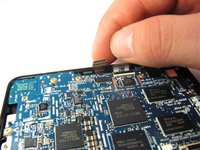
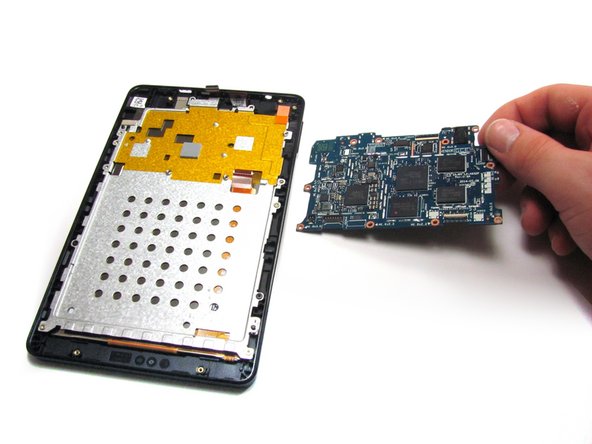
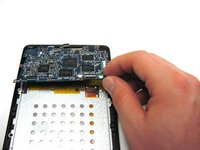
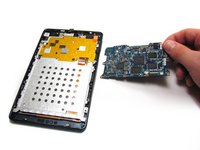
Use the tip of the spudger to disconnect the two zero insertion force connectors on the bottom and top of the motherboard.
-
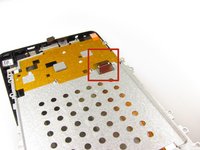
The first connector is attached to an orange tape, and is located in the bottom-right corner of the motherboard. Remove this connector.
-
The second connector is long and thin, and is located at the top of the motherboard, a bit to the right of center. Remove this connector.
When I re-insert the orange ribbon cable, it does not connect the motherboard to the display anymore unless I have my finger on it in a certain way like it's using it as a wire. I don't know if I can get the cracked display back to how it was until new ones are back in stock (if they ever do come back for this old tablet model :/). I haven't tried snapping the back cover back on, because it's a pain to remove and I'm doubting the black pad that presses onto that ribbon cable is gonna fix it.
Edit: Also the digitizer quit working after trying to snap it off and then changing my mind. When I put force onto it, the tablet responds with a mysterious touch somewhere on screen, but I guess this tablet is stuck this way until I can buy an LCD replacement and maybe a new digitizer.
-
-
-
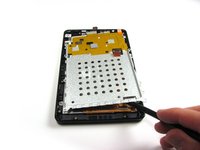
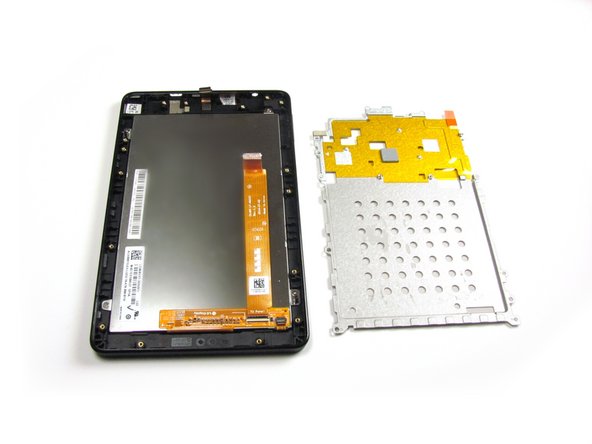
Remove the five gold-colored 2mm T5 Torx screws from the metal plate.
-
To reassemble your device, follow these instructions in reverse order.
To reassemble your device, follow these instructions in reverse order.
İptal et: Bu kılavuzu tamamlamadım.
11 farklı kişi bu kılavuzu tamamladı.
8Kılavuz Yorumları
Yes, author didn't go the complete distance. When actually removing glass by heating til adhesive softens. And releases from the bezel. Before tossing the cracked digitizer, I noticed 2 silver rectangle pieces, stuck to outer glass adhesive. That had black double stick tape on these pieces of silver colored metal which are a smaller rectangle. And somewhat camouflaged their existence . And I determined, they stick to rectangle recesses in the bezel. Easily overlooked by most. I hunted around, never finding any reference anywhere in text or video. However, I did find a picture of them. On a pink colored bezel on ebay. I don't know their function, but, could it the source of the problem that people are experiencing. After they replace digitizer they can't get the fire hd 6 to recognize it. DON'T KNOW! Hope you can shed some light on this!!! Other than this snafu, I give author good marks for the rest of very helpful guides Thank you.
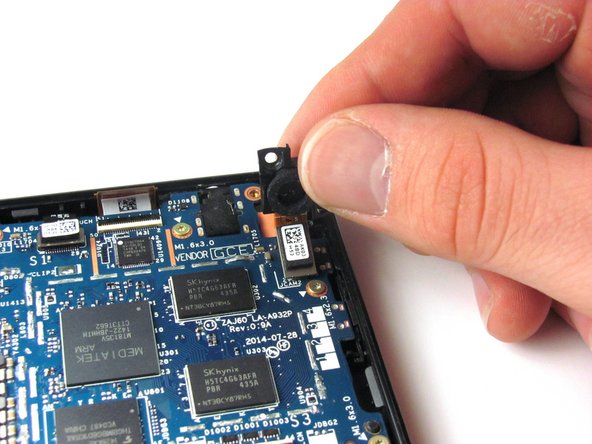
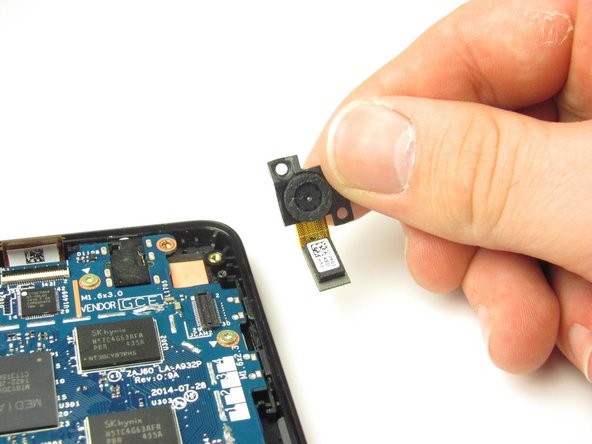
I just did this, twice actually. The first time I tried to separate the new digitizer from the frame, since the replacement frame was black and my original was blue. BAD IDEA. Don't do it - trying to get it out of the frame, settled into the original one, including the metal spacers referred to above, is bound to fail. Just remove the camera from the old frame with the cracked digitizer and move it to the new one - it's only taped in place. Other than that and the fact that the article *seriously* understates the incredible amount of 2-sided glued foam that holds the battery in, the replacement was a breeze.
Add me to the list of people who tried this but ended up with a non-working digitizer after replacement. Anyone ever figure this out?
Add me to the list of people who tried this but ended up with a non-working digitizer after replacement. Anyone ever figure this out?
see my comment below. I finally got it to work. no ned to take apart so much and digitizer connector alignment is key.
Bought a digitizer replacement for my hd6 which had the worst cracked screen ever though everything else worked. After looking at this guide and other things I found on youtube I was finally able to successfully replace the digitizer by removing the back cover. Unhooking the battery, and then unhooking the digitizer cable at the top of the back it is a zif connector. Then I used a hot air gun or a blow dryer could be used to work around top edges of screen and a slim blade to get under screen and remove it. Once I cleaned up the broken glass, I used tape on screen to catch most of it and left over goo. I fit new digitizer screen on, alignment is key for the connector. Also don’t forget to remove the inner screen protector and tape. The hardest part was digitizer connector to get it aligned just right. It is now working! I am suspecting that those who have one not working either don’t have it aligned properly (it really is fussy) or possible messed up the ribbon on the connector. Good luck!

















I wasn't sure that I would be able to fix my kindle. I did purchase another kindle, which was alright. I wanted a second kindle so with the purchase and my old one know fixed I am really glad. I feel if I have any future problems I will be able to fix it myself.
RUBY PEOPLES - Yanıt
i had a battery that wouldn't even last a full day in the end. by accident i let the battery fall below 10% charge and when turned on it only showed the battery icon. I fully charged it and now i am having no problems with it. what i think happened is it reset the batteries memory and that was the problem. worth trying anyway before buying a new battery.
soupamanx - Yanıt