Giriş
The Kindle Fire HD 8.9" device comes equipped with 2 cameras. There is a rear-facing camera that is 2 megapixels (MPs) on base models and a front facing camera that is 2 MPs. (Some units have an upgraded rear-facing camera that is 5 MPs).
Occasionally, due to age or rough handling, these cameras may need to be replaced or upgraded. The guide below will walk you through the steps involved to open, locate, and remove the existing camera for replacement.
Neye ihtiyacın var
-
-
Insert a large plastic opening tool next to the Kindle's headphone jack.
-
Move the plastic opening tool evenly around the Kindle, separating the two halves.
 FixBot'a Sor
-
-
-
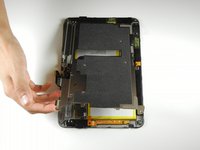
Set the Kindle down on the rear case.
-
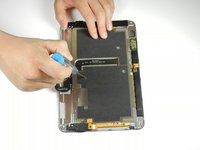
Holding the display assembly near the camera, carefully open the display assembly up to about 90 degrees from the rear case.
-
-
-
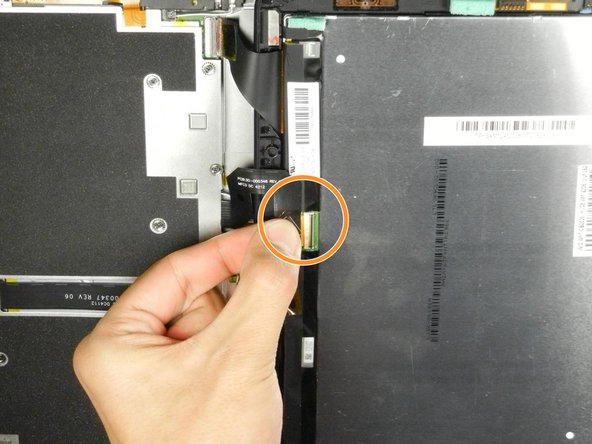
Lift the retaining flap on the ZIF connector of the upper flex cable.
-
Gently pull the cable out of its socket.
-
-
-
-
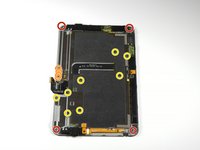
Remove the following sixteen screws from the metal midframe on the rear of the device:
-
Four 3 mm Phillips screw (located in each corner of the device - noted in red in the diagram)
-
Four 3 mm Phillips screws (surrounding the ports - noted in orange in the diagram)
-
Eight 3 mm Phillips screws (located around the body of the midframe - noted in yellow in the diagram)
-
-
-
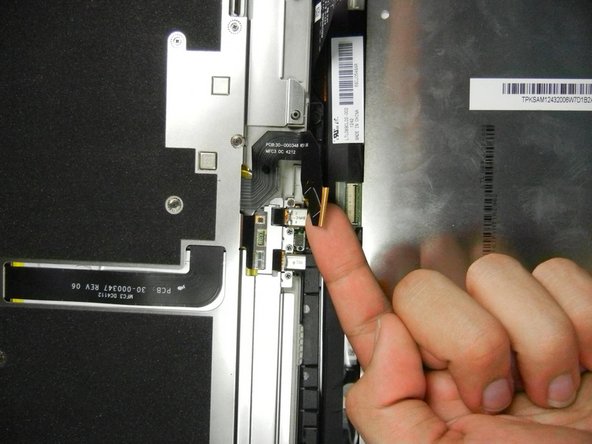
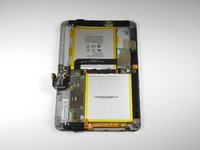
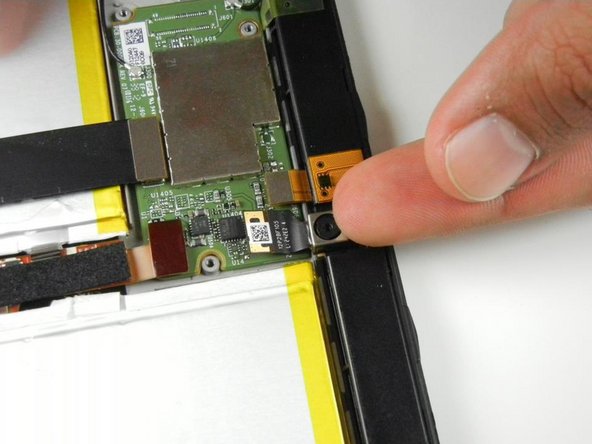
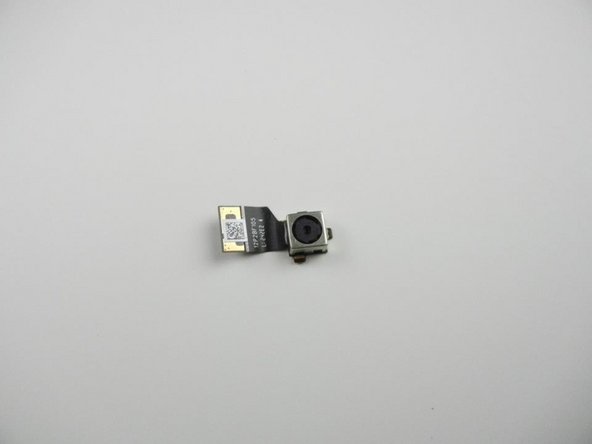
After taking off the metal casing, locate the camera.
-
Use your index finger to carefully lift up the silver clip located just under the camera. It will click when it comes loose.
-
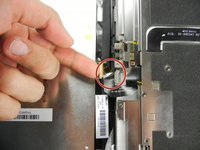
After you snap up the silver clip, move your finger to the opposite side so that you are now pointing into the Kindle.
-
Push the camera outwards towards the edge of the device in order to remove it.
-


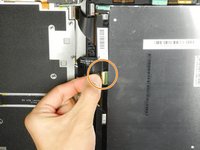


To reassemble your device, follow these instructions in reverse order.
Ekip

Cal Poly, Team 5-16, Forte Winter 2013 Cal Poly, Team 5-16, Forte Winter 2013 üyesi
CPSU-FORTE-W13S5G16
5 Üyeler
14 adet Kılavuz yazıldı