Ana içeriğe geç

LG VX6100 Main Display Replacement

Neye ihtiyacın var

  1. LG VX6100 Main Display Replacement, Battery: adım 1, 1 resimden 1.
    • Open the battery casing by pressing the gray "PUSH" button. Slide the back of the casing downward.

    • Carefully remove the faulty battery from the back of the phone.

    • Inspect the battery port to ensure the battery is the issue. Ensure the four gold connecting prongs are intact and are pointing straight into the port.

  2. LG VX6100 Main Display Replacement: adım 3, 1 resimden 1.
    • Align the gold prongs with the gold plates on the bottom of the battery. Make sure "This Side Up" is visible

    • Push the battery flat against the back of the phone until it clicks into place.

    • Replace the back cover of the phone by sliding the casing down into place. Gently press the top until it clicks.

    • Charge the device and turn it on to confirm the issue is resolved.

  3. LG VX6100 Main Display Replacement, Front Case: adım 5, 1 resimden 1.
    • Remove the four grey plugs using either tweezers or a push pin.

  4. LG VX6100 Main Display Replacement: adım 6, 1 resimden 1.
    • Remove the four screws that are now exposed using a Phillips #00 screwdriver.

    • Be sure to put the screws in a safe place as they are very small and easy to lose.

  5. LG VX6100 Main Display Replacement: adım 7, 1 resimden 1.
    • Once all the screws have been removed, use a plastic opener tool to pry the case from the rest of the phone.

    • Insert the opener tool into the seem between the case and the phone. Apply pressure to separate the two pieces.

    • Do this across the entire length of the seem until the case is no longer attached to the phone.

  6. LG VX6100 Main Display Replacement: adım 8, 1 resimden 1.
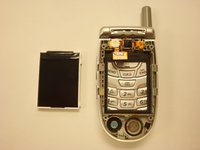
    • The case can now be removed and the interior of the front is accessible.

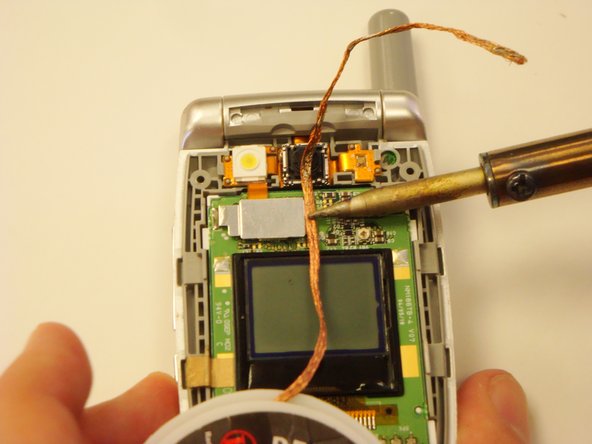
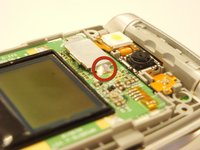
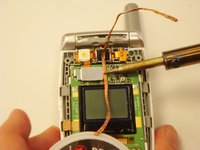
  7. LG VX6100 Main Display Replacement, Main Display: adım 9, 2 resimden 1. LG VX6100 Main Display Replacement, Main Display: adım 9, 2 resimden 2.
    • Locate the solder on the side of the metal plate on the top half of the phone.

    • Place a piece of solder wick on top of the solder.

    • To desolder the connection, very carefully place the tip of the soldering iron on top of the solder wick. Hold it steady until the solder is soaked up into the solder wick.

    • The soldering iron will damage circuitry if held down for too long.

    • Cut off the used solder wick with pliers and repeat this step if any solder remains.

  8. LG VX6100 Main Display Replacement: adım 10, 1 resimden 1.
    • After the solder has been removed, pry off the camera assembly connection shield with the plastic opening tool.

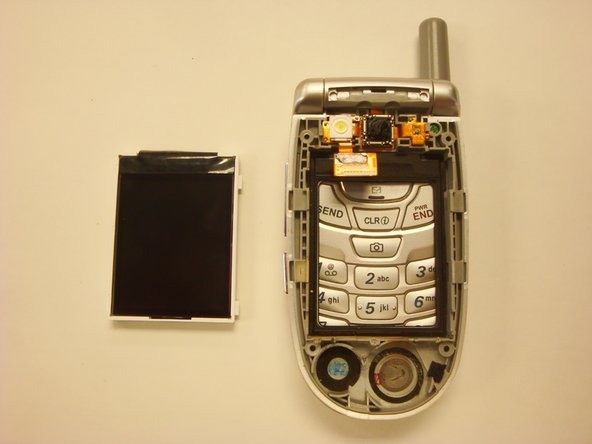
  9. LG VX6100 Main Display Replacement: adım 11, 2 resimden 1. LG VX6100 Main Display Replacement: adım 11, 2 resimden 2.
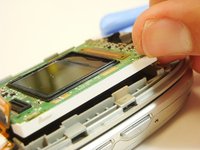
    • Remove the main display by lifting up the extruded white edge with your fingernail.

Sonuç

To reassemble your device, follow these instructions in reverse order.

Ryan Bishop

Üyelik tarihi: 04/17/12

1 İtibar

3 adet Kılavuz yazıldı

Ekip

Cal Poly, Team 12-39, Regan Spring 2012 Cal Poly, Team 12-39, Regan Spring 2012 üyesi

CPSU-REGAN-S12S12G39

3 Üyeler

16 adet Kılavuz yazıldı

0 Yorum

Yorum Ekle

İstatistikleri Görüntüle:

Son 24 Saat: 0

Son 7 gün: 0

Son 30 gün: 1

Her zaman: 1,076