Ana içeriğe geç

Lenovo Yoga 900-13ISK Display Opening Prerequisite

Salt Önkoşul
Bu kılavuz yalnızca diğer kılavuzlar için bir ön koşul olarak kullanılmak üzere tasarlanmıştır. Tek başına eksiktir.

Neye ihtiyacın var

  1. Lenovo Yoga 900-13ISK Display Opening Prerequisite, Display Opening Prereq: adım 1, 1 resimden 1.
    • Apply heat along the bottom and left edges of the screen, either with a heat gun or iOpener.

    • Check out our iOpener Instructions if you need help!

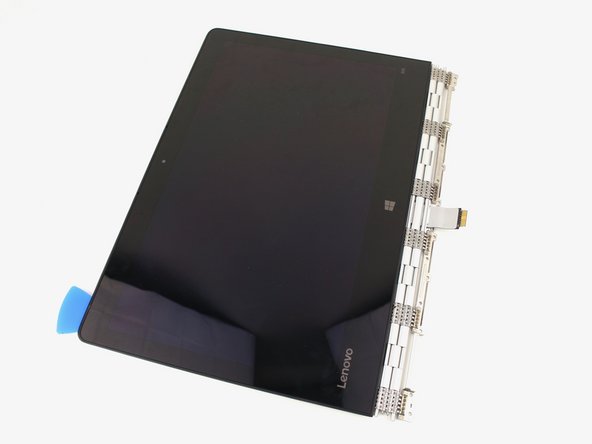
  2. Lenovo Yoga 900-13ISK Display Opening Prerequisite: adım 2, 2 resimden 1. Lenovo Yoga 900-13ISK Display Opening Prerequisite: adım 2, 2 resimden 2.
    • Insert an opening pick into the corner of the screen and slide it around slightly to create an opening.

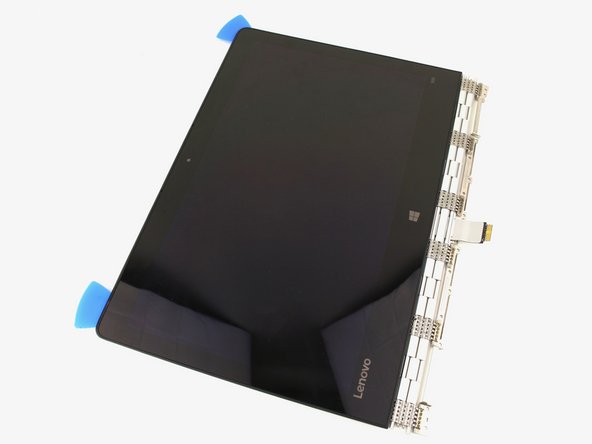
  3. Lenovo Yoga 900-13ISK Display Opening Prerequisite: adım 3, 3 resimden 1. Lenovo Yoga 900-13ISK Display Opening Prerequisite: adım 3, 3 resimden 2. Lenovo Yoga 900-13ISK Display Opening Prerequisite: adım 3, 3 resimden 3.
    • Insert a second opening pick and slide it along the side of the display, cutting away the adhesive.

  4. Lenovo Yoga 900-13ISK Display Opening Prerequisite: adım 4, 1 resimden 1.
    • Use a heat gun or iOpener to apply heat to the top and side edge that have not yet been opened.

  5. Lenovo Yoga 900-13ISK Display Opening Prerequisite: adım 5, 3 resimden 1. Lenovo Yoga 900-13ISK Display Opening Prerequisite: adım 5, 3 resimden 2. Lenovo Yoga 900-13ISK Display Opening Prerequisite: adım 5, 3 resimden 3.
    • Continue cutting away the adhesive on the top and side edges of the display.

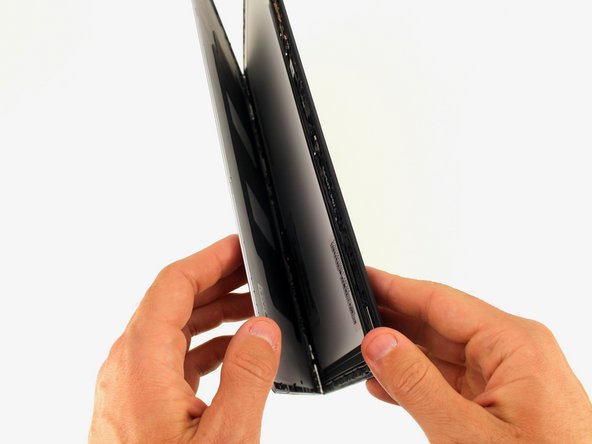
  6. Lenovo Yoga 900-13ISK Display Opening Prerequisite: adım 6, 3 resimden 1. Lenovo Yoga 900-13ISK Display Opening Prerequisite: adım 6, 3 resimden 2. Lenovo Yoga 900-13ISK Display Opening Prerequisite: adım 6, 3 resimden 3.
    • Open the display casing along the top edge.

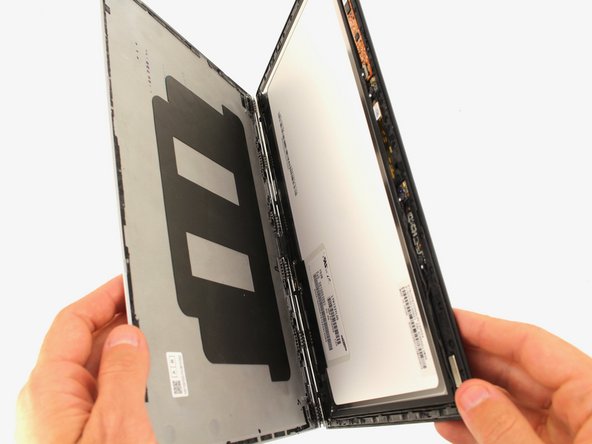
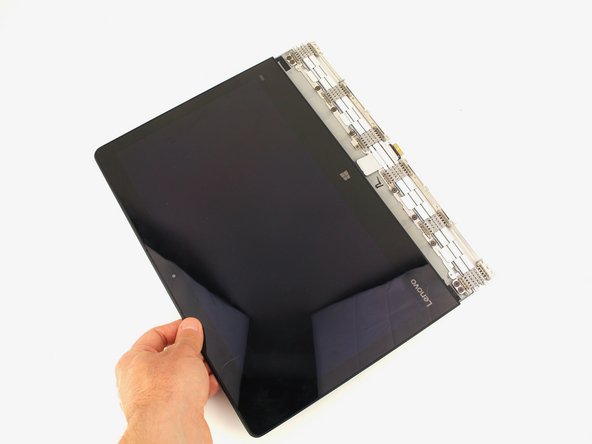
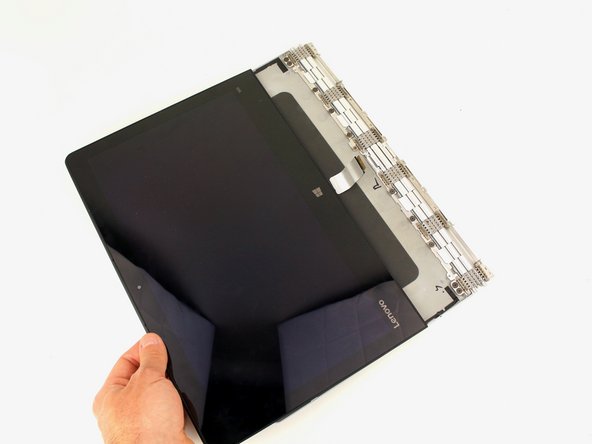
  7. Lenovo Yoga 900-13ISK Display Opening Prerequisite: adım 7, 3 resimden 1. Lenovo Yoga 900-13ISK Display Opening Prerequisite: adım 7, 3 resimden 2. Lenovo Yoga 900-13ISK Display Opening Prerequisite: adım 7, 3 resimden 3.
    • Pull the display cable out from the hinge mechanism.

Sonuç

To reassemble your device, follow these instructions in reverse order.

Austin Blakely

Üyelik tarihi: 03/11/19

19.631 İtibar

53 adet Kılavuz yazıldı

Ekip

iFixit iFixit üyesi

Staff

136 Üyeler

17.303 adet Kılavuz yazıldı

0 Yorum

Yorum Ekle

İstatistikleri Görüntüle:

Son 24 Saat: 0

Son 7 gün: 0

Son 30 gün: 1

Her zaman: 8