Giriş
If, after reading through this guide, you are still in need of assistance, please refer back to the device page or the troubleshooting page.
Neye ihtiyacın var
-
-
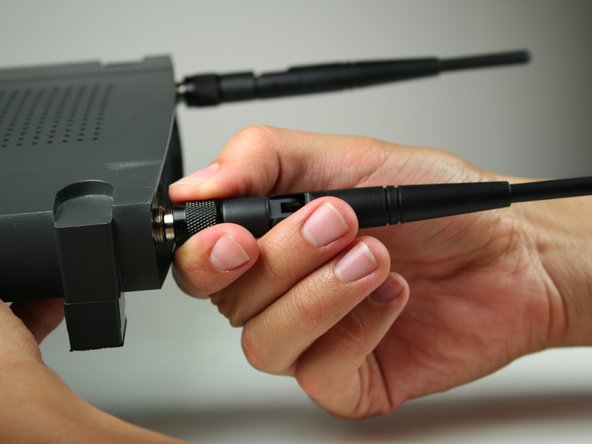
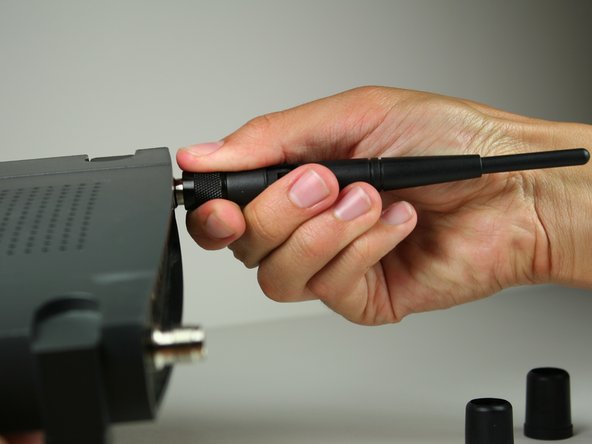
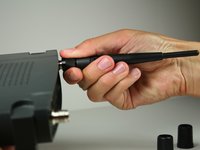
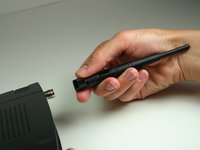
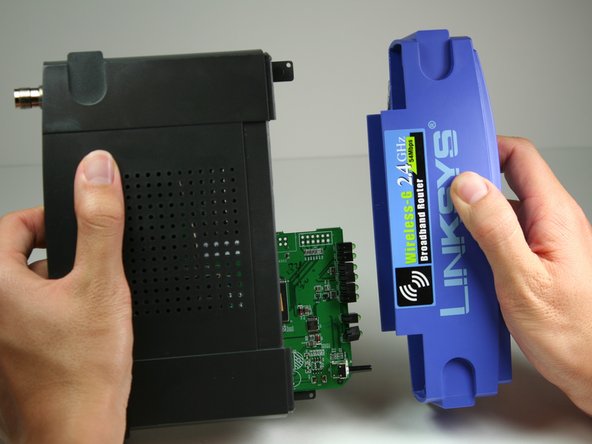
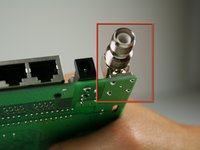
Remove the black caps from the antennas by pulling them away from the device.
-
-
-
-
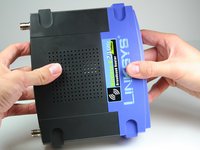
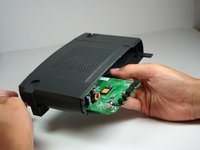
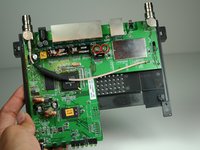
To remove the black casing that surrounds the green motherboard, slide the top half of the casing backwards. It only moves a very short distance.
-
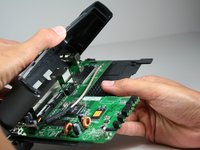
Pull the top piece upwards and away from the bottom to remove.
-
-
-
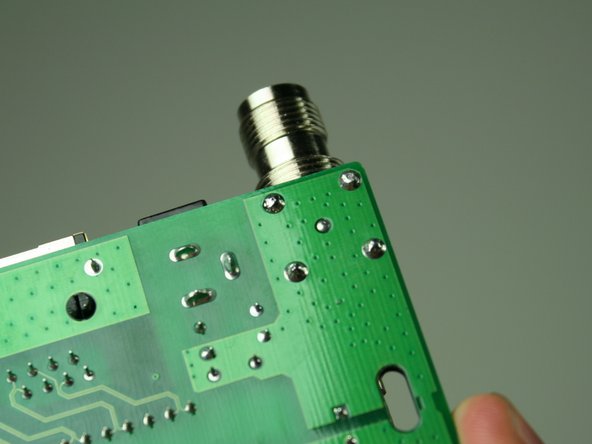
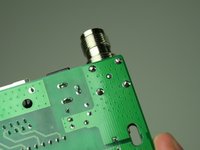
Locate the 2 M2.5x6mm screws that attach the motherboard to the back case.
-
Remove the two screws from the motherboard as indicated with the Phillips head screwdriver.
-
-
-
Once screws have been removed, slide the motherboard in the direction of its LED lights.
-
Lift motherboard up and away from the black lower casing.
-
-
-
Obtain a desoldering wick (Desoldering Braid). Plug in soldering iron and allow to heat. For soldering information, refer to the iFixit soldering guide (How To Solder and Desolder Connections).
-
-
-
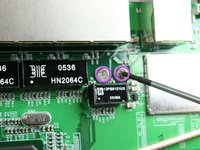
Identify the functional component which will be removed.
-
Turn the board over so that the pins holding the component in are exposed.
-
-
-
Desolder each pin using the iFixit Soldering Guide (How To Solder and Desolder Connections). Gently remove functional component for replacement.
-


To reassemble your device, follow these instructions in reverse order.
İptal et: Bu kılavuzu tamamlamadım.
2 farklı kişi bu kılavuzu tamamladı.
Ekip

Cal Poly, Team 17-7, Regan Fall 2011 Cal Poly, Team 17-7, Regan Fall 2011 üyesi
CPSU-REGAN-F11S17G7
4 Üyeler
4 adet Kılavuz yazıldı
1Rehber Yorum
Se puede sustituir el puerto de entrada de Internet que es de red, por uno de telefono DSL?