Giriş
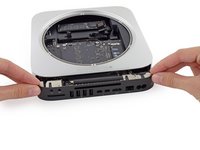
Use this guide to replace a faulty speaker in your Mac mini Late 2014.
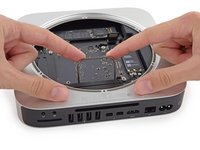
This guide was made with a Fusion Drive Mac mini, and may have more connectors and components than your model. Don't be alarmed if you're missing a hard drive or SSD connector!
Neye ihtiyacın var
-
-
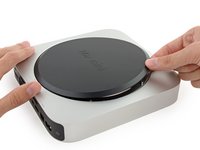
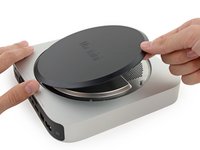
The bottom cover is clipped onto three screw posts.
-
Pry near, but not right on the screw posts.
-
-
-
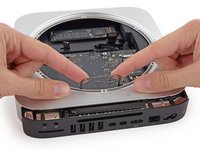
Remove the following TR6 screws from the antenna plate:
-
Three 4.1 mm screws
-
Three 1.9 mm screws
-
-
-
Remove the two 12 mm T6 screws from the fan.
-
Loosen the 27 mm T6 captive screw–it will get removed with the fan assembly.
-
-
-
-
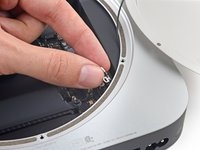
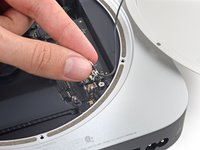
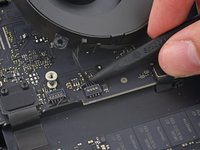
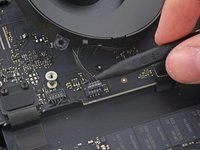
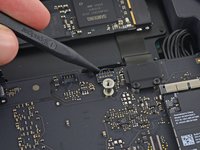
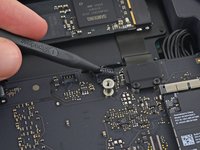
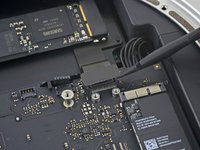
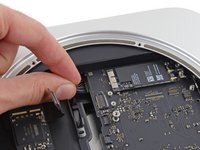
Remove the 2.6 mm T6 screw securing the SATA cable connector bracket.
-
-
Bu adımda kullanılan alet:Mac mini Logic Board Removal Tool$4.99
-
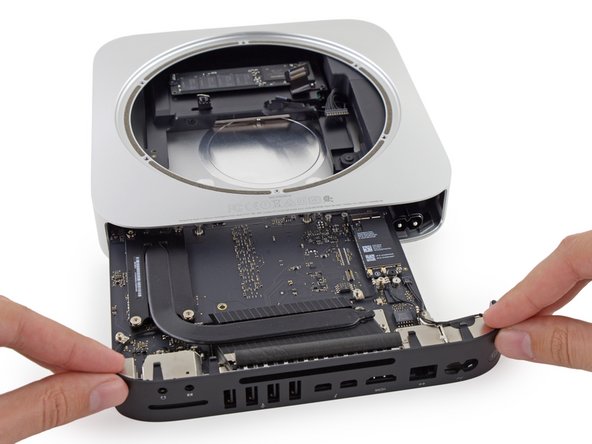
Insert the Mac mini Logic Board Removal Tool into the two holes highlighted in red. Be sure the rods make contact with the case under the logic board before proceeding.
-
-
-
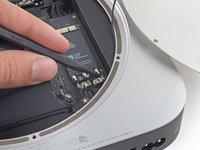
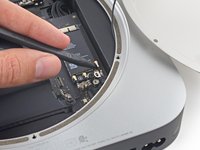
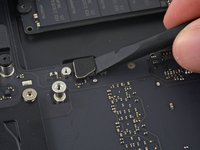
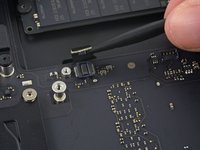
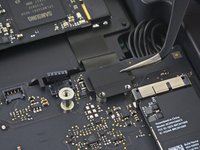
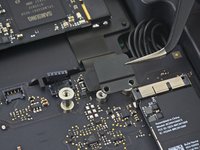
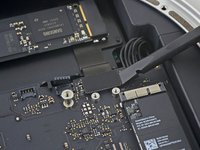
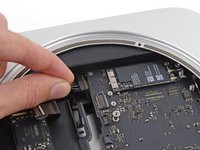
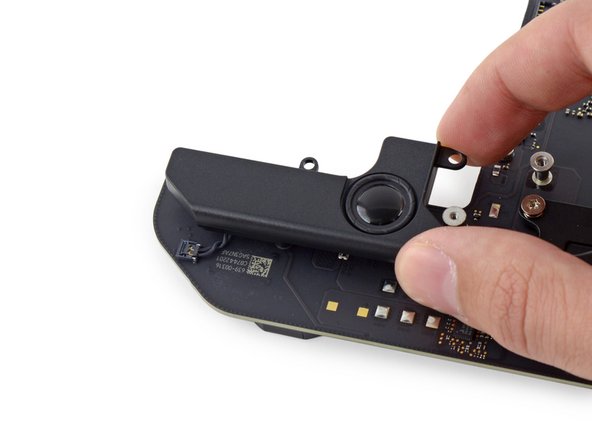
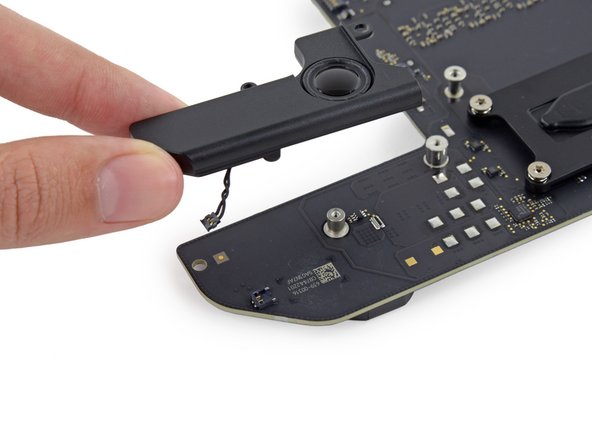
Remove the following T6 Torx screws securing the speaker to the logic board:
-
One 3.6 mm screw
-
One 3.6 mm large headed screw
-


To reassemble your device, follow these instructions in reverse order.
İptal et: Bu kılavuzu tamamlamadım.
2 farklı kişi bu kılavuzu tamamladı.

