
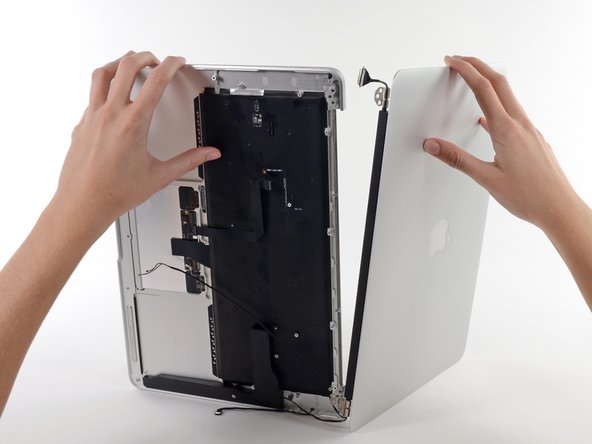
MacBook Air 13" Early 2014 Upper Case Replacement

Giriş
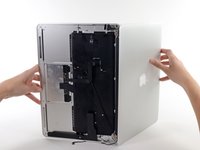
1. adıma gitUse this guide to replace the upper case.
Neye ihtiyacın var


-
Bu adımda kullanılan alet:P5 Pentalobe Screwdriver Retina MacBook Pro and Air$5.99
-
Use a P5 Pentalobe driver to remove ten screws securing the lower case, of the following lengths:
-
Two 9 mm screws
-
Eight 2.6 mm screws
-
-
-
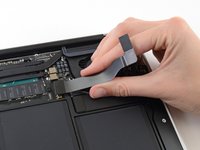
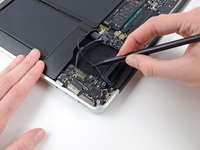
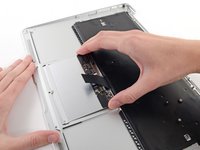
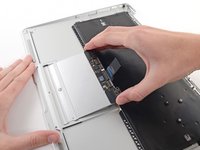
Grab the clear plastic pull tab attached to the battery connector and pull it parallel to the board toward the front edge of the Air.
-
-
-
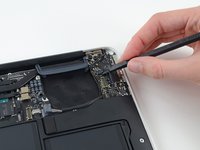
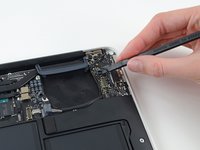
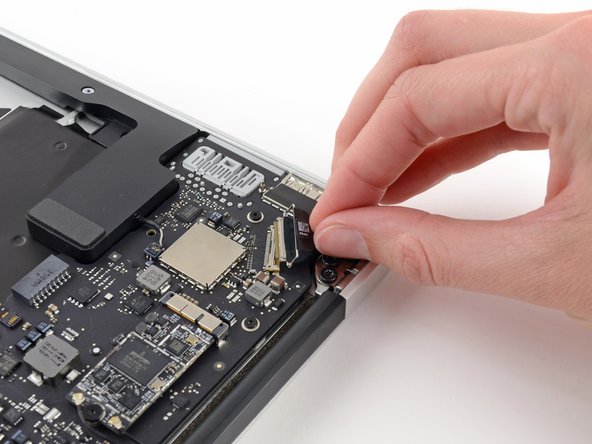
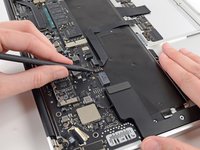
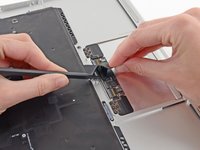
Use the flat end of a spudger to pry the I/O board cable connector up out of its socket on the I/O board.
-
-
-
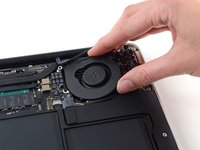
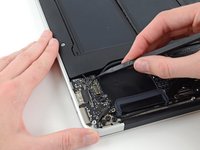
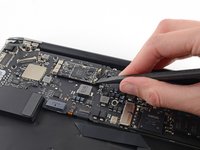
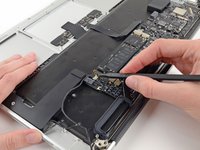
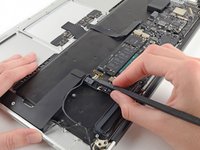
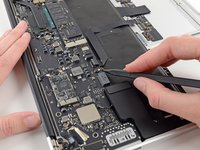
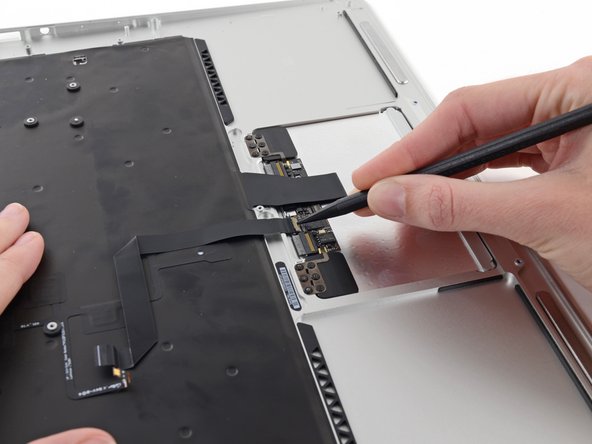
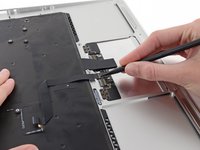
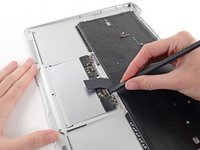
Use the tip of a spudger to carefully flip up the retaining flap on the fan cable ZIF socket.
-
-
-
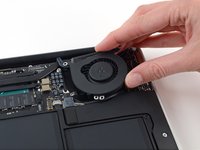
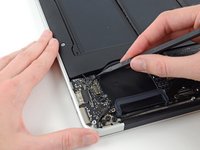
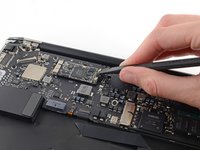
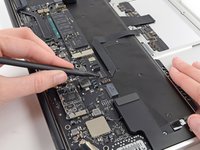
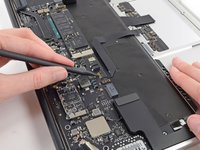
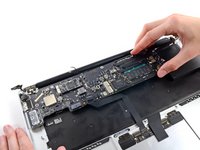
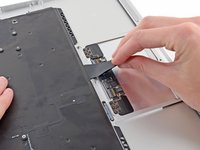
Disconnect the I/O board by pulling its power cable away from its socket on the logic board.
-
-
-
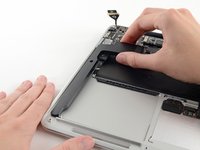
Remove the following five screws securing the battery to the upper case:
-
Three 6.3 mm T5 Torx screws
-
Two 2.4 mm T5 Torx screws
-
-
-
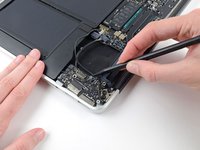
Grab the plastic pull tab secured to the display data cable lock and rotate it towards the top side of the computer.
-
-
-
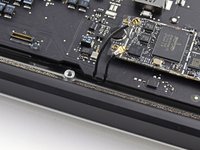
Remove the inner two 4.9 mm T8 Torx screws securing the right display hinge to the upper case.
-
-
-
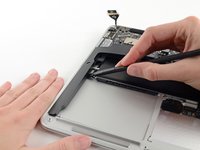
Use the flat end of a spudger to pry the left speaker off the adhesive securing it to the upper case.
-
Remove the left speaker from the upper case.
-
-
-
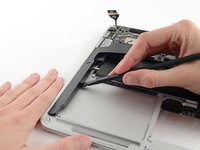
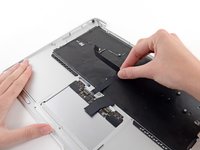
Use the tip of a spudger or your fingernail to flip up the retaining flap on the trackpad ribbon cable ZIF socket.
-
Pull the trackpad ribbon cable straight out of its socket toward the rear edge of the Air.
-


To reassemble your device, follow these instructions in reverse order.
To reassemble your device, follow these instructions in reverse order.
İptal et: Bu kılavuzu tamamlamadım.
35 farklı kişi bu kılavuzu tamamladı.

