Giriş
Use this guide to replace the LCD cable connected inside the hinge of your MacBook Pro Retina Display Assembly.
Neye ihtiyacın var
-
Bu adımda kullanılan alet:Magnetic Project Mat$16.96
-
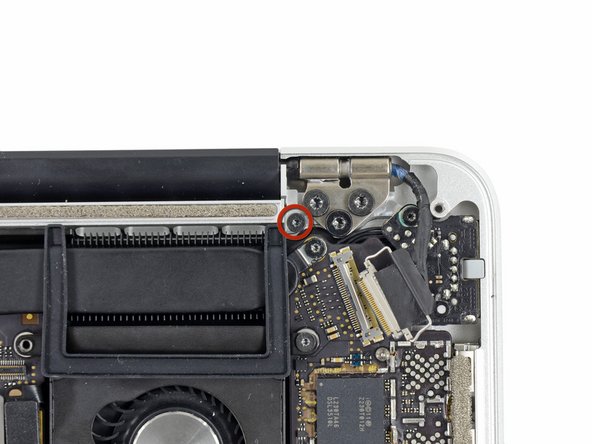
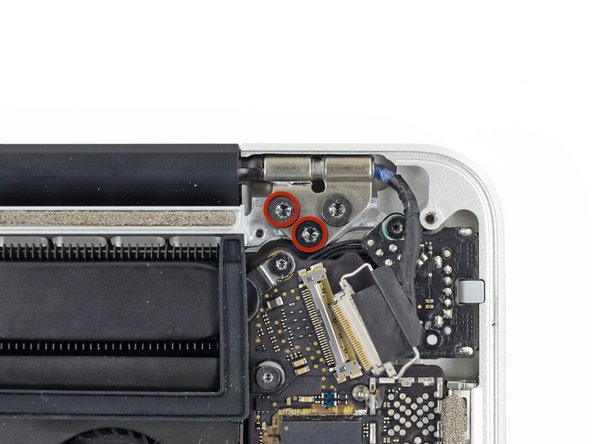
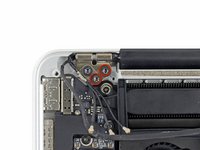
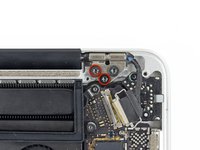
Remove the following ten screws securing the lower case to the upper case:
-
Two 2.3 mm P5 Pentalobe screws
-
Eight 3.0 mm P5 Pentalobe screws
-
-
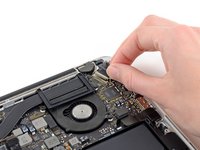
Bu adımda kullanılan alet:Tweezers$4.99
-
Grasp the Interposer with tweezers.
-
Lift the Interposer off the logic board and remove it.
-
-
-
-
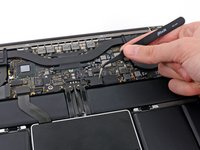
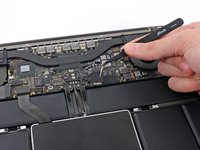
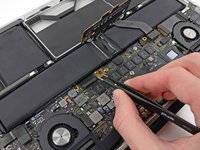
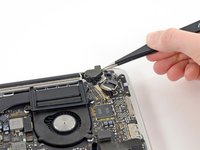
Use the tip of a spudger to push the iSight camera cable connector straight away from its socket on the logic board.
-
-
-
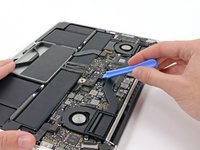
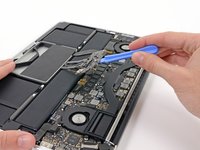
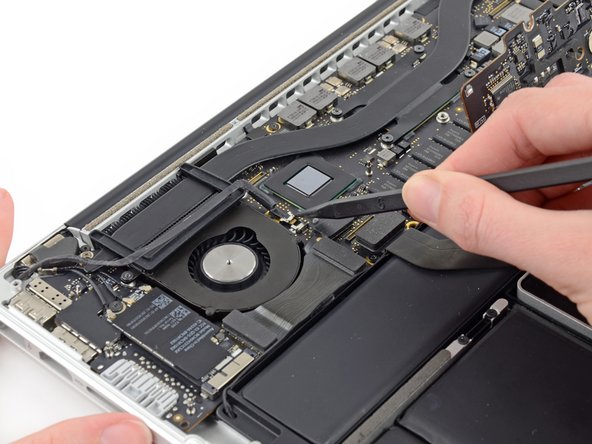
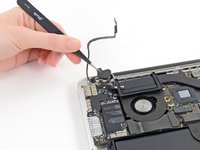
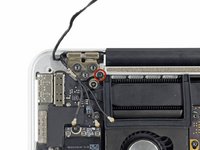
Use the flat end of a spudger to pry and disconnect the three antenna cable connectors from the AirPort board.
-
The three cables are coded with black sleeves of different lengths. During reassembly:
-
Connect the long-sleeved cable to the socket closest to the ports.
-
The short-sleeved cable connects next to the screw.
-
The remaining cable has no sleeve, and connects in the last empty socket, next to the fan.
-
-
-
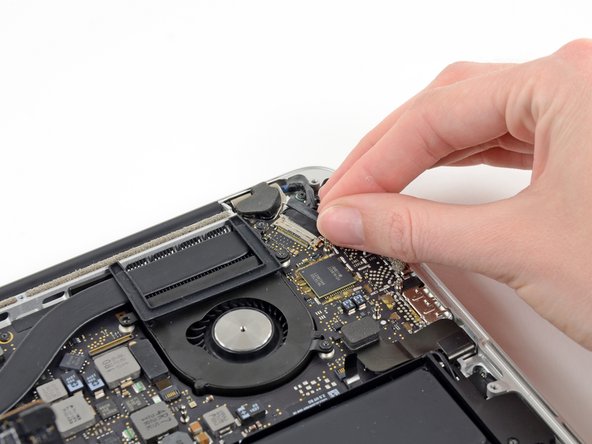
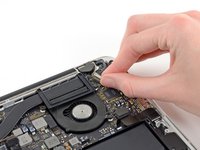
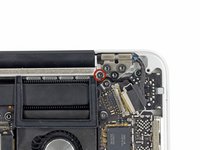
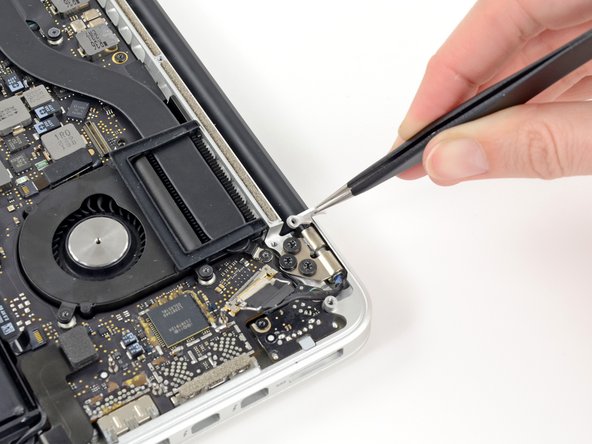
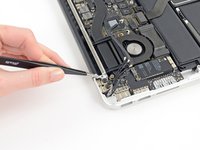
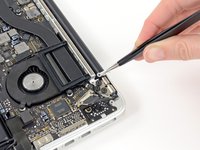
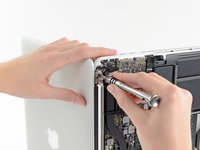
Grab the black pull tab secured to the display data cable lock and rotate it toward the DC-In side of the computer.
-
Pull the display data cable straight out of its socket on the logic board.
-
-
-
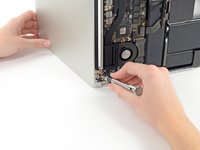
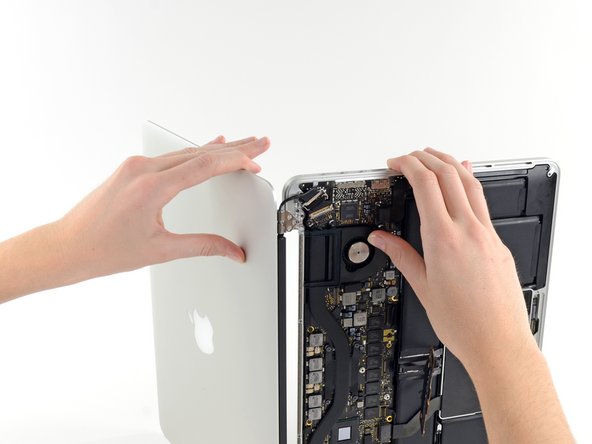
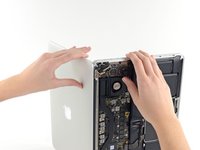
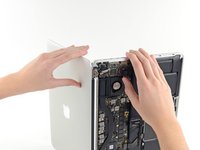
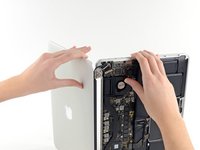
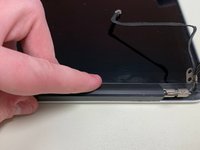
With the display facing towards you and the plastic clutch cover down, grab the clutch cover and slide it all the way to the right, towards the hinge.
-
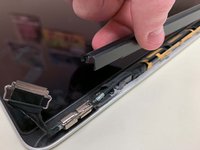
Lift the plastic cover from the bottom and remove it from the display.
-


To reassemble your device, follow these instructions in reverse order.
İptal et: Bu kılavuzu tamamlamadım.
4 farklı kişi bu kılavuzu tamamladı.

Ekip
