Giriş
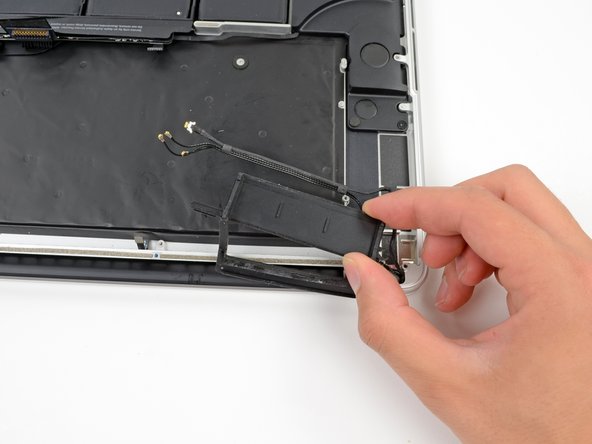
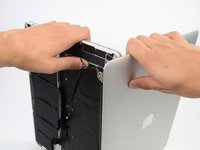
The battery, keyboard, trackpad, and upper case are all stuck together. If you break one of these components, you will need to replace the entire assembly. Follow this guide to do so.
Neye ihtiyacın var
-
-
Remove the following P5 pentalobe screws securing the lower case to the MacBook Pro:
-
Eight 3.0 mm
-
Two 2.3 mm
-
-
Bu adımda kullanılan alet:Tweezers$4.99
-
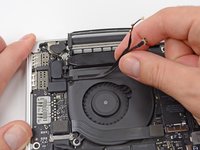
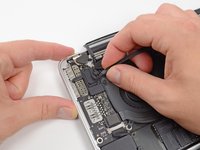
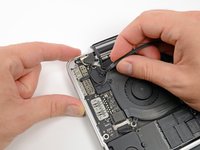
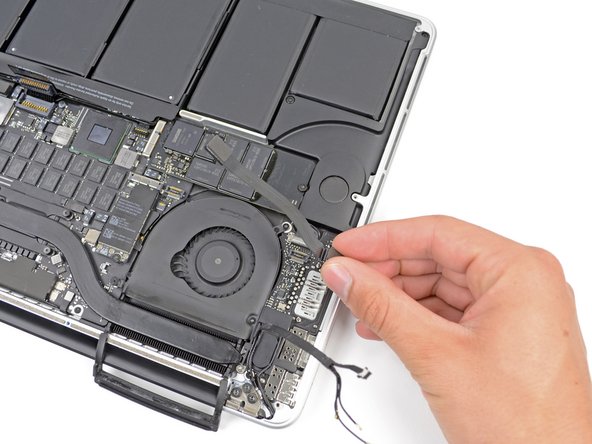
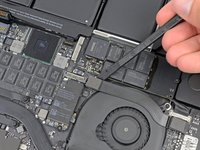
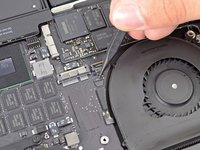
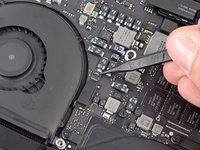
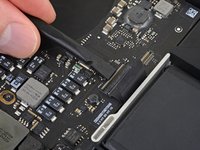
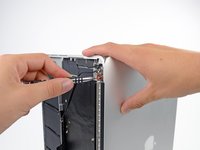
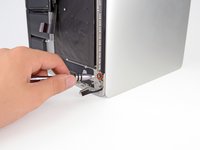
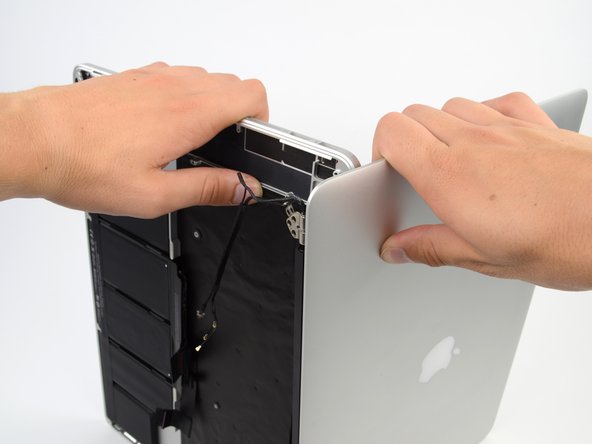
Use a spudger or tweezers to pry the three AirPort antenna cables straight up off of their sockets on the AirPort board.
-
-
-
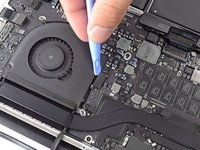
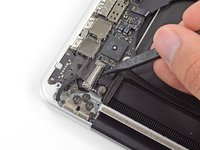
Use the flat end of a spudger to pry the rubber hinge covers up off the left and right hinges.
-
-
-
Remove the two 3.1 mm T5 Torx screws securing the aluminum hinge covers to the upper case.
-
Remove the two aluminum hinge brackets from the MacBook Pro.
-
-
-
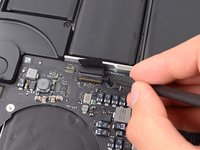
Using the flat end of a spudger, pry the I/O Board connector straight up out of its socket on the logic board.
-
In a similar fashion, remove the I/O Board cable connector from its socket on the I/O Board.
-
Remove the I/O Board cable from the MacBook Pro.
-
-
-
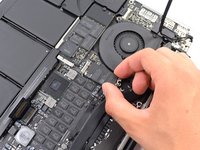
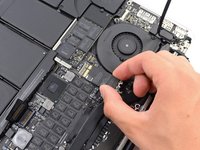
Remove the single 2.9 mm T5 Torx screw securing the AirPort card to the logic board.
-
-
-
-
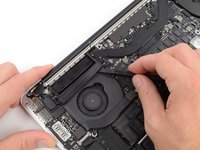
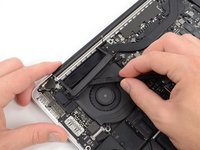
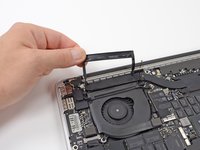
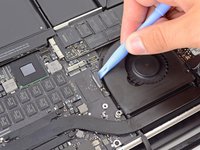
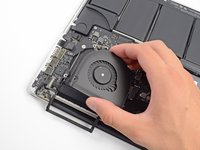
Use the flat end of a spudger to lift the rubber heat sink cover up off the left fan.
-
-
-
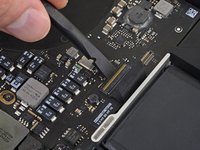
Use the tip of a spudger to flip up the I/O board data cable lock and rotate it toward the battery side of the computer.
-
Use the flat end of a spudger to slide the I/O board data cable straight out of its socket on the logic board.
-
-
-
Use the flat end of a spudger to pry the headphone jack connector up from its socket on the logic board.
-
-
-
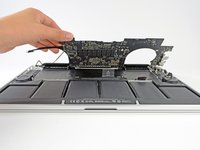
Lifting from the side nearest the battery, rotate the logic board toward the top of the MacBook Pro.
-
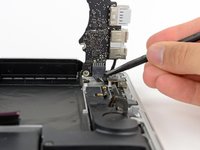
Using the flat end of a spudger, carefully push the MagSafe 2 connector out of its socket on the bottom of the logic board.
-
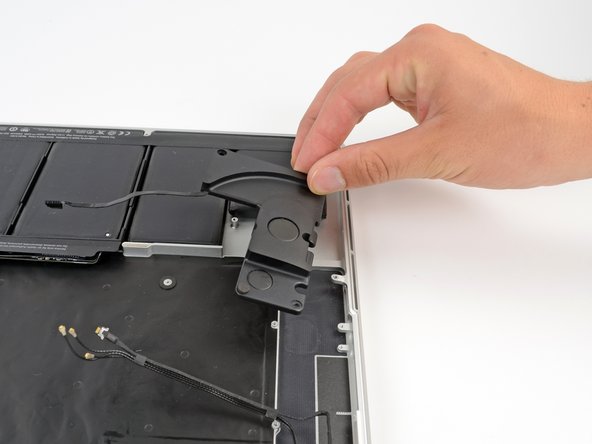
Clockwise from top: keyboard, trackpad, battery, right speaker, keyboard backlight, display, microphone, headphone jack, left speaker.
-
-
-
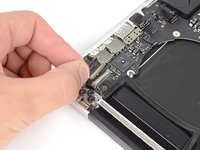
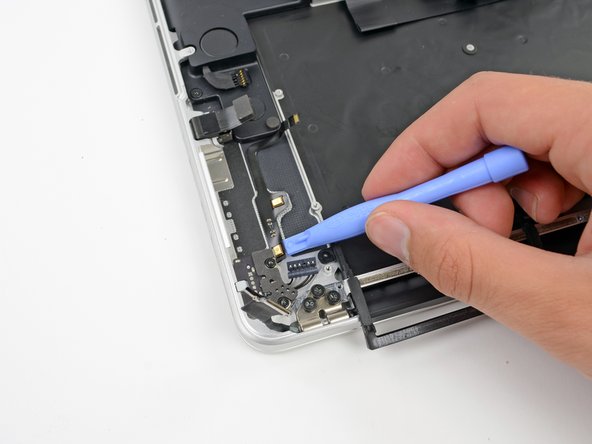
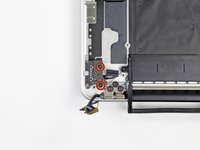
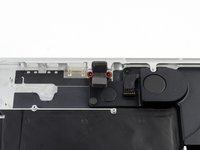
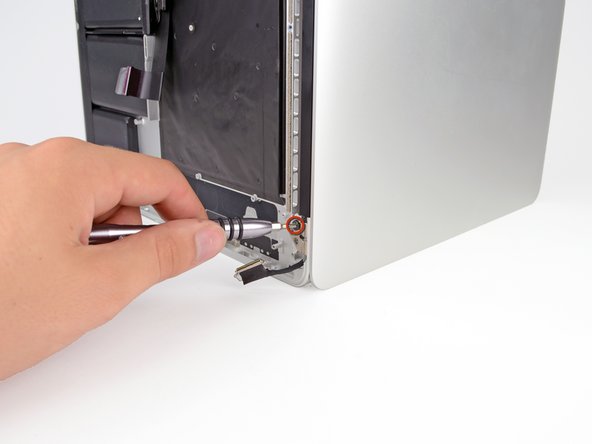
Remove the single 2.6 mm T5 Torx screw securing the left rubber hinge cover in place.
-
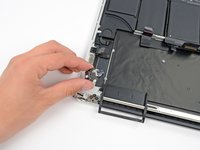
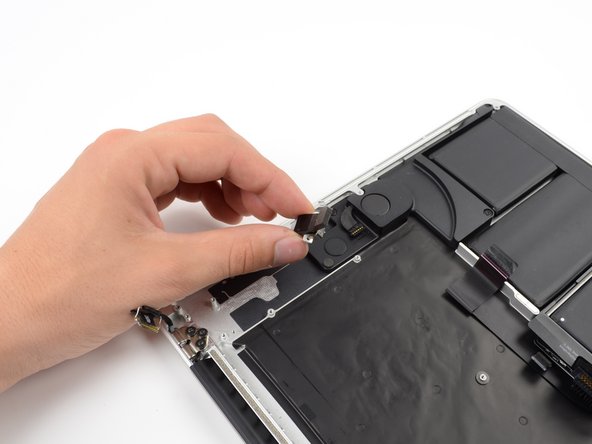
Slide the hinge cover out of its bezel, then lift it up and out of the device.
-
Slide the right cover out of its bezel, then lift it out of the device.
-
-
-
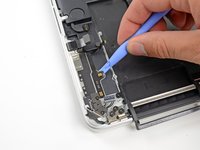
Insert the edge of a plastic opening tool underneath the upper microphone.
-
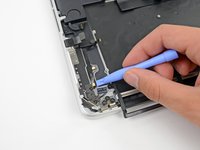
Slide the blade of a plastic opening tool along the bottom of the upper microphone, releasing the adhesive.
-
In a similar manner, release the adhesive underneath the lower microphone.
-
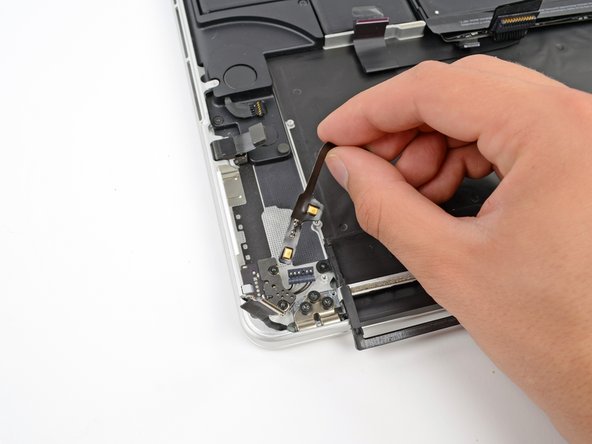
Lift the cable out of the device.
-
To reassemble your device, follow these instructions in reverse order.
To reassemble your device, follow these instructions in reverse order.
İptal et: Bu kılavuzu tamamlamadım.
52 farklı kişi bu kılavuzu tamamladı.
11Kılavuz Yorumları
How Can I clean a coffee spill on the retina macbook pro? which alcohol to use to clean the logic board and I/O board? Will I get all the necessary tools to open it in Home Tech toolkit?
-It would be cool a 3rd party battery manufacturer to make a spare battery without the glue.
-Ony needed to remove the glued one (no prob. if damage it.. it is no good anyway, anymore) and put in place a new one with no glue held in place just by the lack of space inside the case, or some tiny spongy strips to help remove any play.
-The thing is who would manufacture a spare like this.
-Even Apple could supply spares like this.
I have always turned to iFixIt for repair guides. This particular repair, listed as "difficult," was one that I was apprehensive about undertaking. But I was successful!
I have a brief blog post about it here:
http://www.hightechdad.com/2014/12/22/ho...
And, for those who are going through this guide, I have a LONG (30 minute) video that walks through the repair using the iFixIt guide:
https://www.youtube.com/watch?v=2ODfFSMs...
Hope it helps!
-HTD
== The good ==
Very clear instructions, well done.
== The warning ==
There is one major problem though ... I purchased the Upper Case Assembly as mentioned, although from a local retailer in Australia. When I got to the final step, I realised it didn't have the battery or touchpad. If you purchase the case assembly from elsewhere, make sure it comes with the battery/touchpad as these are impossible to move from one unit to another.


