Giriş
Follow this guide to replace your Droid's broken earpiece speaker.
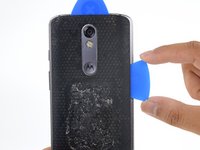
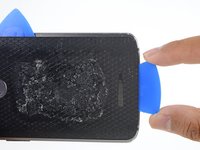
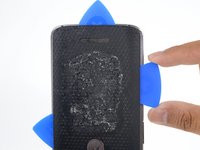
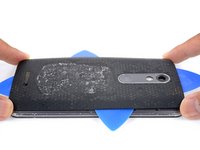
Neye ihtiyacın var
-
-
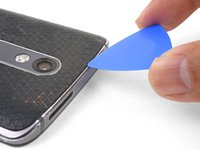
Insert a SIM eject tool, SIM eject bit, or a straightened paperclip into the small hole in the SIM card tray.
-
Press to eject the tray.
-
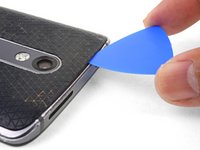
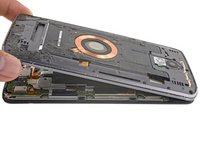
Remove the SIM card tray assembly from the phone.
-
-
-
-
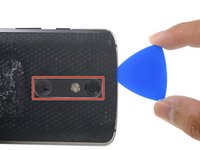
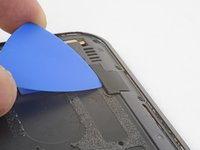
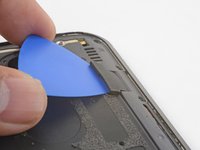
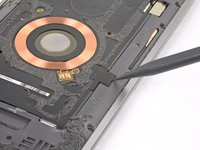
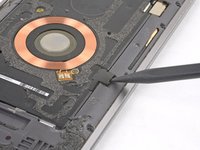
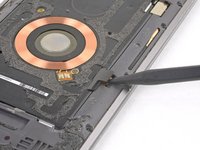
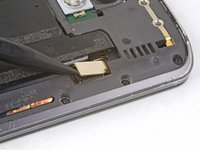
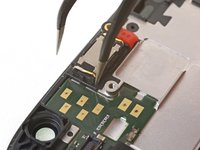
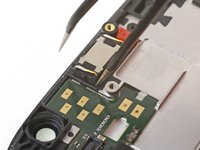
Use the point of a spudger to pry up and remove the coil connector rubber cover.
-
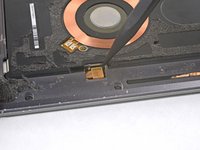
To reinstall the cover, align the cover and use your finger to push it forward into place.
-
-
Bu adımda kullanılan alet:Tweezers$4.99
-
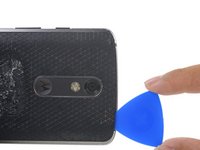
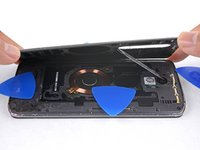
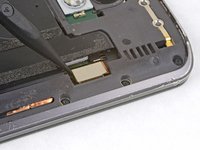
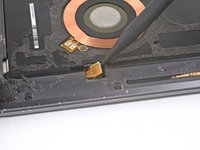
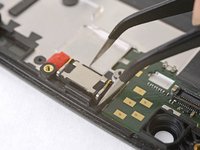
Insert a pointed end of a pair of tweezers into a corner as far down as possible.
-
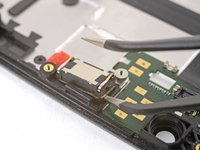
Pry very slightly to help loosen the earpiece speaker module.
-
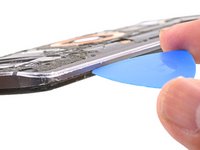
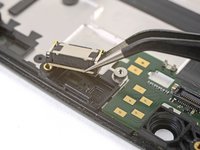
Repeat the process in the remaining corners.
-


To reassemble your device, follow these instructions in reverse order.
Take your e-waste to an R2 or e-Stewards certified recycler.
Repair didn’t go as planned? Check out our Motorola Moto Droid Turbo 2 Answers community for troubleshooting help.
İptal et: Bu kılavuzu tamamlamadım.
3 farklı kişi bu kılavuzu tamamladı.


1Rehber Yorum
I replaced my earpiece speaker but the volume is still extremely low. My headphones jack output is also very low when I plug it into and external speaker. Before this happened, This all started after I accidentally got some water on my phone but not enough to drench it. My speaker first sounded distorted when making a phone call and now the volume is so low that I can just barely hear it. Definitely too low to converse with someone. Is the fault in my motherboard? I've cleaned up all the obvious grounding points in my phone. Not sure what else I can check. Thinking about completely disassembling, replacing the ear speaker again doing a hard reset and if all those fail replace the phone. Any thoughts?