Giriş
If your Nanit Pro N301 is not turning on or functioning correctly, use this guide to replace the motherboard. Some of the pieces are very small so make sure you have a tool that can grab tiny materials if you are unable to do so with your fingers. Make your device is not plugged in and connected to a power source during the repair.
Neye ihtiyacın var
-
-
Insert an opening pick into the seam between the front and rear case.
-
Slide the opening pick around the perimeter of the camera until all of the retaining clips are released.
-
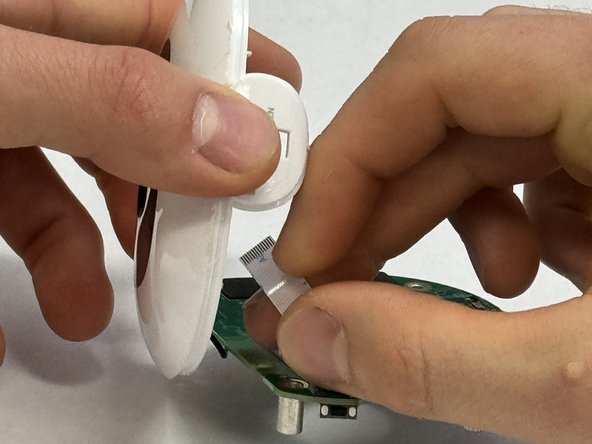
Separate the front and rear case.
-
-


To reassemble your device, follow these instructions in reverse order.
To reassemble your device, follow these instructions in reverse order.
İptal et: Bu kılavuzu tamamlamadım.
2 farklı kişi bu kılavuzu tamamladı.
Ekip

IUPUI, Team 3-1, Harley Spring 2024 IUPUI, Team 3-1, Harley Spring 2024 üyesi
IUPUI-HARLEY-S24S3G1
3 Üyeler
3 adet Kılavuz yazıldı