Bu kılavuzda güncel değişiklikler var. En son onaylanmamış sürüme geçin.
Giriş
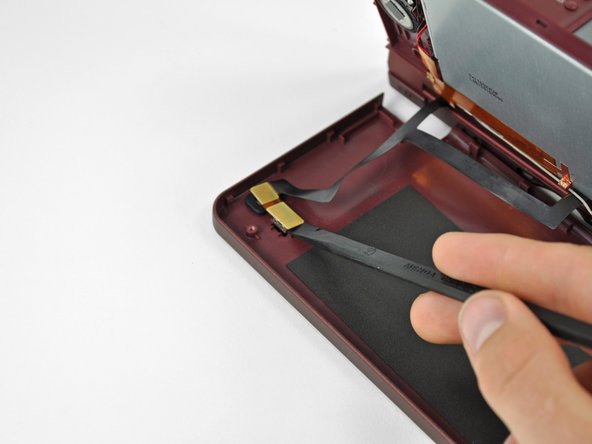
Be the envy of onlooking gamers with a shiny new rear bezel on your DSi XL.
Neye ihtiyacın var
-
-
Use a push pin to remove the four plastic screw covers on the front bezel.
-
-


Neredeyse bitti!
To reassemble your device, follow these instructions in reverse order.
Sonuç
To reassemble your device, follow these instructions in reverse order.
İptal et: Bu kılavuzu tamamlamadım.
3 farklı kişi bu kılavuzu tamamladı.
