Giriş
The Nintendo Switch Pro controller’s buttons and D-Pad are the main inputs of the controller. The buttons may need to be replaced if they are unresponsive, please check out our troubleshooting guide for more information.
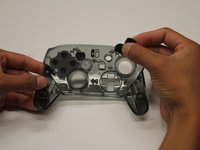
During disassembly be careful of sharp edges, there are a few exposed pieces of plastic that could cut you.
Neye ihtiyacın var
-
-
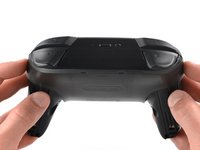
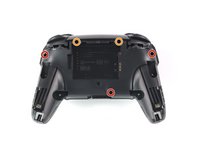
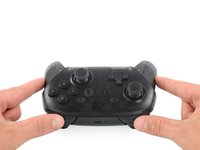
Flip the controller over so the model stickers face the ceiling.
-
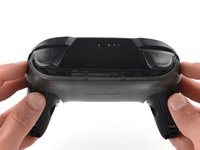
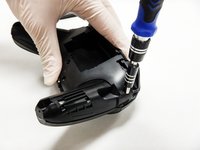
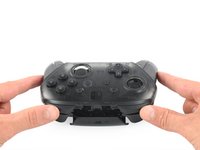
Use a JIS #00 screwdriver to remove the two black 8.4 mm screws that secure the handles, located at the ends of the handles.
 FixBot'a Sor
-
-
-
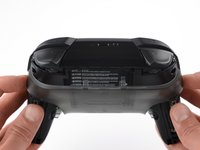
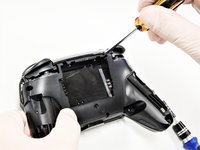
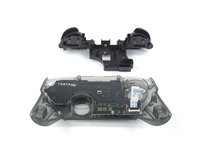
Carefully remove the handle covers by pulling them away from the main body.
-
-
-
Use a JIS #00 screwdriver to remove the four silver 6.8 mm screws that secure the clear back plastic cover.
-
-
-
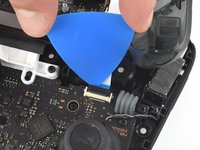
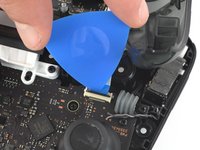
Carefully pry away the clear plastic cover using your fingernail.
-
-
-
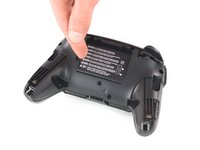
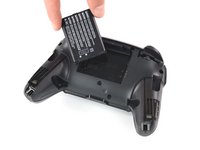
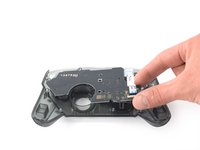
Remove the lithium-ion battery by using a fingernail or plastic opening tool to pry it up on the left side.
-
-
-
-
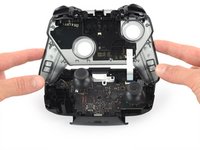
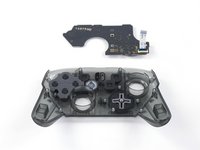
Use a Phillips #1 screwdriver to remove the five 5 mm screws from the back of the controller.
-
The two case screws above the handgrips and the single case screw below the battery bay have a shallow seat. These three screws can be easily removed.
-
The two case screws adjacent to the ZR and ZL shoulder buttons have a deep seat. Use an extension or a narrow PH1 Phillips screwdriver with a longer shaft to reach these screws.
-
-
-
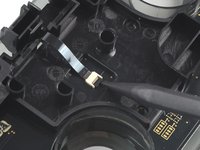
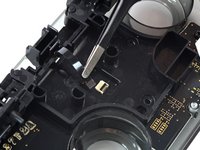
Use the tip of an opening pick to open the black flap of the ZIF connector by pushing it upwards.
-
-
Bu adımda kullanılan alet:Tweezers$4.99
-
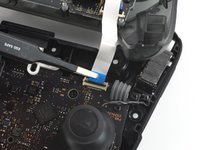
Use your fingers or a pair of blunt nose tweezers to disconnect the interconnect cable from its connector.
-
-
-
Remove the two 6.8 mm-long screws on the top circuit board using a Phillips screwdriver.
-
-
-
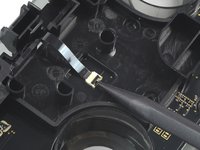
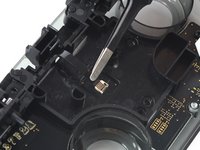
Use a spudger to flip up the locking tab on the ZIF connector.
-
-
-
Use a Phillips screwdriver to remove the two 5 mm-long screw securing the circuit board.
-
-
Bu adımda kullanılan alet:Tweezers$4.99
-
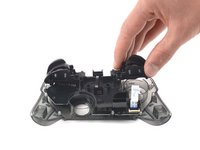
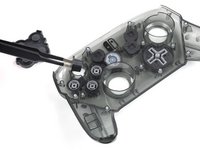
Use your fingers or a pair of tweezers to remove the button(s) you wish to replace.
-


To reassemble your device, follow these instructions in reverse order.
İptal et: Bu kılavuzu tamamlamadım.
26 farklı kişi bu kılavuzu tamamladı.

Ekip

Cal Poly, Team S11-G2, Regan Fall 2019 Cal Poly, Team S11-G2, Regan Fall 2019 üyesi
CPSU-REGAN-F19S11G2
5 Üyeler
45 adet Kılavuz yazıldı
3Kılavuz Yorumları
On re-assembly, you may have trouble getting the top circuit board and shoulder button support structure to snap into place. It’s easiest to get the circuit board around the right analog stick hole, and push it all the way down until it is in place, then to secure the shoulder button support structure.
Make sure the “Home” button clear plastic light spreader (a clear irregular circle-shaped piece) is in place on top of the home button assembly, or it will give the home button a “sunken” appearance.
Worked well, thank you. Had a gooey X button that needed to be cleaned.