Giriş
This will be a step-by-step guide to remove the battery assembly from the Nvidia Shield. This will need to be performed to install a new battery into the device. The user will not need any special skills beforehand to successfully remove the battery. The user can put the device back together with a new battery installed by following the steps in reverse. Replacing the battery in a Nvidia Shield can help improve the quality of the battery life of the product. If you notice the battery swelling or smoking, before proceeding check out the guide for what to do with a swollen battery.
Neye ihtiyacın var
-
-
Remove the seven 6.4mm T5 Torx screws from the back panel.
-
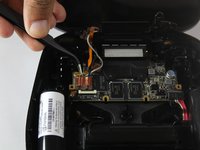
Use the spudger to separate the front and back panels.
-
-
-
-
Remove the six 6.5mm T5 Torx screws.
-
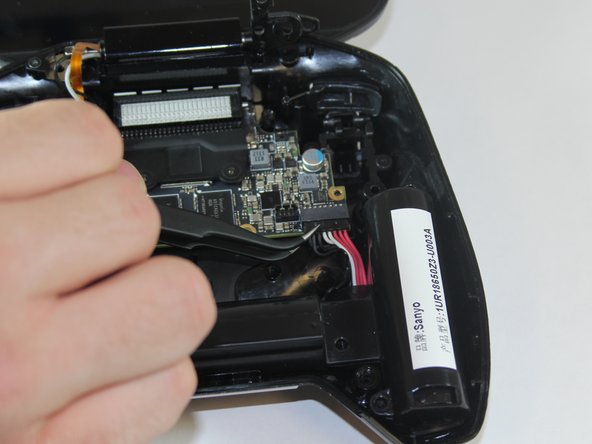
Disconnect the power wires.
-
Peel back the copper tape and disconnect the black and white wires.
-


To reassemble your device, follow these instructions in reverse order.
To reassemble your device, follow these instructions in reverse order.
İptal et: Bu kılavuzu tamamlamadım.
5 farklı kişi bu kılavuzu tamamladı.
Ekip

USF Tampa, Team 1-1, Hickman Fall 2014 USF Tampa, Team 1-1, Hickman Fall 2014 üyesi
USFT-HICKMAN-F14S1G1
4 Üyeler
18 adet Kılavuz yazıldı
4Kılavuz Yorumları
The original cells are rated for 3.7v, 2450mAh, and I don't know how many amps but it's probably not that many. The form factor is flat-top 18650. I successfully did this repair using 3 Samsung 35E cells: https://www.18650batterystore.com/produc...
So, is this battery pack compatible? I read it has the connector in the wrong side