Giriş
This guide will walk you through replacing the speaker. Be careful as this guide will have you using the solder iron. You may need this guide if the Orbo Jr. speaker has crackling noises or no noise is coming from the speaker.
Neye ihtiyacın var
-
-
Use your thumbs to gently pry the silicon case away from the tablet starting at one of the corners. Once the first corner is separated the other three corners should slip off easily.
 FixBot'a Sor
-
-
-
Use the plastic opening tool to pry the back off the tablet. Work your way around the edges. Once you have one side open you can slowly unsnap the rest of the case and use the tool as needed.
-
-
-
Gently pull the cables attached to the speaker to remove it from the back cover.
-
-
-
-
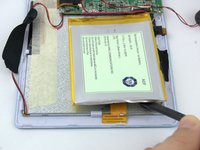
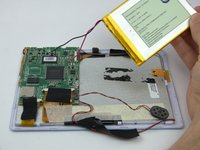
Pull back the tape to expose the wires that are attached to the battery.
-
-
-
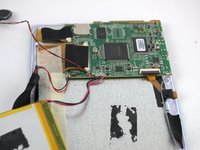
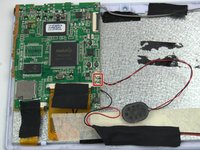
Use a nylon spudger to lift the battery from the right side of the device. Slowly remove the adhesive below the battery.
-
-
-
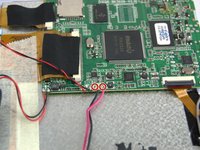
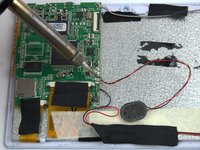
Desolder the battery wires from the positive and negative connection to the motherboard. Check out iFixit's How to Solder and Desolder Connections guide for soldering help.
-
Positive and Negative battery terminals.
-
-
-
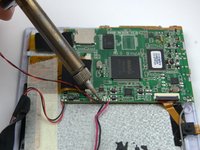
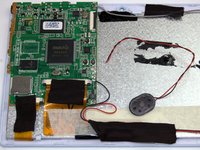
Unsolder the positive and negative speaker wires from the connection on the motherboard.
-
Positive and Negative battery terminals.
-


To reassemble your device, follow these instructions in reverse order.
İptal et: Bu kılavuzu tamamlamadım.
Bir başkası bu kılavuzu tamamladı.
Ekip

USF Tampa, Team 3-1, Sullivan Spring 2016 USF Tampa, Team 3-1, Sullivan Spring 2016 üyesi
USFT-SULLIVAN-S16S3G1
4 Üyeler
10 adet Kılavuz yazıldı