
Panasonic Lumix DMC-G5 Diopter Adjustment Dial Replacement
Giriş
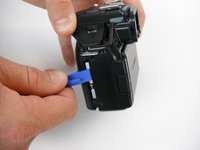
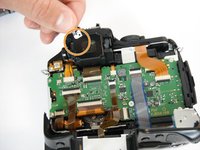
1. adıma gitReplacing the diopter adjustment dial requires removal of the rear panel of the device, as well as the removal of several small screws.
Neye ihtiyacın var


-
-
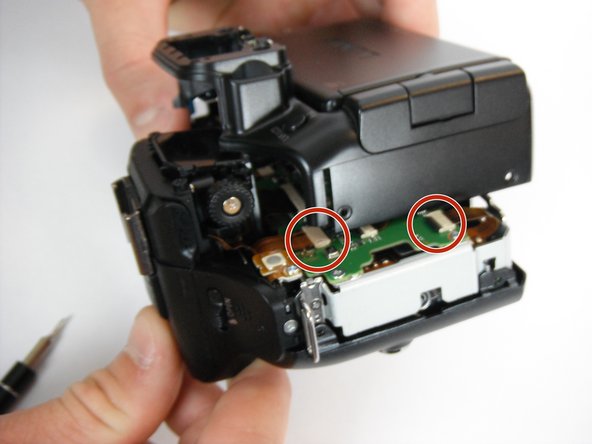
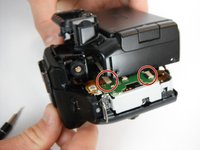
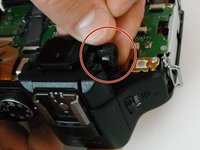
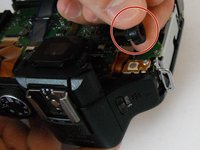
Remove the four 4.6mm J000 Phillips screws from the sides and two 3.2mm J000 Phillips screws along the bottom.
-


To reassemble your device, follow these instructions in reverse order.
To reassemble your device, follow these instructions in reverse order.
İptal et: Bu kılavuzu tamamlamadım.
Bir başkası bu kılavuzu tamamladı.
Ekip

USF Tampa, Team 1-3, Kass Spring 2017 USF Tampa, Team 1-3, Kass Spring 2017 üyesi
USFT-KASS-S17S1G3
4 Üyeler
6 adet Kılavuz yazıldı