Giriş
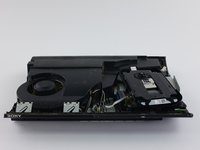
If your PlayStation 3 Super Slim's fan is making unreasonably loud noises or if your device keeps overheating, consider using this guide to replace it. Before following the steps to replace your fan, be sure that you have all the tools required to replace it, enough free time to take apart your device with care, and a clean and uncluttered working space. Be sure to be gentle with your device when following these steps to ensure that you replace your fan correctly.
Neye ihtiyacın var
-
-
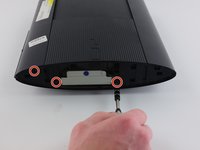
Remove the side HDD bay cover by sliding the panel towards the back of the device.
-
-
-
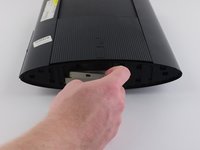
On the top of the device, unlatch the hook on the furthest right beneath the front panel, lift the panel slightly and apply pressure.
-
Unlatch the second right-side hook by sliding a plastic opening tool in the marked area.
-
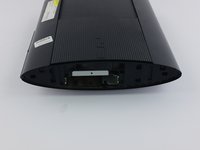
Slide the panel to the left to unlatch the rest of the hooks.
-
-
-
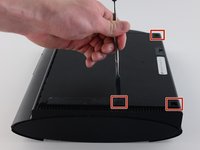
Remove the back panel by pressing down the tab on the right side of the device, and sliding the panel to the left.
This tip and photo made me break this panel lmao there's a button top right of the disk tray you're supposed to push that not a "tab on the right side of the device" the mechanism to unlock the panel safely is in the top right of the inside of the disk tray
You cannot really even see the bottom in this photograph but it is clearly visible in step seven please before trying to remove this panel look at step seven to see the button I have described lol
-
-
-
-
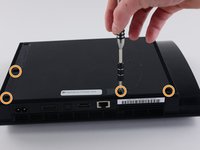
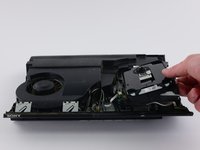
Move the optical drive to the side to reveal one of the silver 8.8mm long screws.
-
Remove the two silver 8.8mm long screws on either side with a Phillips #1 screwdriver.
be careful, the fiber-optic cables come out easily and are a pain to put back in
-
-
-
Remove the cable from the plug and remove the wires from the two plastic hooks.
-
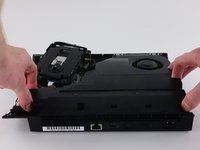
Remove the power supply unit.
The left side of the PSU sits on two long metal prongs so you may need to pull a little to get it lose but you should be able to pull the whole unit in an upward motion
-
-
-
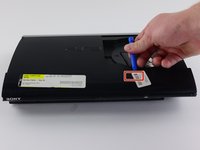
Remove the front white flex-ribbon cable by pulling upward from its base.
-
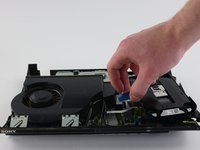
Remove the black and blue flex-ribbon cable behind it by pulling upward on the black tab, then pulling out the cable.
-
-
-
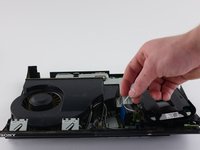
Locate the white flex ribbon cable that connects the power button to the motherboard. Pull this cable out from the motherboard end.
-
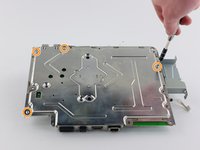
Remove the five black 8.3mm long screws with a Phillips #1 screwdriver.
-
Remove the two silver 12.8mm long screws with a Phillips #1 screwdriver.
-
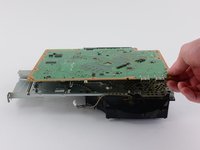
Remove the device from the bottom shell casing.
-
-
-
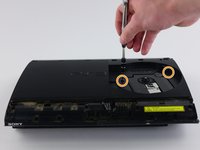
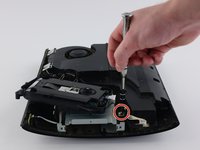
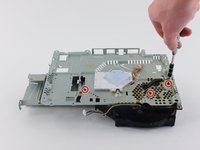
Remove the two black 14.5mm long screws with a Phillips #1 screwdriver from the center of the bottom metal casing.
-
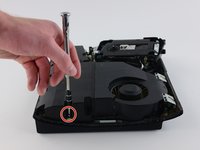
Remove the four silver 8.7mm long screws with a Phillips #1 screwdriver around the edges of the bottom metal casing.
-
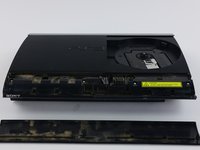
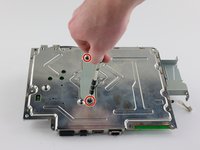
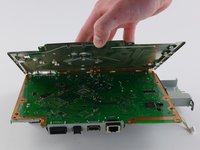
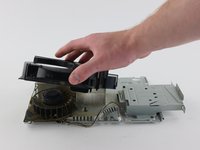
Remove the bottom metal casing.
-
-
-
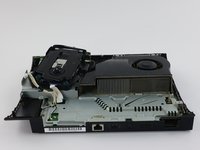
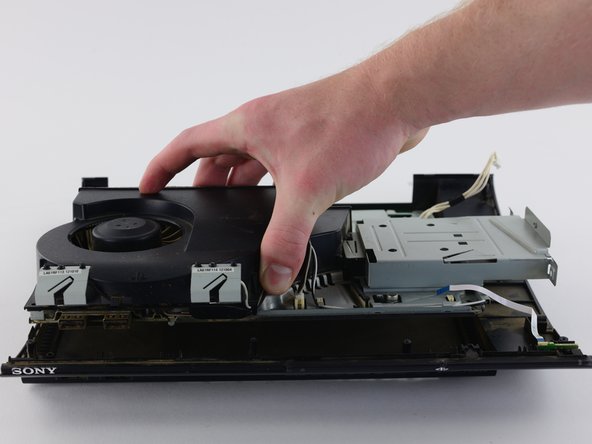
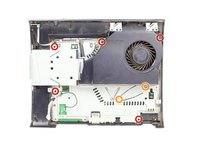
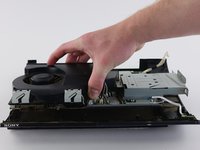
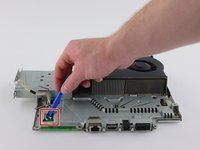
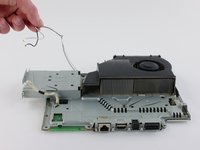
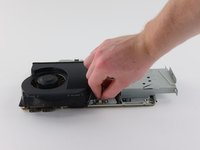
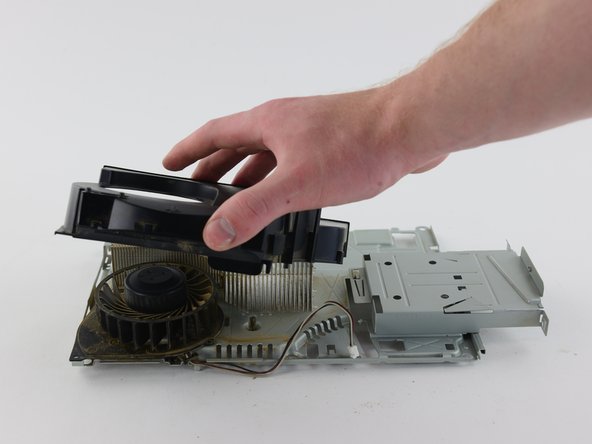
Remove the fan wire from its plug on the top metal casing.
-
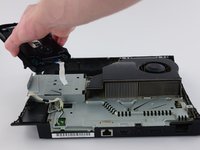
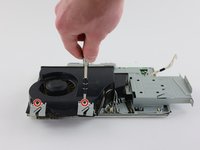
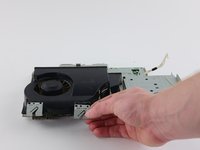
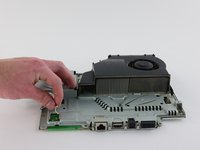
Remove the motherboard from the top metal casing. Lift from the side with the two USB plugs to avoid damaging the four back ports.
-


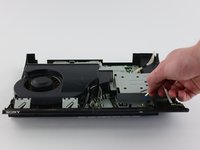


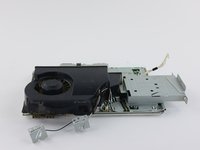


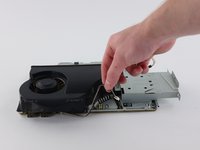


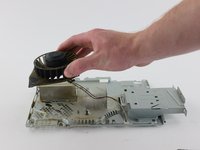
Install the replacement fan. To reassemble your device, follow these instructions in reverse order.
Install the replacement fan. To reassemble your device, follow these instructions in reverse order.
İptal et: Bu kılavuzu tamamlamadım.
49 farklı kişi bu kılavuzu tamamladı.
Ekip

Cal Poly, Team 34-13, Maness Spring 2016 Cal Poly, Team 34-13, Maness Spring 2016 üyesi
CPSU-MANESS-S16S34G13
4 Üyeler
24 adet Kılavuz yazıldı
2Kılavuz Yorumları
Thanks for this fan tutorial I have not been able to find any on YouTube about taking apart the fan for cleaning the heat sync's and fan blades it self. So thank you so very much.
Just wanted to add: the HDD bay cover isn't on the right all the time, it varies with each unit. The side without the rubber PS logo is the bay cover.
Yash - Yanıt
I just wanted to add that the above is not correct either
My PS3 Super Slim Mdel No. CECH-4004A has the removable PS logo rubber seal on the left side while the HDD is housed behind the right side (with no rubber PS logo seal)
Eoin - Yanıt
My p3 just went off it goes on but then it just shut down
Chadley Abrahams - Yanıt