Ana içeriğe geç
Onarım Topluluğuna Katılın - Hesap Oluşturun

Bu kılavuzda güncel değişiklikler var. En son onaylanmamış sürüme geçin.

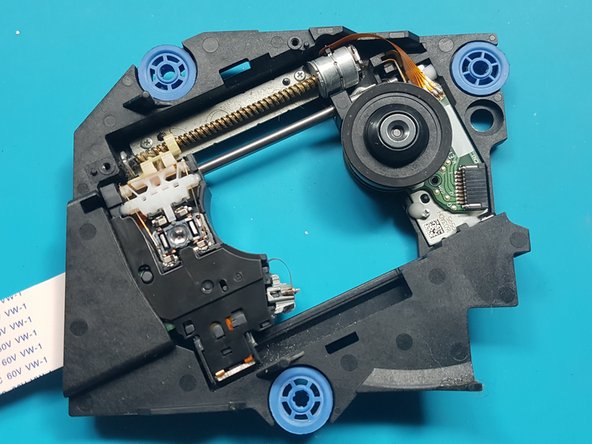
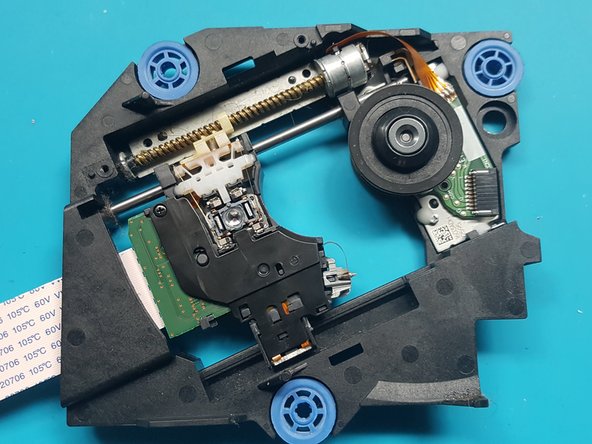
PlayStation 5 Optical Drive Laser Replacement

Neye ihtiyacın var

  1. PlayStation 5 Optical Drive Laser Replacement, Remove the stand screw: adım 1, 1 resimden 1.
    • If your PlayStation 5 is in its vertical orientation, flip it upside down so the stand is facing up.

    • If your PlayStation 5 is in its horizontal orientation, skip to Step 6.

    • Work on a flat surface to prevent your PlayStation from falling over.

    • Use a coin or a flathead screwdriver to remove the 26.5 mm-long stand screw.

    FixBot'a Sor

    Yorum Ekle

  2. PlayStation 5 Optical Drive Laser Replacement, Remove the vertical stand: adım 2, 2 resimden 1. PlayStation 5 Optical Drive Laser Replacement, Remove the vertical stand: adım 2, 2 resimden 2.
    • Lift straight up to remove the stand.

    FixBot'a Sor

    Yorum Ekle

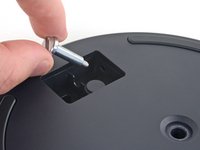
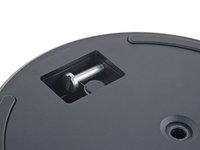
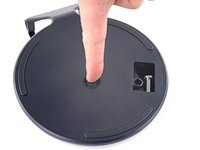
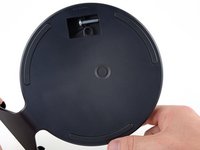
  3. PlayStation 5 Optical Drive Laser Replacement, Store the stand screw: adım 3, 2 resimden 1. PlayStation 5 Optical Drive Laser Replacement, Store the stand screw: adım 3, 2 resimden 2.
    • Insert the screw into the cubby on the bottom of the stand.

    FixBot'a Sor

    Yorum Ekle

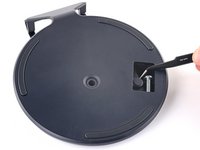
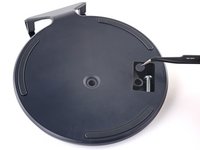
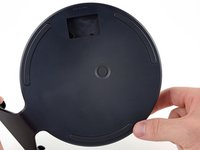
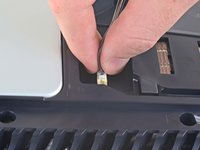
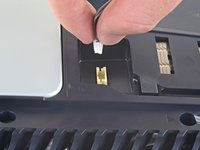
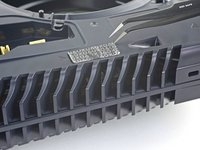
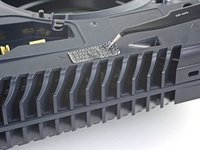
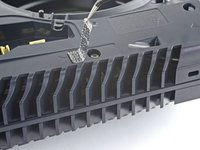
  4. PlayStation 5 Optical Drive Laser Replacement, Cap the screw hole: adım 4, 3 resimden 1. PlayStation 5 Optical Drive Laser Replacement, Cap the screw hole: adım 4, 3 resimden 2. PlayStation 5 Optical Drive Laser Replacement, Cap the screw hole: adım 4, 3 resimden 3.
    Bu adımda kullanılan alet:
    Tweezers
    $4.99
    • Use a pair of tweezers or your fingernail to remove the cap from the cubby.

    • Use your finger to press the cap into the screw hole.

    FixBot'a Sor

    Yorum Ekle

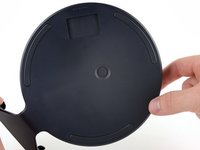
  5. PlayStation 5 Optical Drive Laser Replacement, Close the cubby: adım 5, 3 resimden 1. PlayStation 5 Optical Drive Laser Replacement, Close the cubby: adım 5, 3 resimden 2. PlayStation 5 Optical Drive Laser Replacement, Close the cubby: adım 5, 3 resimden 3.
    • Twist the stand counterclockwise to close the cubby.

    FixBot'a Sor

    Yorum Ekle

  6. PlayStation 5 Optical Drive Laser Replacement, Remove the horizontal stand: adım 6, 2 resimden 1. PlayStation 5 Optical Drive Laser Replacement, Remove the horizontal stand: adım 6, 2 resimden 2.
    • If your PlayStation 5 is in its horizontal orientation, rest it on its face with the charging port facing up.

    • Lift the stand straight up to remove it.

    FixBot'a Sor

    Yorum Ekle

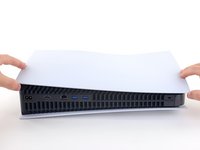
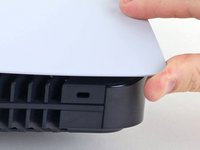
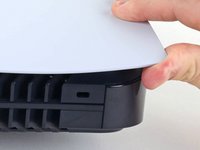
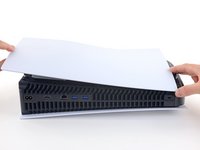
  7. PlayStation 5 Optical Drive Laser Replacement, Remove the right faceplate: adım 7, 3 resimden 1. PlayStation 5 Optical Drive Laser Replacement, Remove the right faceplate: adım 7, 3 resimden 2. PlayStation 5 Optical Drive Laser Replacement, Remove the right faceplate: adım 7, 3 resimden 3.
    • Flip the device over so that the USB and ethernet ports are on the left side from your perspective.

    • Lift up the corner of the faceplate to unclip it from the case.

    FixBot'a Sor

    Yorum Ekle

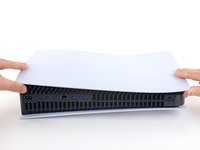
  8. PlayStation 5 Optical Drive Laser Replacement: adım 8, 2 resimden 1. PlayStation 5 Optical Drive Laser Replacement: adım 8, 2 resimden 2.
    • While lifting up the corner, slide the faceplate towards the bottom of the device.

    • Remove the right faceplate.

    FixBot'a Sor

    Yorum Ekle

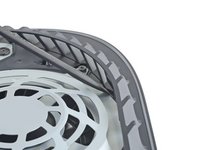
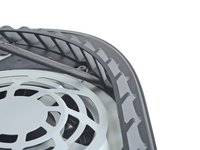
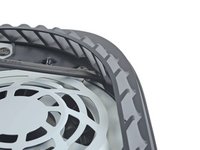
  9. PlayStation 5 Optical Drive Laser Replacement, Pry up the grille: adım 9, 3 resimden 1. PlayStation 5 Optical Drive Laser Replacement, Pry up the grille: adım 9, 3 resimden 2. PlayStation 5 Optical Drive Laser Replacement, Pry up the grille: adım 9, 3 resimden 3.
    • Insert the flat end of a spudger underneath the grille and into the gap above the fan.

    • Lift up with the spudger to pry the grille away from the case.

    FixBot'a Sor

    Yorum Ekle

  10. PlayStation 5 Optical Drive Laser Replacement, Remove the grille: adım 10, 2 resimden 1. PlayStation 5 Optical Drive Laser Replacement, Remove the grille: adım 10, 2 resimden 2.
    • Lift the grille away from the case to remove it.

    FixBot'a Sor

    Yorum Ekle

  11. PlayStation 5 Optical Drive Laser Replacement, Remove the fan shroud screws: adım 11, 1 resimden 1.
    Bu adımda kullanılan alet:
    Magnetic Project Mat
    $19.95
    • Use a TR9 Torx Security driver to remove the four screws securing the fan shroud to the case:

    • Two 23.3 mm-long screws

    • One 11.4 mm-long screw

    • One 31 mm-long screw

    • Throughout this repair, keep track of each screw and make sure it goes back exactly where it came from to avoid damaging your console.

    FixBot'a Sor

    Yorum Ekle

  12. PlayStation 5 Optical Drive Laser Replacement, Remove the fan shroud: adım 12, 2 resimden 1. PlayStation 5 Optical Drive Laser Replacement, Remove the fan shroud: adım 12, 2 resimden 2.
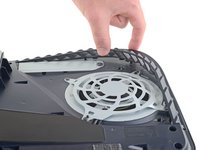
    • Lift the fan shroud straight up to remove it.

    FixBot'a Sor

    Yorum Ekle

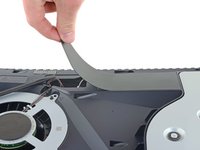
  13. PlayStation 5 Optical Drive Laser Replacement, Remove the wire cover: adım 13, 3 resimden 1. PlayStation 5 Optical Drive Laser Replacement, Remove the wire cover: adım 13, 3 resimden 2. PlayStation 5 Optical Drive Laser Replacement, Remove the wire cover: adım 13, 3 resimden 3.
    • Insert the flat end of a spudger beneath the black wire cover and into the gap above the fan wires.

    • Pry only on the wire cover, not on the fan wires themselves.

    • Use the spudger to peel up the wire cover until you can grip it with your fingers.

    FixBot'a Sor

    Yorum Ekle

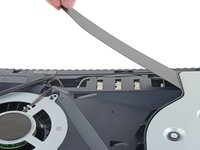
  14. PlayStation 5 Optical Drive Laser Replacement: adım 14, 3 resimden 1. PlayStation 5 Optical Drive Laser Replacement: adım 14, 3 resimden 2. PlayStation 5 Optical Drive Laser Replacement: adım 14, 3 resimden 3.
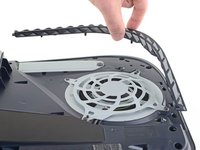
    • Use your fingers to peel off the wire cover.

    FixBot'a Sor

    Yorum Ekle

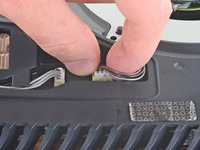
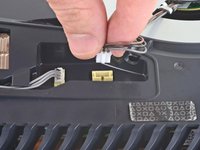
  15. PlayStation 5 Optical Drive Laser Replacement, Disconnect the fan: adım 15, 2 resimden 1. PlayStation 5 Optical Drive Laser Replacement, Disconnect the fan: adım 15, 2 resimden 2.
    • Use your fingers to grip the edges of the fan cable connector, and pull up to disconnect it from the motherboard.

    • Always pull cables by their connectors and not the wires themselves.

    FixBot'a Sor

    Yorum Ekle

  16. PlayStation 5 Optical Drive Laser Replacement, Remove the fan: adım 16, 3 resimden 1. PlayStation 5 Optical Drive Laser Replacement, Remove the fan: adım 16, 3 resimden 2. PlayStation 5 Optical Drive Laser Replacement, Remove the fan: adım 16, 3 resimden 3.
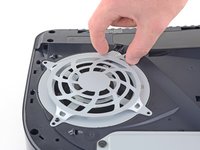
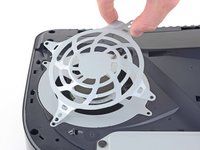
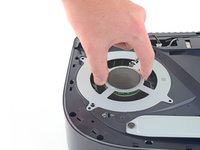
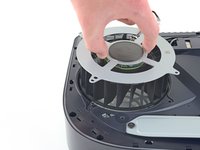
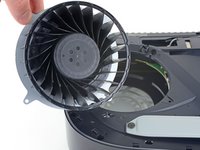
    • Lift the fan up and out of the case to remove it.

    FixBot'a Sor

    Yorum Ekle

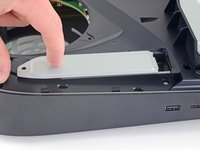
  17. PlayStation 5 Optical Drive Laser Replacement, Remove the SSD cover: adım 17, 1 resimden 1.
    • Use a Phillips screwdriver to remove the 17 mm-long SSD cover screw.

    FixBot'a Sor

    Yorum Ekle

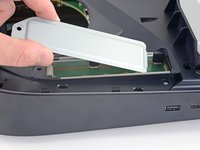
  18. PlayStation 5 Optical Drive Laser Replacement: adım 18, 3 resimden 1. PlayStation 5 Optical Drive Laser Replacement: adım 18, 3 resimden 2. PlayStation 5 Optical Drive Laser Replacement: adım 18, 3 resimden 3.
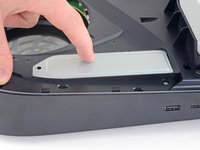
    • Use your finger to slide the SSD cover towards the top of the device to unclip it from the case.

    • Remove the SSD cover.

    FixBot'a Sor

    Yorum Ekle

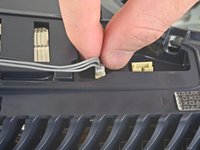
  19. PlayStation 5 Optical Drive Laser Replacement, Remove the optical drive wire: adım 19, 2 resimden 1. PlayStation 5 Optical Drive Laser Replacement, Remove the optical drive wire: adım 19, 2 resimden 2.
    • Use your fingers to grip the edges of the optical drive cable connector, and pull up to disconnect it from the motherboard.

    • Always pull cables by their connectors and not the wires themselves.

    FixBot'a Sor

    Yorum Ekle

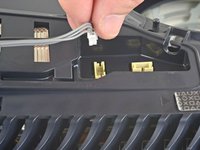
  20. PlayStation 5 Optical Drive Laser Replacement: adım 20, 2 resimden 1. PlayStation 5 Optical Drive Laser Replacement: adım 20, 2 resimden 2.
    • Use your fingers to grip the edges of the optical drive cable connector, and pull up to disconnect it from the optical drive.

    FixBot'a Sor

    Yorum Ekle

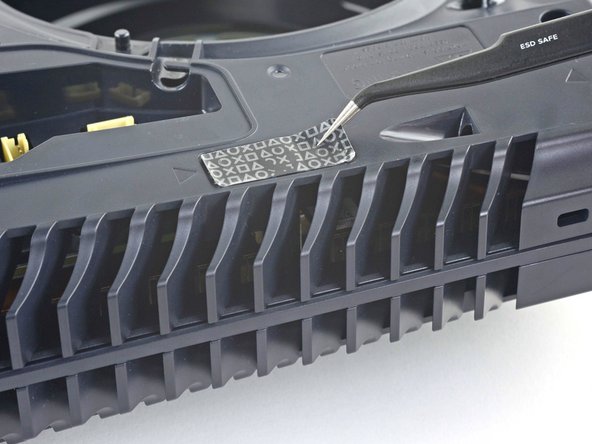
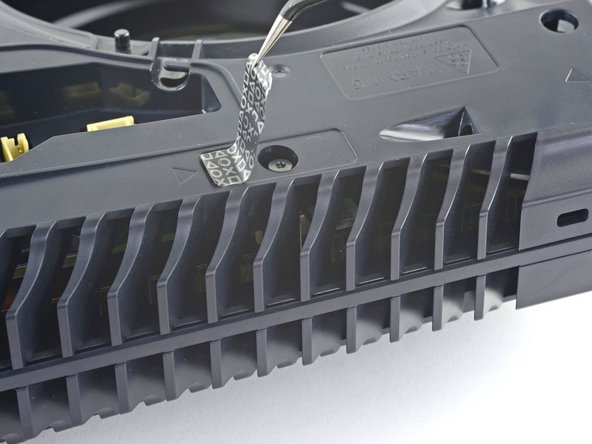
  21. PlayStation 5 Optical Drive Laser Replacement, Remove the tamper-evident sticker: adım 21, 3 resimden 1. PlayStation 5 Optical Drive Laser Replacement, Remove the tamper-evident sticker: adım 21, 3 resimden 2. PlayStation 5 Optical Drive Laser Replacement, Remove the tamper-evident sticker: adım 21, 3 resimden 3.
    Bu adımda kullanılan alet:
    Tweezers
    $4.99
    • Use a pair of tweezers to remove the tamper-evident sticker covering the remaining case screw.

    • If your PlayStation 5 hasn't been opened before, this sticker will be completely black. The pattern will appear after you remove it.

    • Technically, these are tamper-evident stickers—but don't worry—Sony can't legally void your warranty, as long as you don't damage anything. Have fun!

    FixBot'a Sor

    Yorum Ekle

  22. PlayStation 5 Optical Drive Laser Replacement, Remove the case screws: adım 22, 1 resimden 1.
    • Use a TR8 Torx Security driver to remove the eleven screws securing the case:

    • Six 18.6 mm-long screws

    • Two 23.3 mm-long screws

    • Two 43.2 mm-long screws

    • One 7.3 mm-long screw

    FixBot'a Sor

    Yorum Ekle

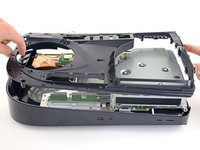
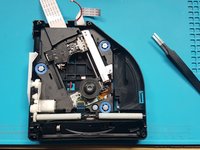
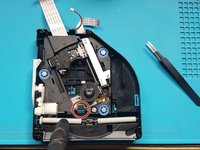
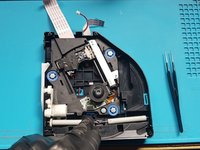
  23. PlayStation 5 Optical Drive Laser Replacement, Remove the case: adım 23, 2 resimden 1. PlayStation 5 Optical Drive Laser Replacement, Remove the case: adım 23, 2 resimden 2.
    • Lift the case straight up to remove it.

    FixBot'a Sor

    Yorum Ekle

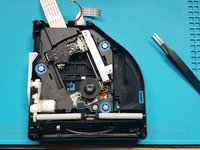
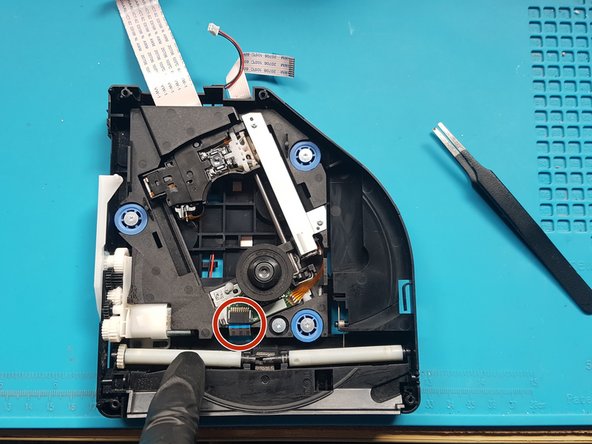
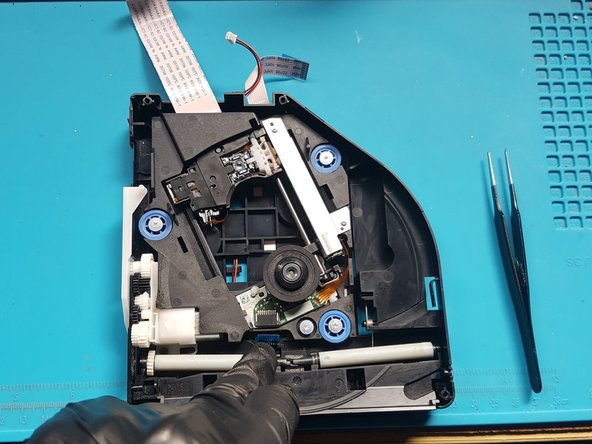
  24. PlayStation 5 Optical Drive Laser Replacement, Remove the optical drive ribbon cable: adım 24, 3 resimden 1. PlayStation 5 Optical Drive Laser Replacement, Remove the optical drive ribbon cable: adım 24, 3 resimden 2. PlayStation 5 Optical Drive Laser Replacement, Remove the optical drive ribbon cable: adım 24, 3 resimden 3.
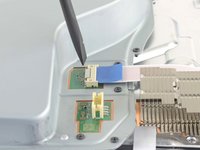
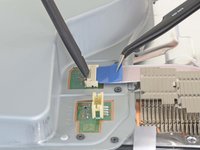
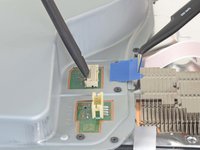
    • Use the flat end of a spudger to press down on the optical drive connector's metal locking tab.

    • With the metal tab depressed, use a pair of tweezers to pull the blue pull tab directly away from the connector to disconnect the cable from the optical drive.

    • Pull only on the pull tab, not the cable itself.

    FixBot'a Sor

    Yorum Ekle

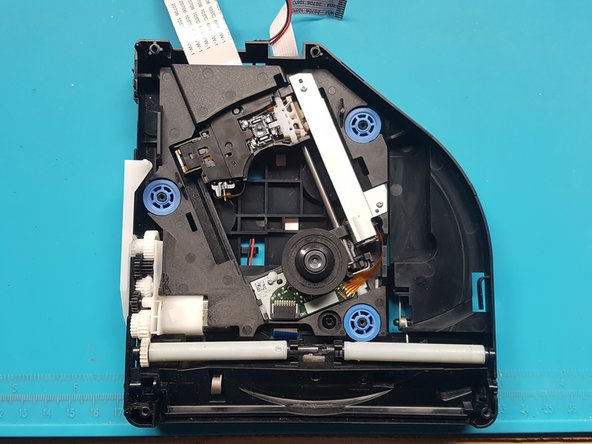
  25. PlayStation 5 Optical Drive Laser Replacement, Remove the optical drive: adım 25, 2 resimden 1. PlayStation 5 Optical Drive Laser Replacement, Remove the optical drive: adım 25, 2 resimden 2.
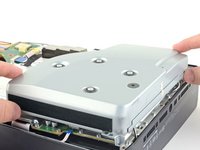
    • Lift the optical drive away from the device to remove it.

    FixBot'a Sor

    Yorum Ekle

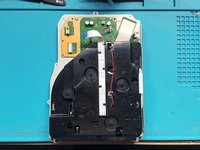
  26. PlayStation 5 Optical Drive Laser Replacement, Remove screws from top cover: adım 26, 1 resimden 1.
    • silver screws: 4x M1.6 X 3.7mm, with 6.5mm head.

    • black screws: 9x M1.6 x 3.8mm.

    • Remove screws with Phillips #1 screwdriver.

    FixBot'a Sor

    Yorum Ekle

  27. PlayStation 5 Optical Drive Laser Replacement, Remove top cover: adım 27, 2 resimden 1. PlayStation 5 Optical Drive Laser Replacement, Remove top cover: adım 27, 2 resimden 2.
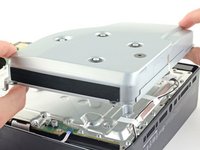
    • Lift off the top cover.

    FixBot'a Sor

    Yorum Ekle

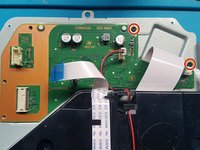
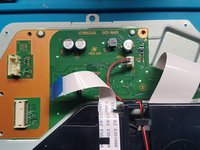
  28. PlayStation 5 Optical Drive Laser Replacement, disconnect FFC cables and 2 wire lead: adım 28, 3 resimden 1. PlayStation 5 Optical Drive Laser Replacement, disconnect FFC cables and 2 wire lead: adım 28, 3 resimden 2. PlayStation 5 Optical Drive Laser Replacement, disconnect FFC cables and 2 wire lead: adım 28, 3 resimden 3.
    Bu adımda kullanılan alet:
    Tweezers
    $4.99
    • Gently pull the medium and narrow FFC flexes and the 2-wire lead from their sockets. Suitable tweezers (bent with points or straight blunt end) can be used to aid removal.

    FixBot'a Sor

    Yorum Ekle

  29. PlayStation 5 Optical Drive Laser Replacement, Remove screws from the PCB.: adım 29, 2 resimden 1. PlayStation 5 Optical Drive Laser Replacement, Remove screws from the PCB.: adım 29, 2 resimden 2.
    • Remove screws with Phillips #1 screwdriver.

    • black screws: 2x M1.6 x 3.8mm

    FixBot'a Sor

    Yorum Ekle

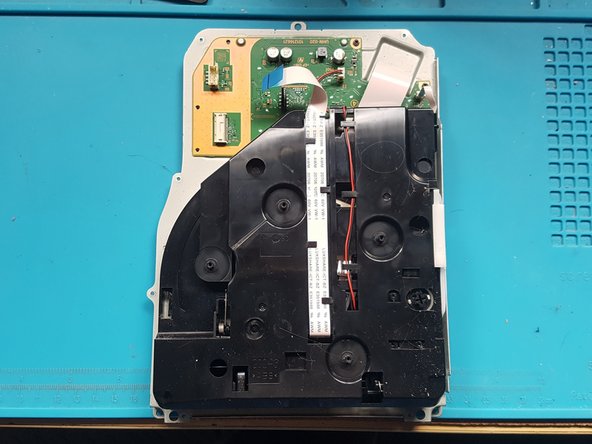
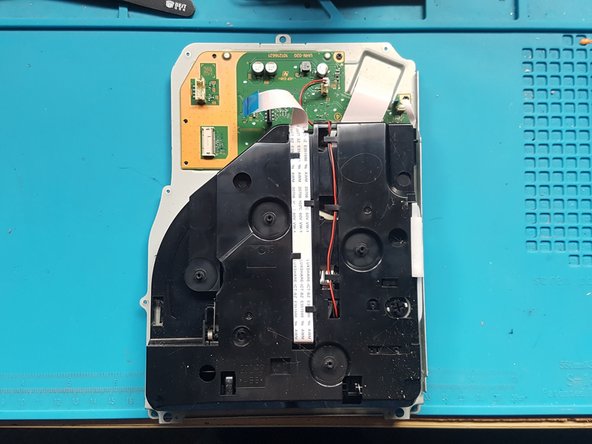
  30. PlayStation 5 Optical Drive Laser Replacement, Remove base plate: adım 30, 1 resimden 1.
    • Lift off the PCB and attached assembly from the metal plate.

    FixBot'a Sor

    Yorum Ekle

  31. PlayStation 5 Optical Drive Laser Replacement, Flip over: adım 31, 1 resimden 1.
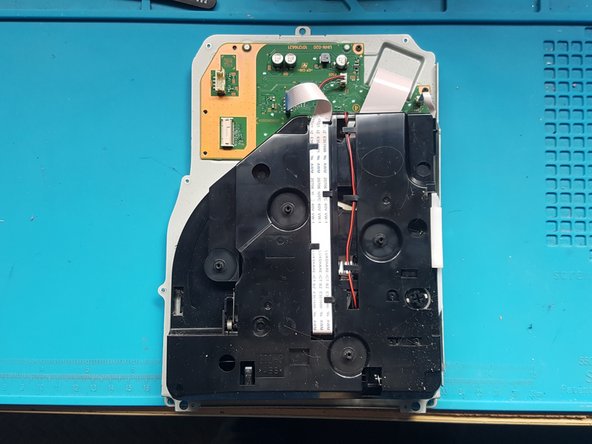
    • Turn over the PCB and attached assembly.

    FixBot'a Sor

    Yorum Ekle

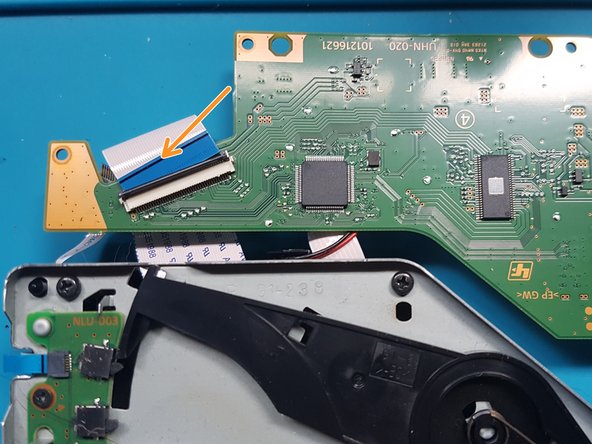
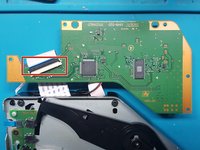
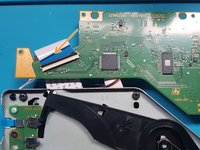
  32. PlayStation 5 Optical Drive Laser Replacement, Disconnect FFC cable and remove the PCB.: adım 32, 2 resimden 1. PlayStation 5 Optical Drive Laser Replacement, Disconnect FFC cable and remove the PCB.: adım 32, 2 resimden 2.
    • Unlatch the wide FFC socket.

    • Gently remove the wide FFC cable from the socket and set aside the PCB.

    FixBot'a Sor

    Yorum Ekle

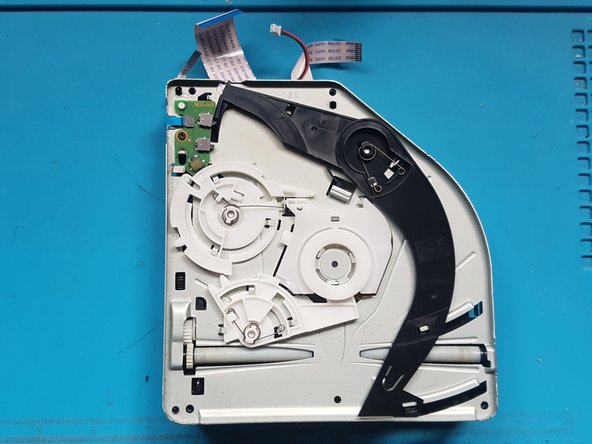
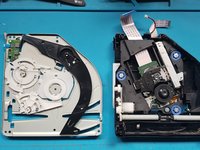
  33. PlayStation 5 Optical Drive Laser Replacement, flip over the assembly: adım 33, 1 resimden 1.
    • Flip over the assembly.

    FixBot'a Sor

    Yorum Ekle

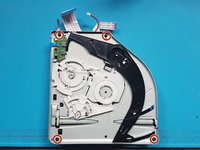
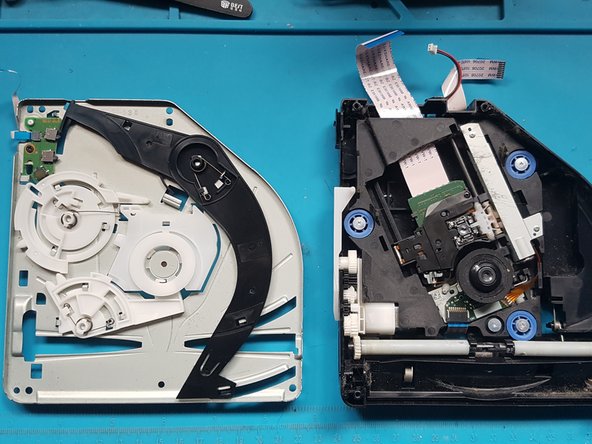
  34. PlayStation 5 Optical Drive Laser Replacement, Remove the screws from mechanism plate: adım 34, 2 resimden 1. PlayStation 5 Optical Drive Laser Replacement, Remove the screws from mechanism plate: adım 34, 2 resimden 2.
    • Use a Phillips #1 screwdriver to remove the screws.

    • black screws: 4x M1.6 x 3.8mm.

    FixBot'a Sor

    Yorum Ekle

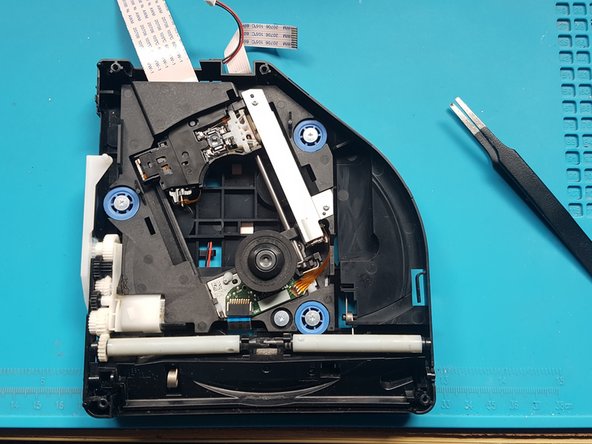
  35. PlayStation 5 Optical Drive Laser Replacement, Remove the mechanism plate: adım 35, 3 resimden 1. PlayStation 5 Optical Drive Laser Replacement, Remove the mechanism plate: adım 35, 3 resimden 2. PlayStation 5 Optical Drive Laser Replacement, Remove the mechanism plate: adım 35, 3 resimden 3.
    • Remove the mechanism plate and set aside.

    FixBot'a Sor

    Yorum Ekle

  36. PlayStation 5 Optical Drive Laser Replacement, Remove the FFC cable from laser deck: adım 36, 3 resimden 1. PlayStation 5 Optical Drive Laser Replacement, Remove the FFC cable from laser deck: adım 36, 3 resimden 2. PlayStation 5 Optical Drive Laser Replacement, Remove the FFC cable from laser deck: adım 36, 3 resimden 3.
    • Push down on the roller mech and remove the FFC cable from laser deck (near roller mech).

    • Blunt end straight tweezers can be used to aide removal of the FFC flex. To remove the flex from the socket, pull the flex towards the rollers.

    FixBot'a Sor

    Yorum Ekle

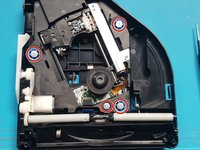
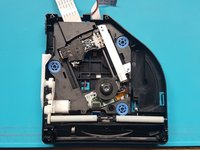
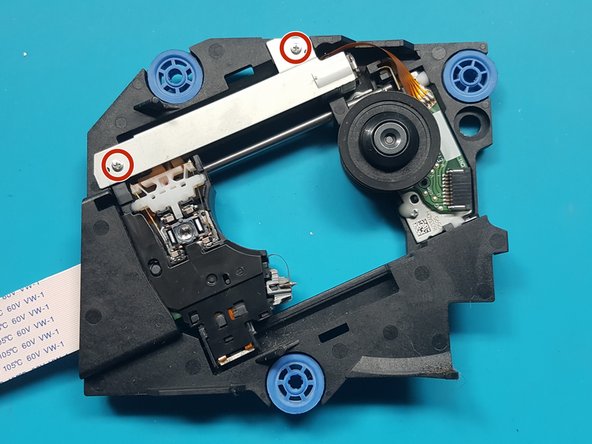
  37. PlayStation 5 Optical Drive Laser Replacement, Remove the screws holding the laser deck: adım 37, 2 resimden 1. PlayStation 5 Optical Drive Laser Replacement, Remove the screws holding the laser deck: adım 37, 2 resimden 2.
    • Remove the screws using a Phillips #1 screw driver.

    • silver screws: 4x M1.6 X 3.7mm 6.5mm head

    FixBot'a Sor

    Yorum Ekle

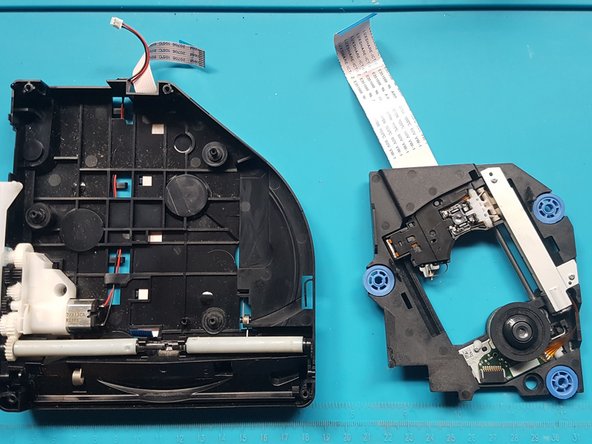
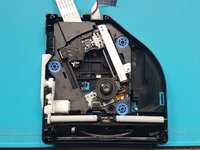
  38. PlayStation 5 Optical Drive Laser Replacement, Remove the laser deck: adım 38, 2 resimden 1. PlayStation 5 Optical Drive Laser Replacement, Remove the laser deck: adım 38, 2 resimden 2.
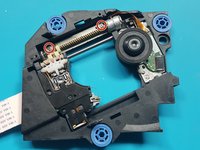
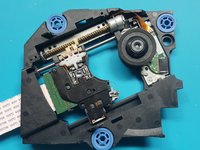
    • Remove the laser deck.

    FixBot'a Sor

    Yorum Ekle

  39. PlayStation 5 Optical Drive Laser Replacement, Remove the screws from metal plate over laser motor: adım 39, 2 resimden 1. PlayStation 5 Optical Drive Laser Replacement, Remove the screws from metal plate over laser motor: adım 39, 2 resimden 2.
    • Remove the screws from metal plate over laser motor.

    • Use a Phillips PH0 screwdriver to remove the screws.

    • silver screws: 2x M1.7 X 3.8mm

    FixBot'a Sor

    Yorum Ekle

  40. PlayStation 5 Optical Drive Laser Replacement, Remove the metal plate over the laser motor: adım 40, 2 resimden 1. PlayStation 5 Optical Drive Laser Replacement, Remove the metal plate over the laser motor: adım 40, 2 resimden 2.
    • Remove the metal plate covering the laser motor.

    FixBot'a Sor

    Yorum Ekle

  41. PlayStation 5 Optical Drive Laser Replacement, Remove the screws holding the laser motor to the drive deck: adım 41, 2 resimden 1. PlayStation 5 Optical Drive Laser Replacement, Remove the screws holding the laser motor to the drive deck: adım 41, 2 resimden 2.
    • Remove the screws holding the laser motor to the drive deck.

    • Use a Phillips PH0 screwdriver to remove the screws.

    • silver screws: 2x M1.7 X 3.8mm

    FixBot'a Sor

    Yorum Ekle

  42. PlayStation 5 Optical Drive Laser Replacement, Flip over and remove the screw from the white plastic bracket.: adım 42, 3 resimden 1. PlayStation 5 Optical Drive Laser Replacement, Flip over and remove the screw from the white plastic bracket.: adım 42, 3 resimden 2. PlayStation 5 Optical Drive Laser Replacement, Flip over and remove the screw from the white plastic bracket.: adım 42, 3 resimden 3.
    • flip over and remove a single black screw from white plastic bracket.

    • Note: laser motor will be loose, so be careful when you flip over the deck for the next step.

    • Remove the screw with a Phillips PH0 screwdriver.

    • black screw: 1x M1.4 x 3.9mm

    • Remove the white bracket and set aside.

    FixBot'a Sor

    Yorum Ekle

  43. PlayStation 5 Optical Drive Laser Replacement, Flip over the laser deck and move the laser motor to the side: adım 43, 2 resimden 1. PlayStation 5 Optical Drive Laser Replacement, Flip over the laser deck and move the laser motor to the side: adım 43, 2 resimden 2.
    • Flip over the laser deck and move the laser motor to the side

    FixBot'a Sor

    Yorum Ekle

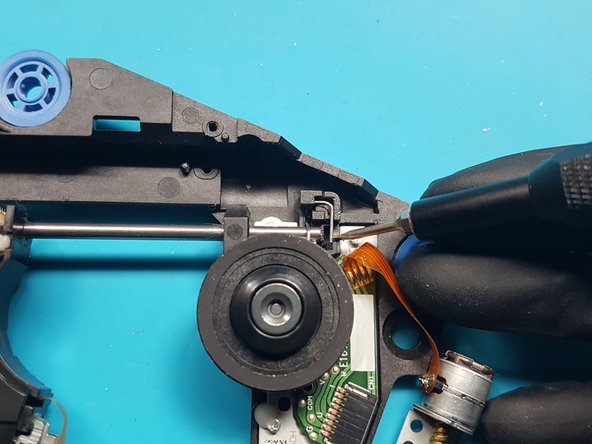
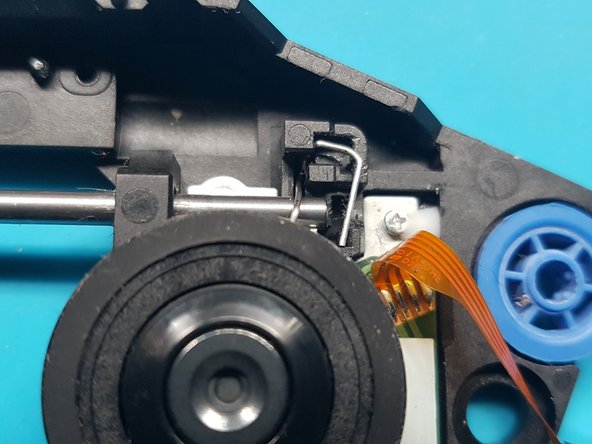
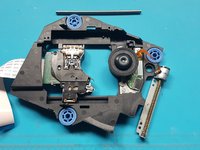
  44. PlayStation 5 Optical Drive Laser Replacement, Remove the rod retention clip.: adım 44, 3 resimden 1. PlayStation 5 Optical Drive Laser Replacement, Remove the rod retention clip.: adım 44, 3 resimden 2. PlayStation 5 Optical Drive Laser Replacement, Remove the rod retention clip.: adım 44, 3 resimden 3.
    • remove the clip that stops the rod from being removed.

    • a) Use a 1.5mm slotted screwdriver to push the lower end of the clip to the left, to unhook it from the retaining hook.

    • b) The clip should pop up.

    • c) lift out the clip.

    FixBot'a Sor

    Yorum Ekle

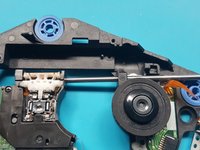
  45. PlayStation 5 Optical Drive Laser Replacement, Slide out the rod from the laser module.: adım 45, 3 resimden 1. PlayStation 5 Optical Drive Laser Replacement, Slide out the rod from the laser module.: adım 45, 3 resimden 2. PlayStation 5 Optical Drive Laser Replacement, Slide out the rod from the laser module.: adım 45, 3 resimden 3.
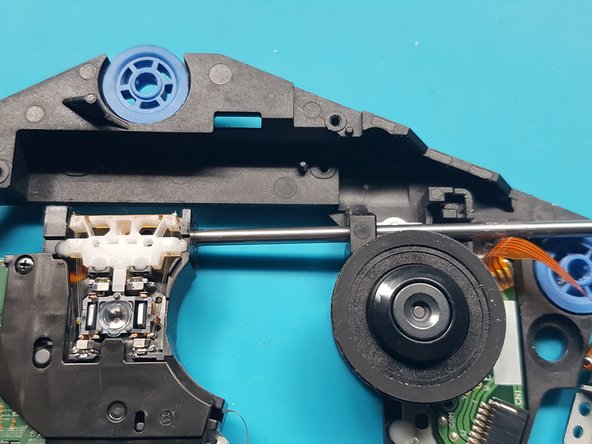
    • slide out the rod from the laser module.

    FixBot'a Sor

    Yorum Ekle

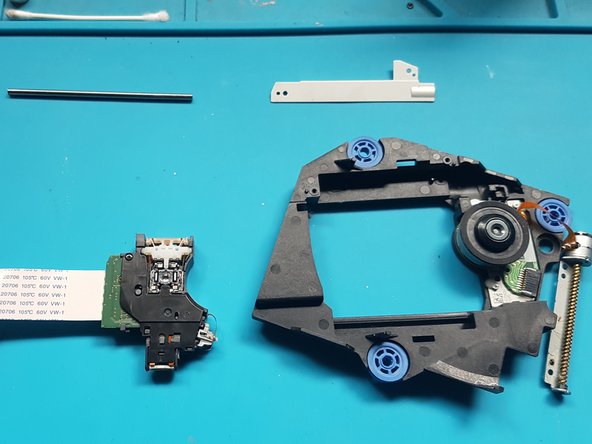
  46. PlayStation 5 Optical Drive Laser Replacement, Remove the laser module: adım 46, 2 resimden 1. PlayStation 5 Optical Drive Laser Replacement, Remove the laser module: adım 46, 2 resimden 2.
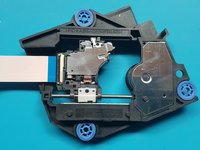
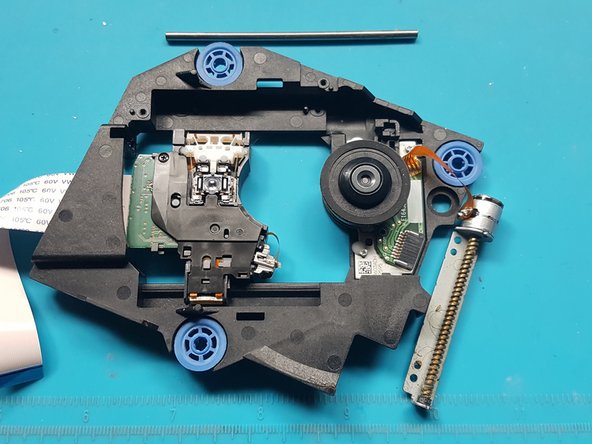
    • Remove the laser module

    FixBot'a Sor

    Yorum Ekle

  47. PlayStation 5 Optical Drive Laser Replacement, Flip over the laser module: adım 47, 2 resimden 1. PlayStation 5 Optical Drive Laser Replacement, Flip over the laser module: adım 47, 2 resimden 2.
    • Flip over the laser module.

    FixBot'a Sor

    Yorum Ekle

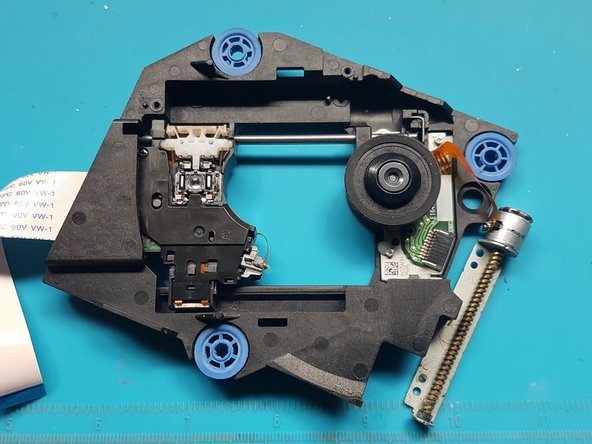
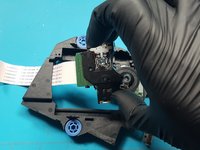
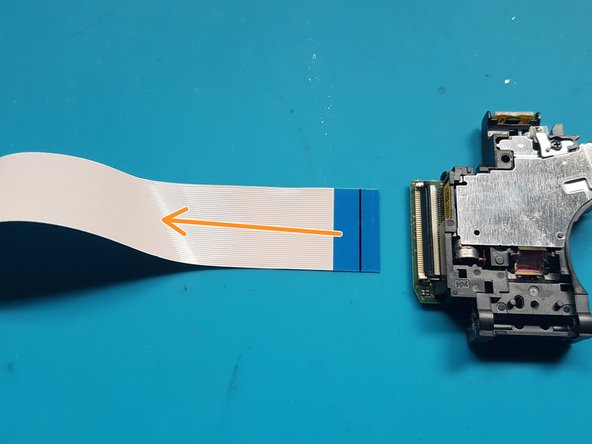
  48. PlayStation 5 Optical Drive Laser Replacement, unlatch the FFC connector and remove the FFC flex from the laser.: adım 48, 2 resimden 1. PlayStation 5 Optical Drive Laser Replacement, unlatch the FFC connector and remove the FFC flex from the laser.: adım 48, 2 resimden 2.
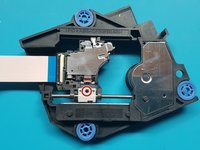
    • unlatch the FFC connector.

    • Remove the FFC flex from the laser.

    FixBot'a Sor

    Yorum Ekle

Sonuç

To reassemble your device, follow these instructions in reverse order.

Take your e-waste to an R2 or e-Stewards certified recycler.
Repair didn’t go as planned? Try some basic troubleshooting, or ask our PlayStation 5 Answers community for help.

İptal et: Bu kılavuzu tamamlamadım.

18 farklı kişi bu kılavuzu tamamladı.

David Fear

Üyelik tarihi: 06/10/17

417 İtibar

1 Kılavuz yazıldı

6Kılavuz Yorumları

Danke für die tolle und ausführliche Anleitung!

Discs werden wieder gelesen *freu*

Jan Bäumler - Yanıt Paylaş

where do we get the replacement laser?

canegosh - Yanıt Paylaş

Muchísimas gracias por la guía, me ha resultado imprescindible para hacer el cambio con éxito!

Pepe Paco - Yanıt Paylaş

whats the name of the ribbon data cable that goes from this drive to the ps. The one taken off at the start before tearing down the bluray playe. Thanks

L2D2 - Yanıt Paylaş
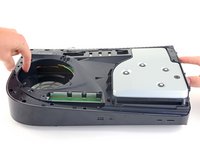
Please be advised: during Optical Drive reassembly, it is crucial that a notch/peg be fitted into its corresponding groove seen in Step33. In the image the notch and groove can be seen in the upper most circular white piece and at the 11 o'clock position. This must be done for the drive to work appropriately. -ljr

LJ Rhodes - Yanıt Paylaş

Yorum Ekle

İstatistikleri Görüntüle:

Son 24 Saat: 50

Son 7 gün: 373

Son 30 gün: 1,879

Her zaman: 53,597